How To Make A Wood Look Cross From Cardstock
This post may contain affiliate links. Please see my Privacy Policy for full details.

Lately I’ve seen a ton of beautiful images of a Cricut project that looks like a tree and bark. I was thinking of that earlier this week when I walked by some crosses that I have hanging in my stairway and the idea came to me to try to recreate my favorite one to be cut from paper.
I played around with the design and how I could accomplish the look and am very happy with the results.

The photo above the bigger cross was my first prototype. Then on the left, I used the same brown paper and colored (more like scribbled) on the paper to achieve more texture and dimension. Follow the steps below for more information.

The cross show here in the center was my inspiration for this design.
I don’t mind if you use these designs for personal or small business commercial use up to 200 items, but please do not re-sell or re-distribute the files. I’d ask that you direct your crafty friends here to download the files themselves. Also, I don’t allow my designs to be used in print-on-demand shops or on transfers that will be sold. Click HERE for complete Terms of Service.
Materials Needed For A Layered Wood Look Cross
- 65lb. cardstock– For the two crosses pictured above I used Recollections 65lb. Cardstock.
- Spray adhesive glue
- Art Glitter Glue – This is my favorite liquid adhesive glue (there’s no glitter in it).
- Colored Pencils – I love Crayola Twistable Colored Pencils.
- Brayer
- Light grip mat (blue)
- Cricut Maker – or your favorite cutting machine
- Design #124 – Layered Wood Look Cross SVG – My free SVG cut file (available in my freebie vault—get the password at the bottom of this post).
How To Cut And Assemble A Layered Wood Look Cross
Start by downloading the free Layered Wood Look Cross from my freebie vault, a library of free cut files just for subscribers of my newsletter.
I cut the cross at 8″ tall for the 8″x10″ shadow box frame pictured above. For my Cricut Maker, I’ve found that I have perfect cuts using the Light Cardstock setting. Machines can vary especially depending how new or dull your blade is. I always recommend performing a small test cut so that you use settings that work for your machine/paper.

Using a brayer to adhere the cardstock to your mat will help keep the cardstock from moving, thus reducing tears during cutting.

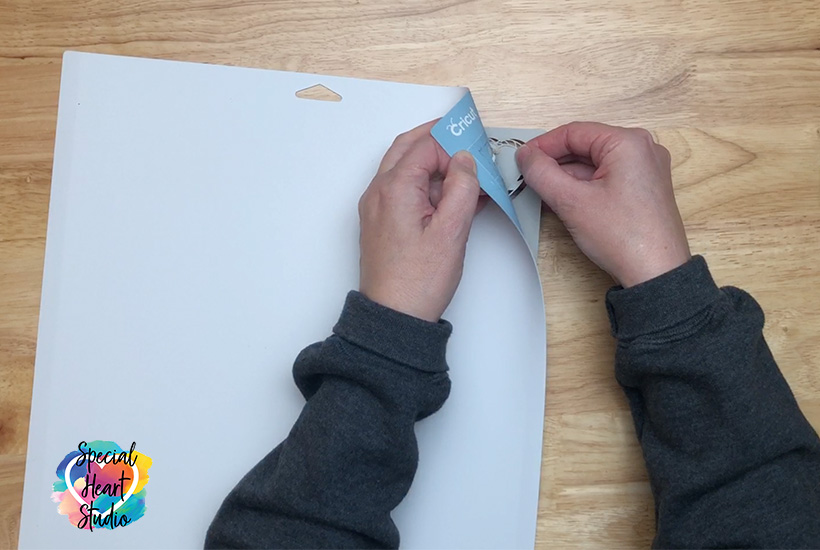
Once cut, it’s best to turn the mat upside down and gently bend the mat back to remove the mat from the paper. This reduces tearing and curling of the cardstock.

To achieve the wood-like appearance on the cross, I scribbled on the paper where the cuts would be. I just guessed close by reviewing the mat on screen.

The brown layer, I forgot to scribble or color my paper first, so was gentle and colored those layers after cutting while still on the mat.

Because the layers are so intricate on this project, I choose to glue all the layers and pieces instead of using foam tabs as I do in many of my projects.
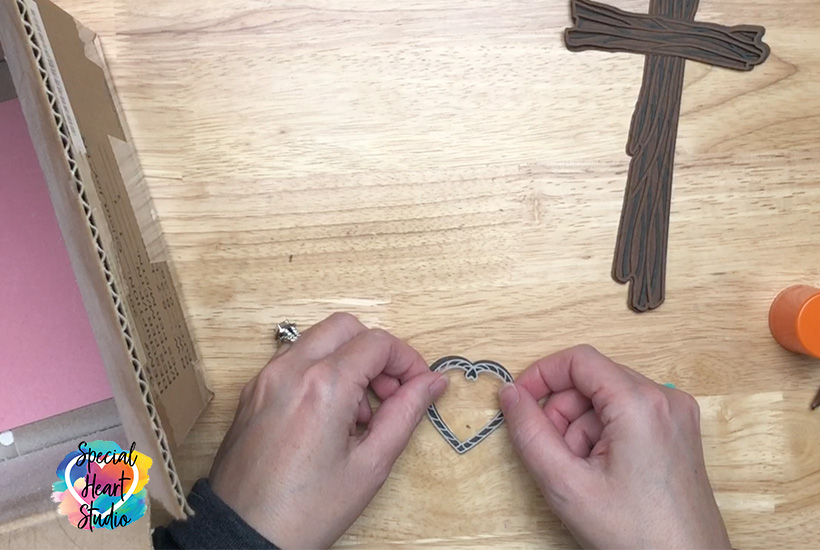
I used Elmer’s Craft Bond Spray Adhesive in a small box to keep the mess and overspray to a minimum. As you can see in the photo, this box has been used many times and I keep it just for projects like this.

Once you’ve sprayed a light coat of the spray bond, place the cut piece on the next layer down. Repeat this process for the hearts and the cross pieces.

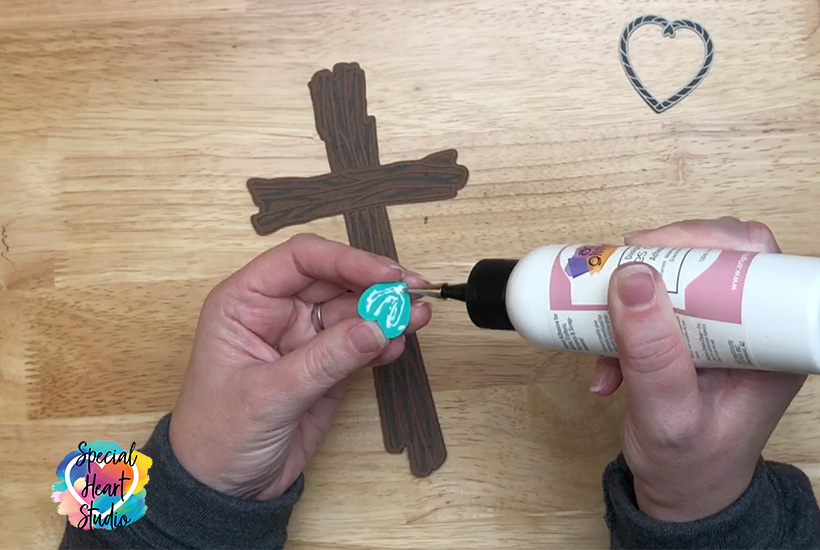
After using spray adhesive to attach the layers together, I then used Art Glitter Glue to adhere to the big pieces.

Repeat the process with the small heart and the bigger outer ring heart.

To finish my Layered Wood Look Cross, I framed it in an 8″x10″ Shadow Box from Michaels.
I used digital paper from Design Bundles to print a burlap background on a piece of cardstock. If you’d like to use the same digital background you can find it HERE.
Please Share Prior To Downloading
Please share! If you enjoy this project/design, please share it on your social media platform or your favorite Pinterest board. I greatly appreciate it!! That helps my blog continue to grow and enables me to continue to provide free designs. 💕 Thank you!

Download My FREE Layered Wood Look Cross Cut File By Subscribing Below To Get The Password To My Freebie Vault
DOWNLOAD the Layered Wood Look Cross – Design #124 by entering the password to my Freebie Vault. Click HERE to go to the freebie vault, my library of free downloads. To sign up for a password to my free designs, enter your name and email address below. ⬇️


Beautiful! Thank you for sharing the love and your fabulous files with us!
LOVE ❤️ THIS!!!
This is beautiful! Thank you for the clear assembly instructions and tips to make design, cutting and assembly easier.
This will be my project today! Love it, and thanks for your generosity!
You’re welcome. Enjoy!
Thank you so much for this beautiful file, I will be making some as soon as I get my stuff out of storage hopefully soon, still looking for another place to live not so easy In Washington State.
Brenda