Free Laundry Room Cut Files
This post may contain affiliate links. Please see my Privacy Policy for full details.
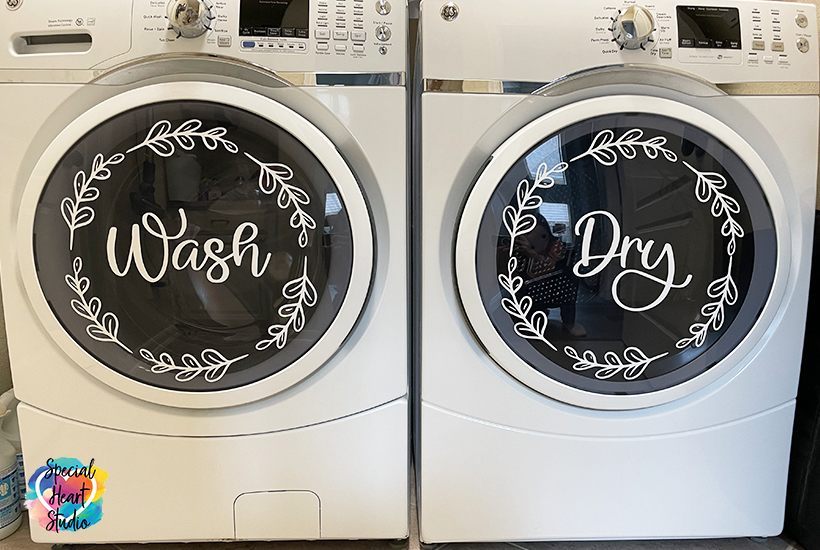
This week I spent some time organizing my home and while in my little laundry room decided that it needed a sprucing up. That’s when it hit me to add a bit of decorative vinyl to my washer and dryer.
I love how it turned out and was pleasantly surprised by my husband’s reaction. He loved how it looked which is a HUGE compliment, as he doesn’t usually pay much attention to my craft projects. lol

I don’t mind if you use these designs for personal or small business commercial use up to 200 items, but please do not re-sell or re-distribute the files. I’d ask that you direct your crafty friends here to download the files themselves. Also, I don’t allow my designs to be used in print-on-demand shops or on transfers that will be sold. Click HERE for complete Terms of Service.
Materials Needed To Decorate Your Machines
- Adhesive Vinyl
- Transfer Tape – This transfer tape on Amazon is reasonably priced and works great.
- Cutting Mat – I used a 24″ mat for this project. Mat size will depend on your project size.
- Weeding Tools
- Cricut Maker or your favorite electronic cutting machine.
- Design #121 Washer and Dryer Cut Files – Free SVG/DXF/EPN/PNG cut files (available in my Freebie Vault—get the password at the bottom of this post).
Upload, Cut and Apply
We’ll walk through the steps I took to cut and apply these designs to my washing machine and dryer.
Once you’ve downloaded the design from my Freebie Vault (my free library just for subscribers). Unzip the download folder and upload the designs to your cutting machine software. I used my Cricut Maker for this project.

I recommend measuring the space available on your washer and dryer prior to starting. On my machines, I had almost 20″ diameter on the window portion of my machine doors. Because machines can vary, I saved this design with each element separately so it can be easily customized and sized to fit your needs.
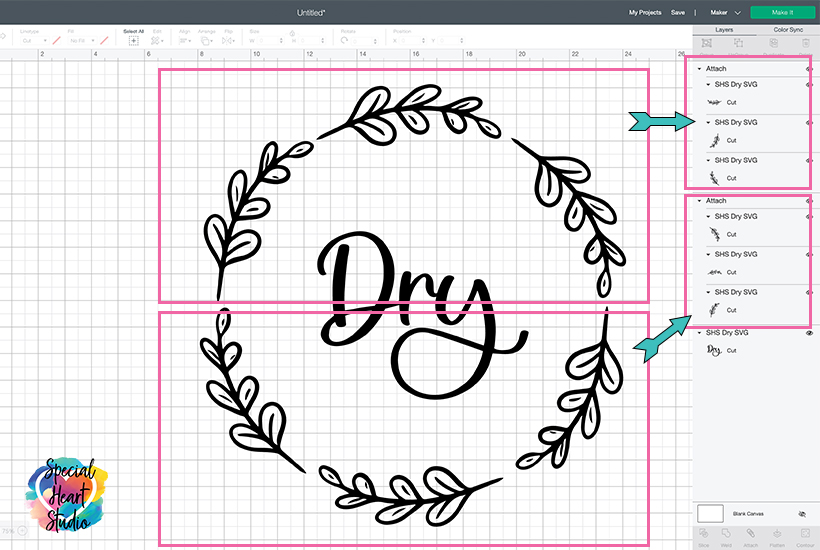
For my project, I decided to cut the entire piece at 16″ tall. Because of the machine cut size limits of 11.5″, I decided to split the circle portion in half. I selected the top 3 portions and attached. Then repeated the process with the bottom portion.
One the project is sized correctly on screen, you’re ready to “Make It”.

After clicking “Make It”, Cricut Design Space will take you to the Prepare Mats screen. On this screen, you can rotate and move pieces. In order to conserve vinyl, I decided to fit the cut pieces together like a puzzle. Select one of the pieces on the mat by clicking once, then a box will appear where you will be able to select to move the object.

Next, you’ll choose which mat where you want to move the piece.
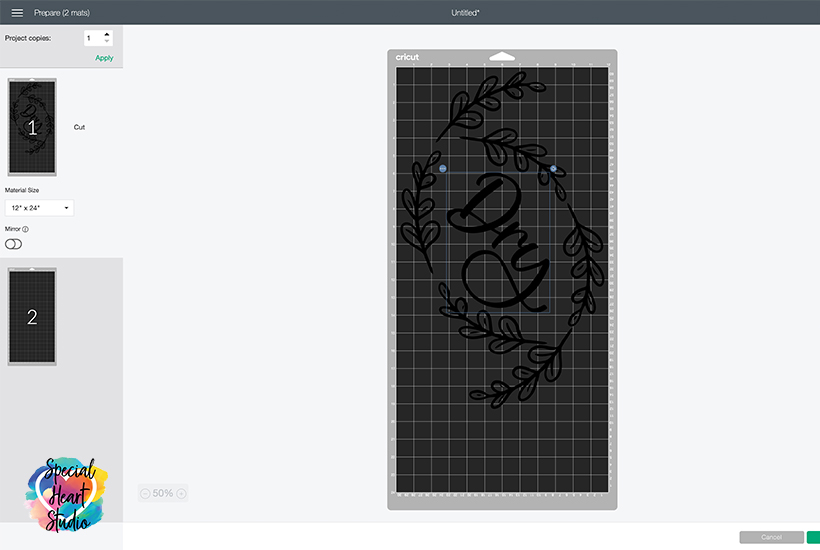
Lastly, on the Prepare Mats screen, move the pieces so that none of the edges overlap. The photo above shows how I placed the pieces for the Dry cuts.

For this project, I used about 40″ of a roll of Cricut Vinyl in linen that I’ve had in my stash a long time.
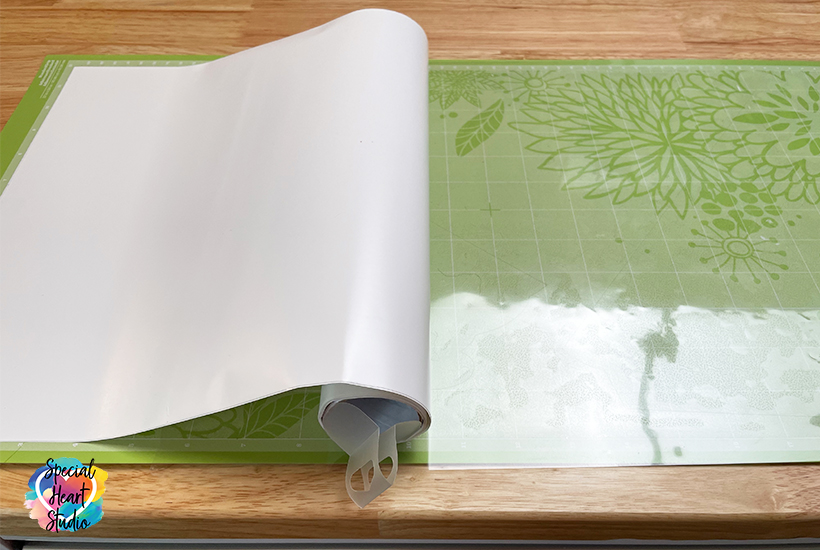
I find it difficult to place vinyl straight on the 24″ mat. I move the cover to the mat down to expose only about 6″. Next, place the vinyl piece so that it starts straight, then remove the entire mat cover and place the rest of the vinyl.
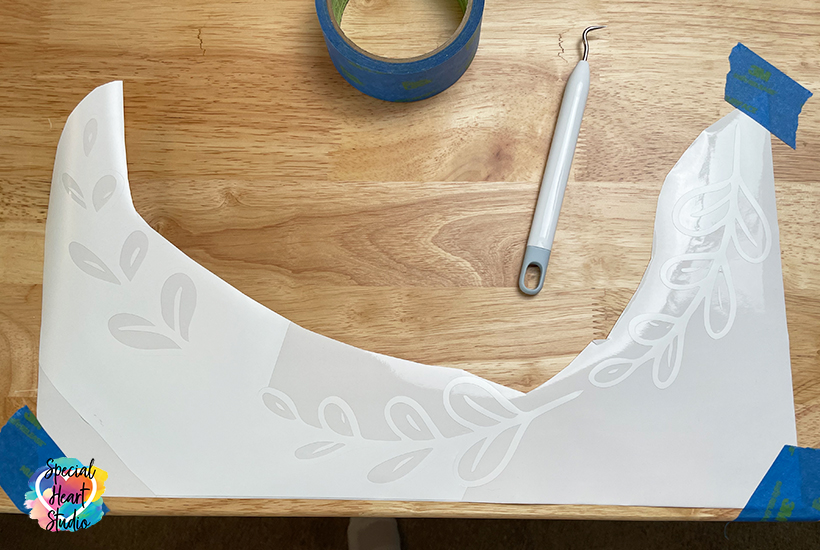
Once you’ve cut the vinyl, weed all the excess and then place the transfer tape.
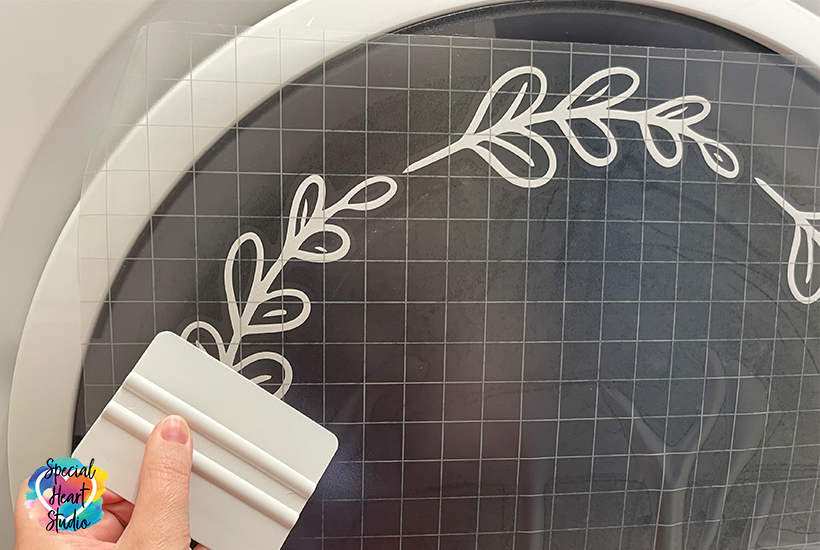
I applied the vinyl in the same sections as I cut them after cleaning the doors with a Clorox wipe.
Repeat the application process for each section on both your washer and dryer.
Please Share Prior To Downloading
Please share! If you enjoy this project/design, please share it on your social media platform or your favorite Pinterest board. I greatly appreciate it!! That helps my blog continue to grow and enables me to continue to provide free designs. 💕 Thank you!
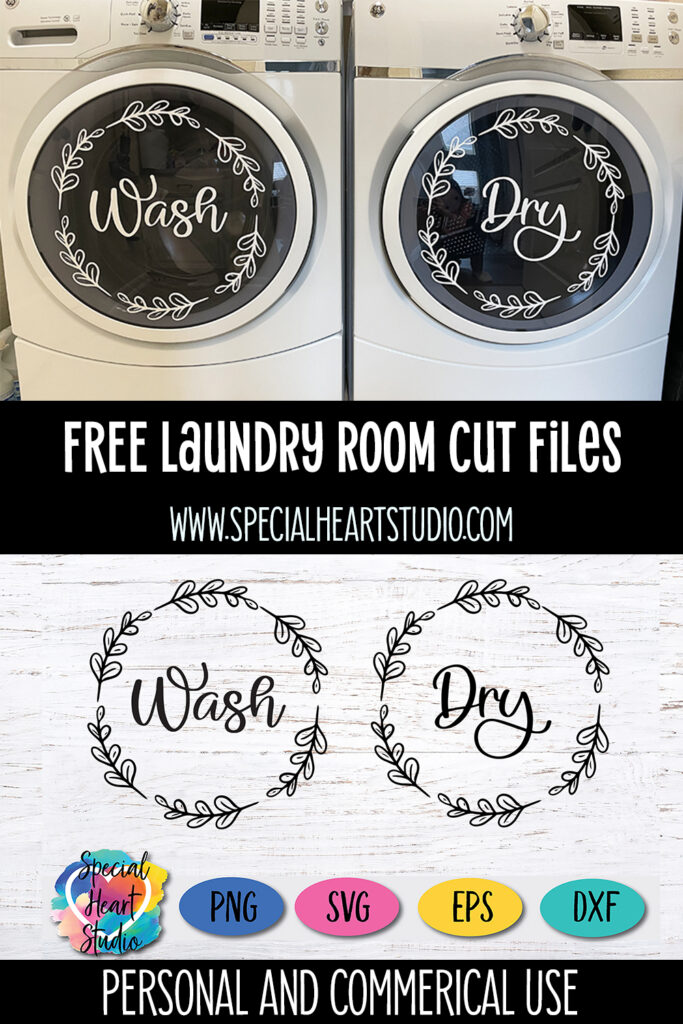
Download My Wash Dry Cut File By Subscribing (FREE) Below To Get The Password To My Freebie Vault
DOWNLOAD the Wash Dry Cut File– Design #121 by entering the password to my Freebie Vault. Click HERE to go to the freebie vault, my library of free downloads. To sign up for a password to my free designs, enter your name and email address below. ⬇️


I like the new system that one can go and download the file by the number. If they know the number. That doesn’t matter, the title of the design is there as well. I just like it like this!
Thank you for all your hard work and the offer of the free cut files. I appreciate your hard work and beautiful freebies!
Thank you so much for this file! I love how they turned out just beautifully for my washer and dryer! You made this project so smooth and easy to do!
Thank you!!!
Thank you so much for this file — my laundry room is greatly improved by adding these to the washer/dryer. And your instructions were easily followed and I especially appreciated your tip for manipulating the parts to save on vinyl were spot on! Look forward to more inspiration from you!
You’re welcome. So glad the tips helped.
i cant seem to be able the Wash Dry Cut File– Design #121, i keep getting redirected back to the instructions and i cant find the link, am I missing something?
Click the very first link directly following the #121. It sounds as if you’re clicking the second link which takes you back to the blog post.
I am having the very same issue. Anything I click takes me back to the instructions for making. Cannot find actual download. Hoping you can help
Hi Lynn, My download links are all in the Freebie Vault right after the design number. The Laundry Room cut files are design #121. Click the first link (it’s the file name) right after the 121 and the file will automatically download.
Love it!
Love it. My washer and dryer are no longer naked. 🤣 if you don’t mind me asking what is the font used in the wash and dry of it? Would love to have that font for other projects.
Yay! This was the type of projects that I didn’t know I needed to do it……until I did. Really makes me happy to see my machines now.
The font is A Holiday Story. You can find it here via my affiliate link https://fontbundles.net/cinnamonandlime/303361-a-holiday-story-a-christmas-hand-written-font-trio?ref=VTJ6Og
As of today (4/14/21), it’s showing to be on sale 50% off!
Thank you so much.