How To Make A Paper Christmas Wreath
This post may contain affiliate links. Please see my Privacy Policy for full details.
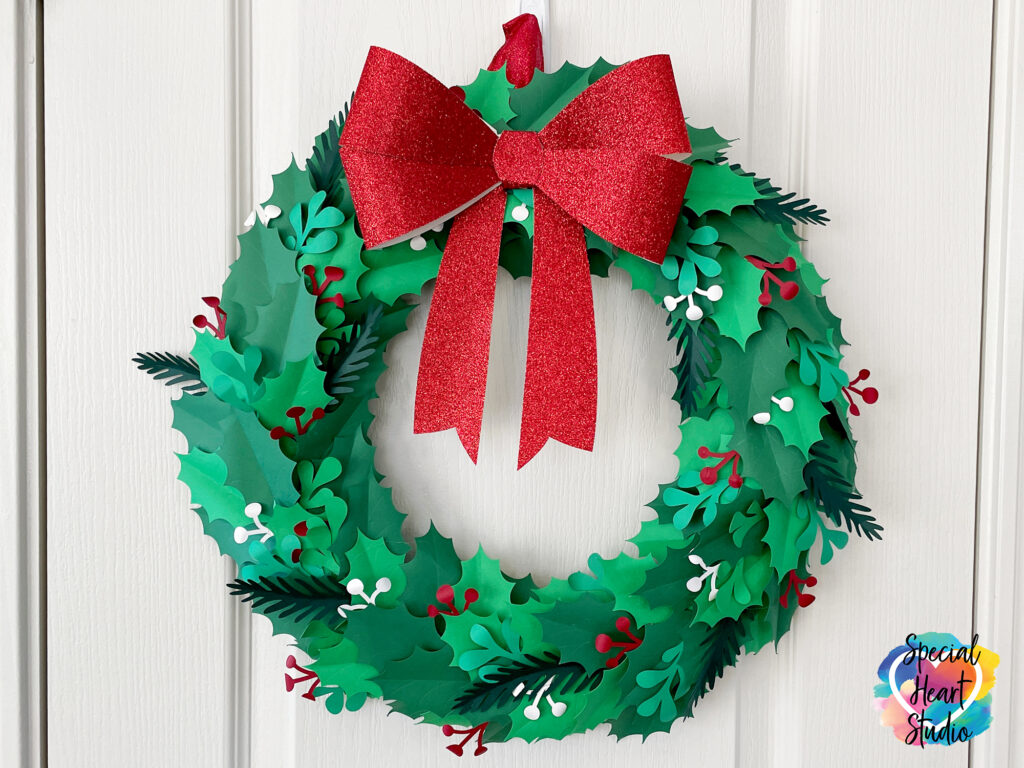
The Christmas season is almost here.
As soon as Thanksgiving is over, I’ll be decorating my home.
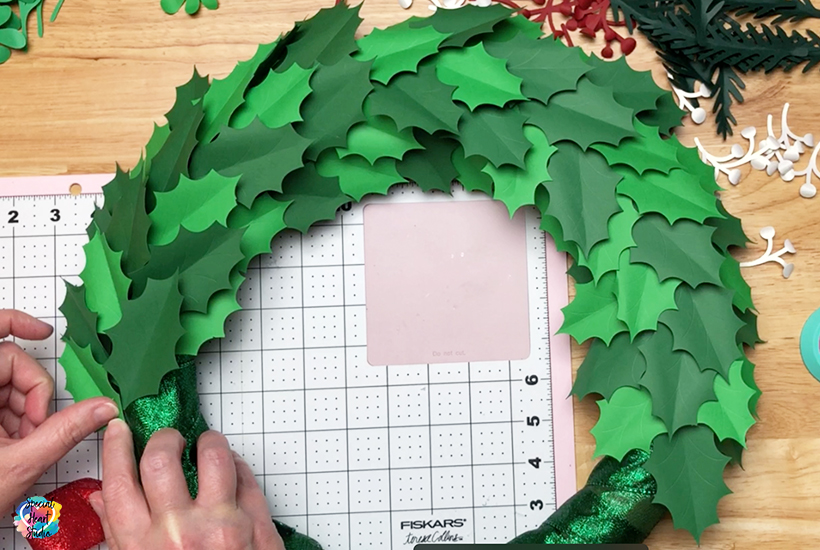
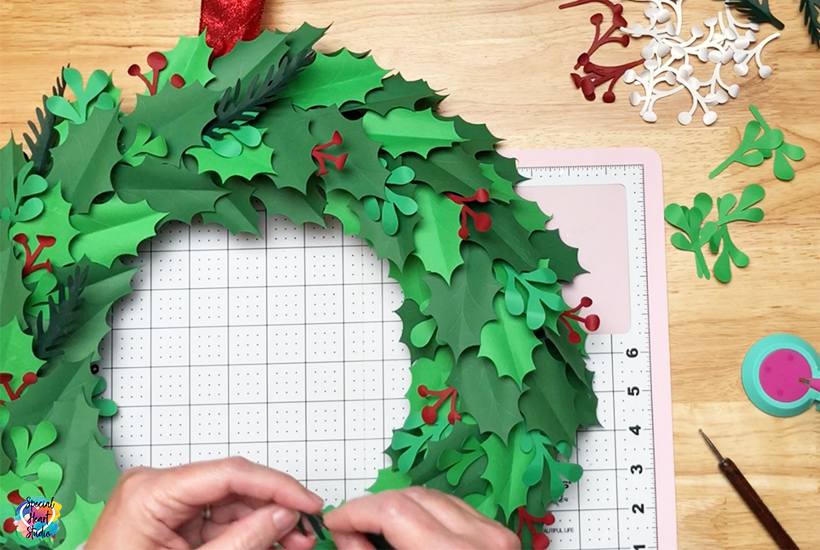
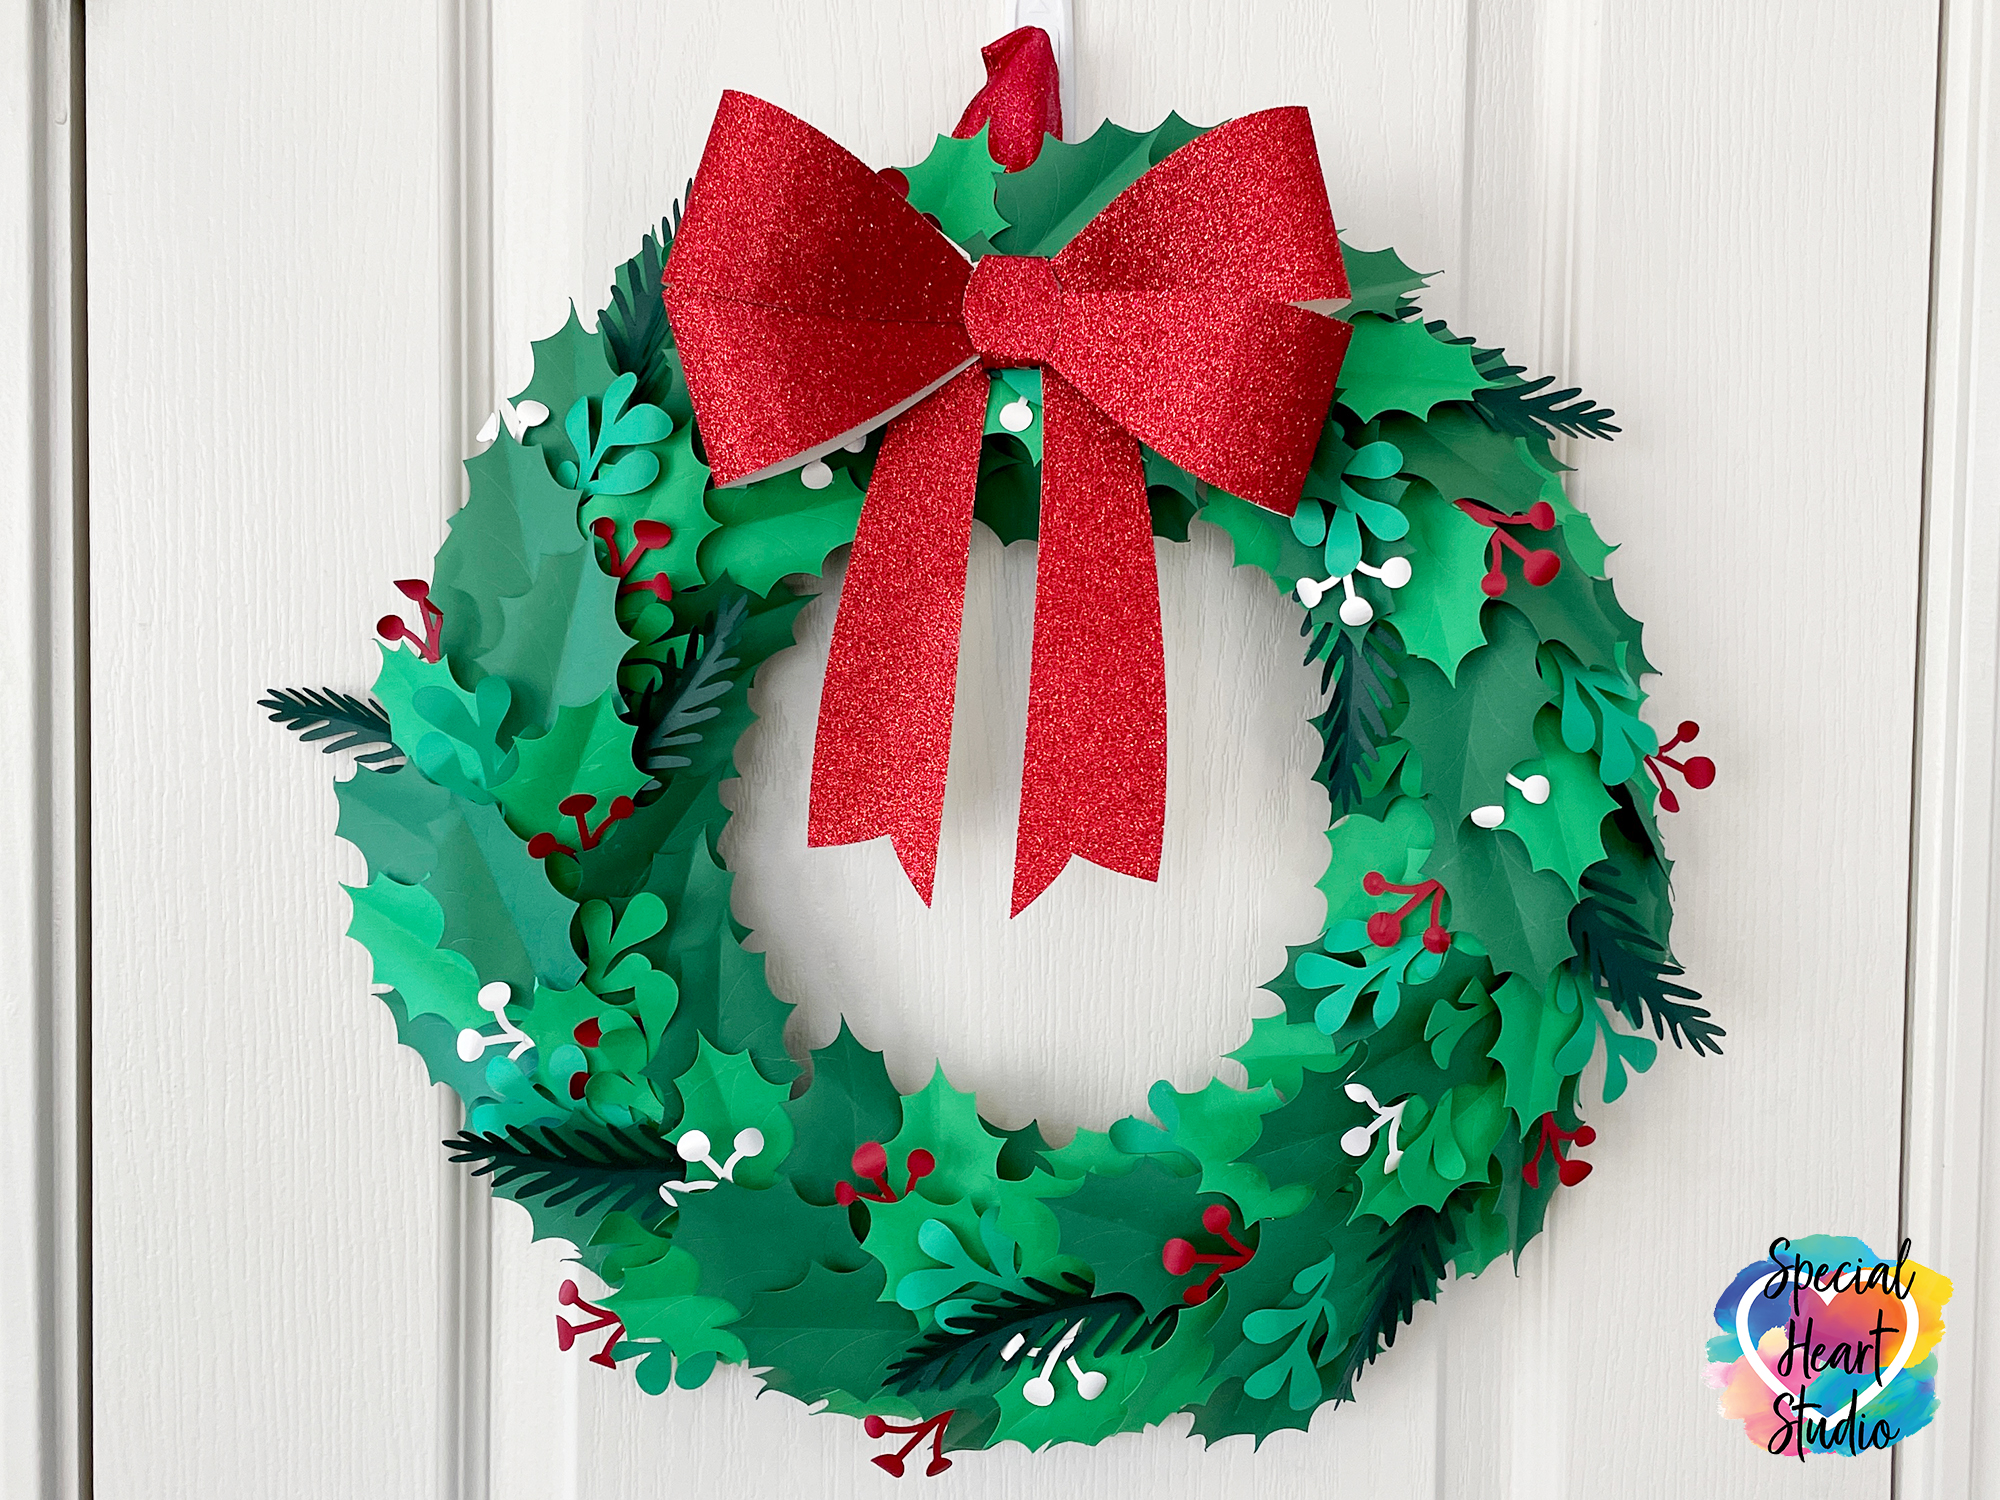
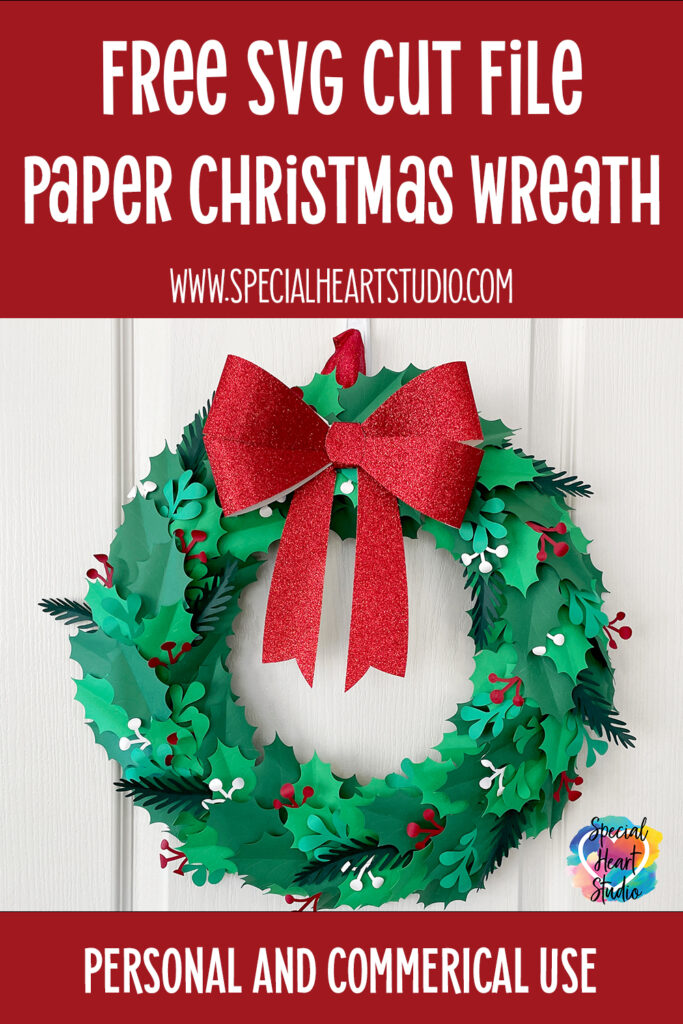
Today, I’m sharing my newest design that will help you decorate too. Read on below how to make this fun Christmas wreath from paper.
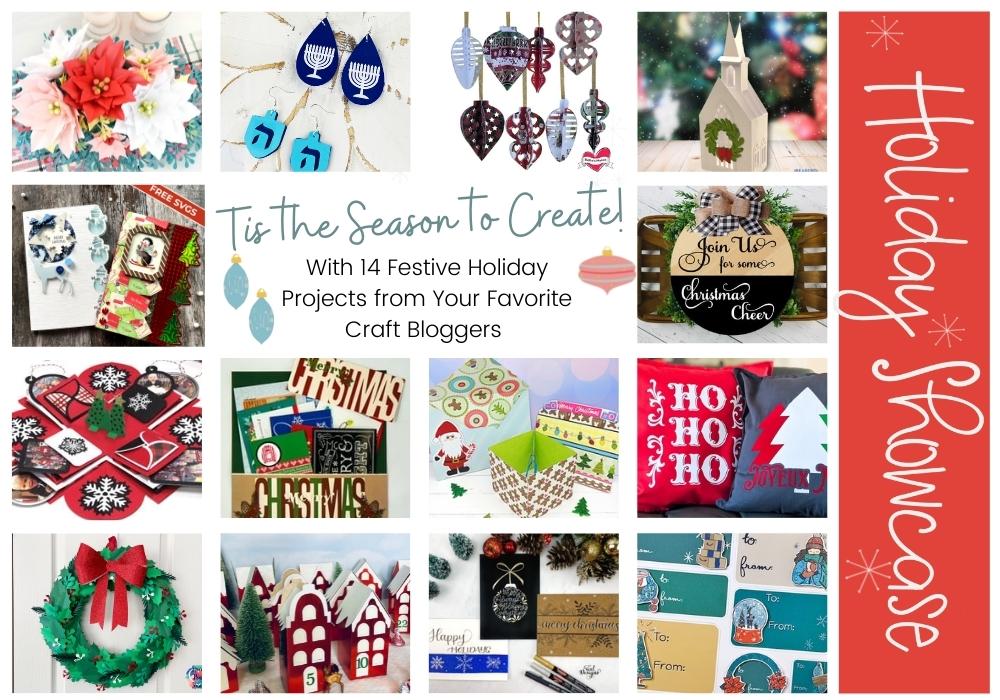
In addition to my paper Christmas Wreath, I’ve teamed up with a wonderful group of friends and bloggers to bring you our Holiday Showcase. Click HERE to learn more about this exciting event.
- 65lb. cardstock – red, white, and various shades of green
- Glitter Cardstock – red
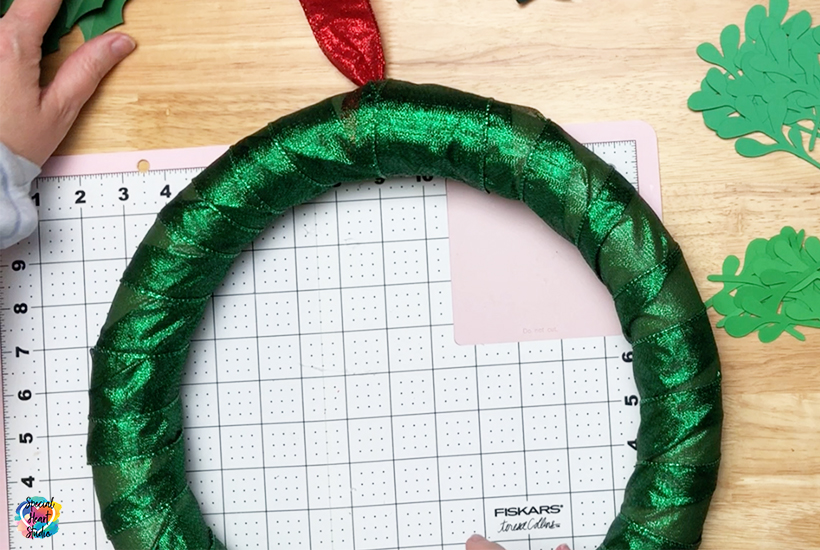
- 14″ Foam Wreath Form
- Ribbon
- Clips – these are inexpensive and super handy for lots of crafts
- Scoring Blade or Scoring Stylus
- LOW temp heat gun
- Brayer
- Light grip mat (blue)
- Cricut Maker – or your favorite cutting machine
- Design #148 – Paper Christmas Wreath SVG/DXF– The free cut file (available in my freebie vault—get the password at the bottom of this post).
Video Tutorial – Paper Christmas Wreath
Following the written instructions, you’ll find a link to my Freebie Vault where you’ll find the FREE cut file for the wreath. Don’t forget to check out the links for the Holiday Showcase too!
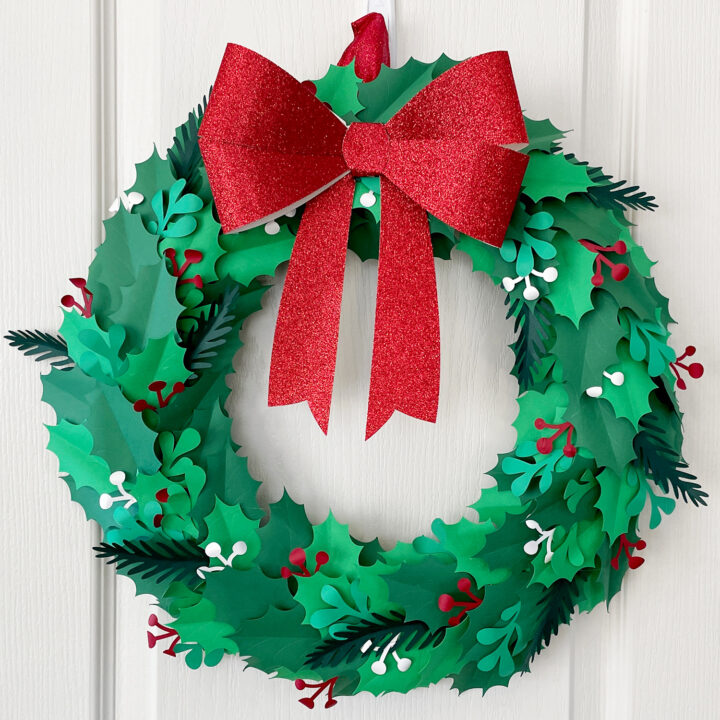
How To Make A Paper Christmas Wreath
Learn how to make a pretty Christmas Wreath with paper.
Materials
Tools
Instructions
Grab the FREE Paper Christmas Wreath zip file from my freebie vault. To join my email list and access all my free designs, see the sign-up form near the end of this post. Unzip and upload to Cricut Design Space.
Are you new to working with Cricut and need help with how to upload cut files? How To Upload SVG Files In Cricut Design Space post will provide step-by-step directions on uploading SVGs to Design Space.
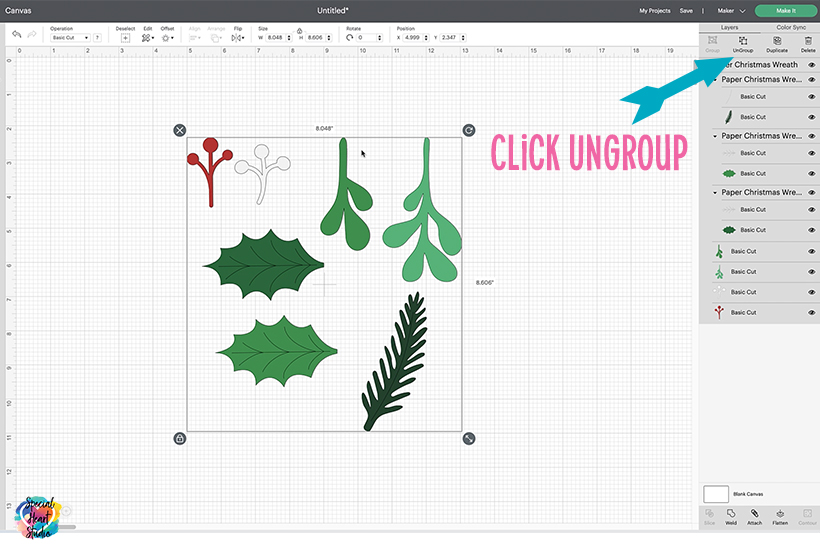
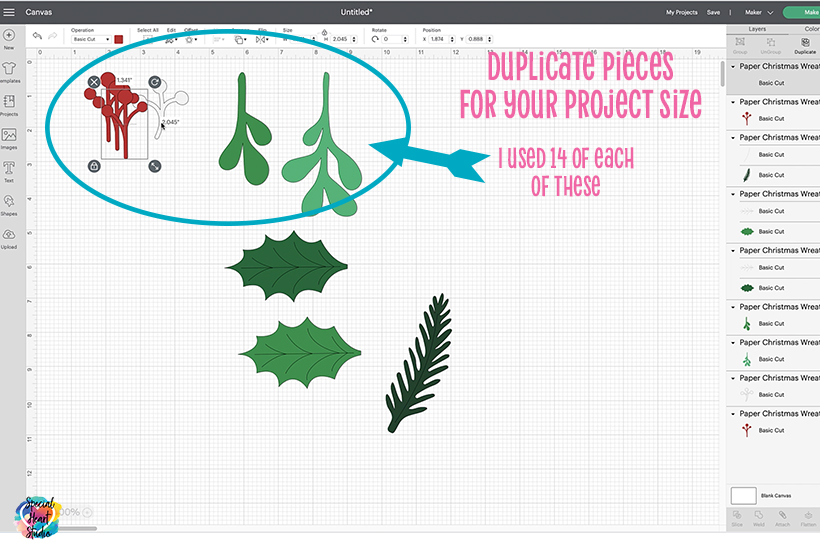
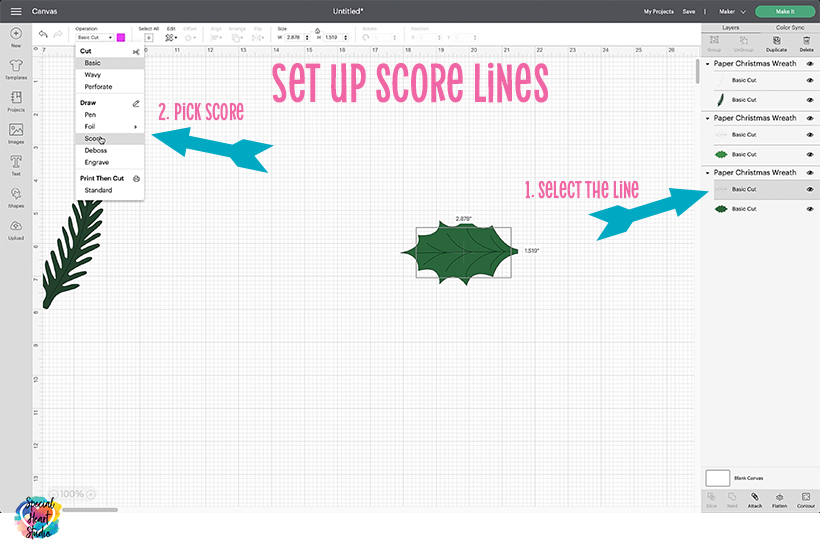
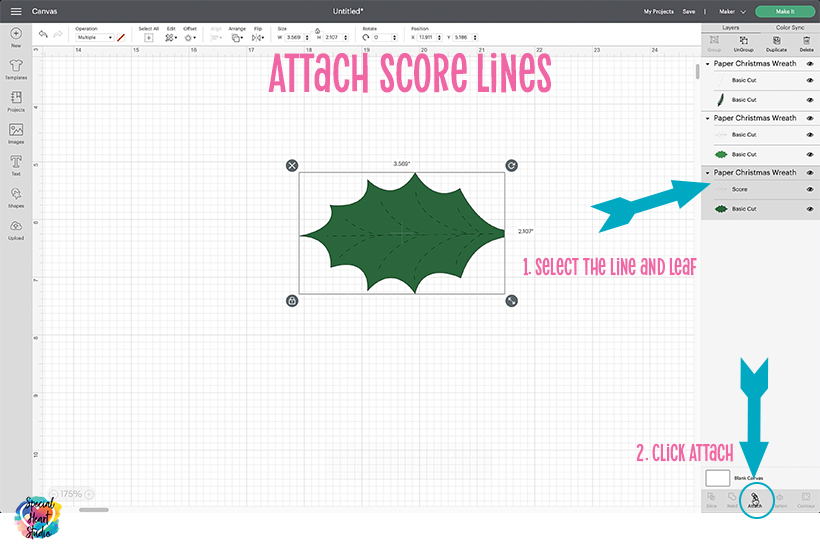
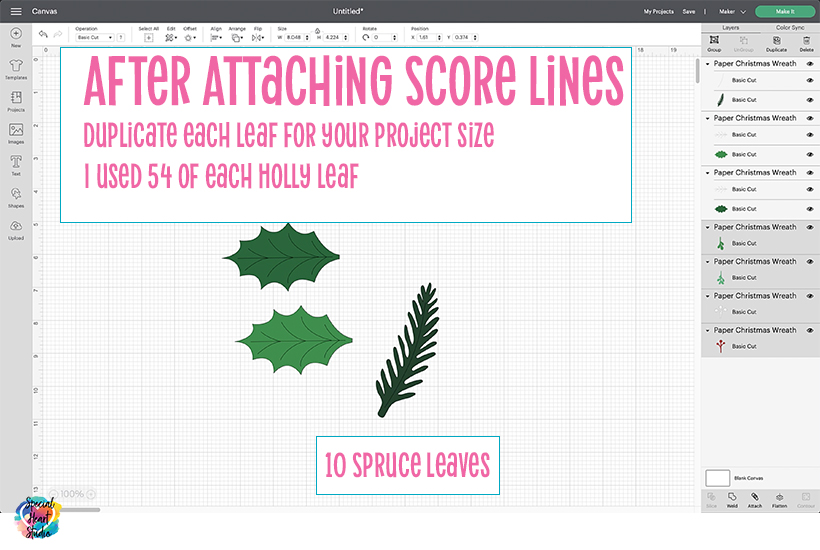
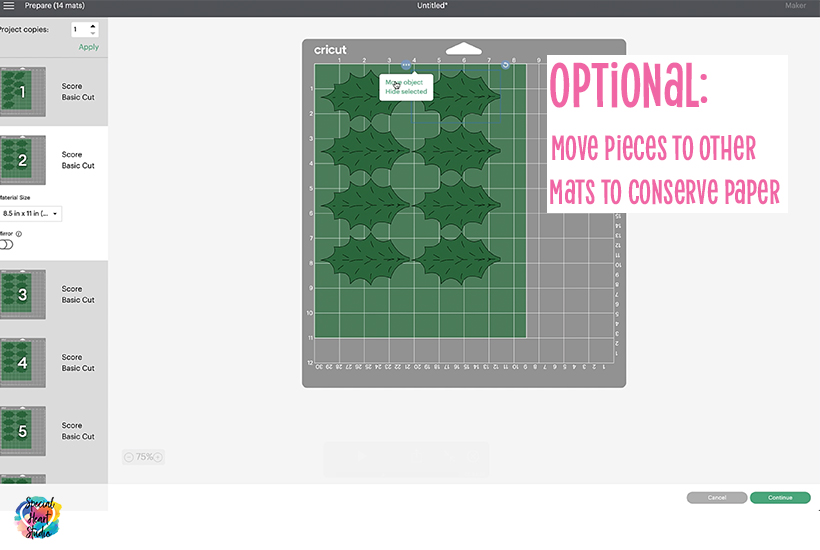
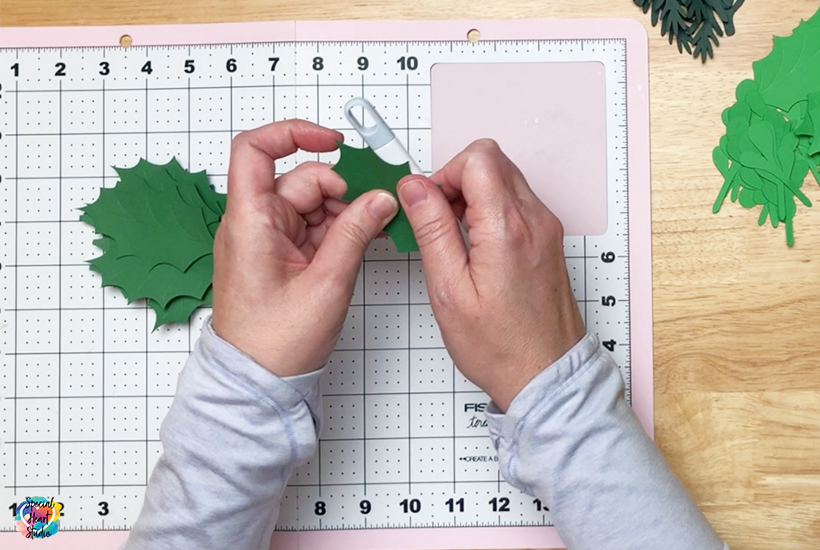
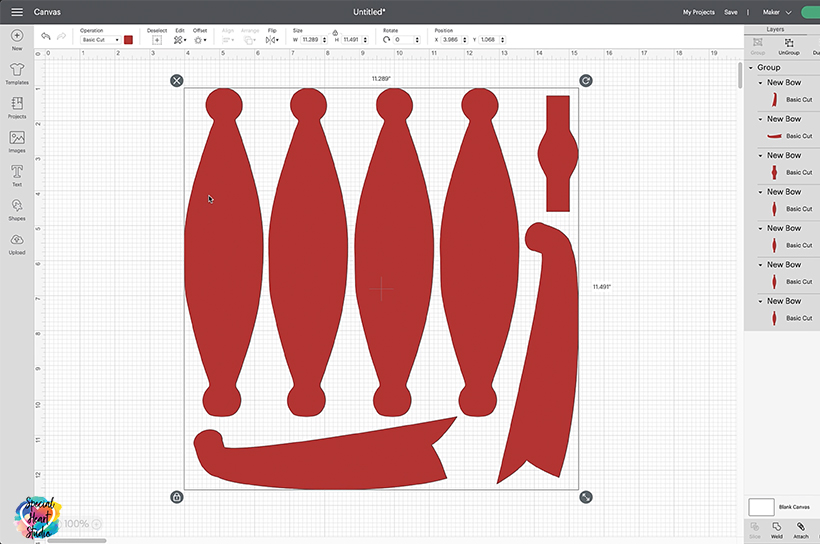
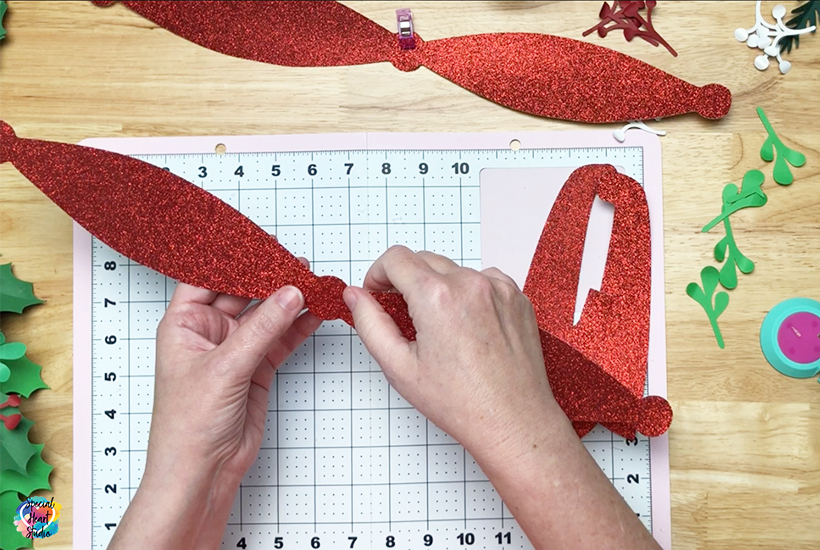
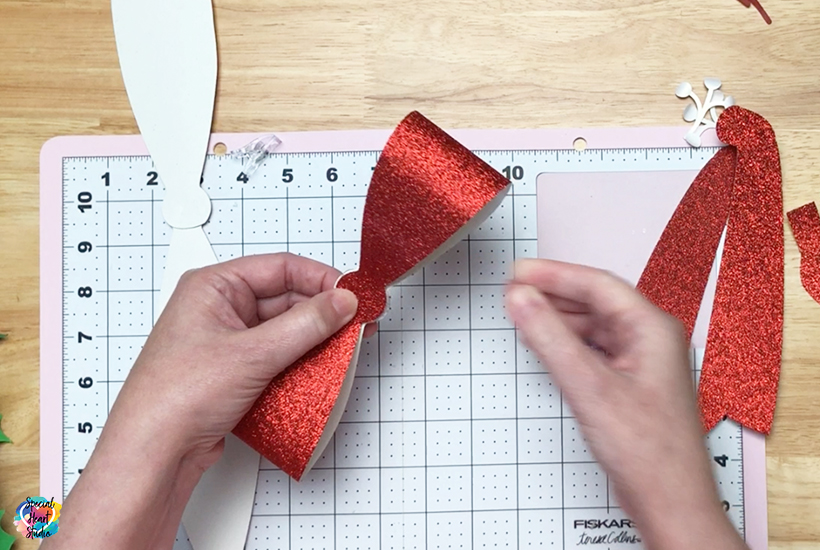
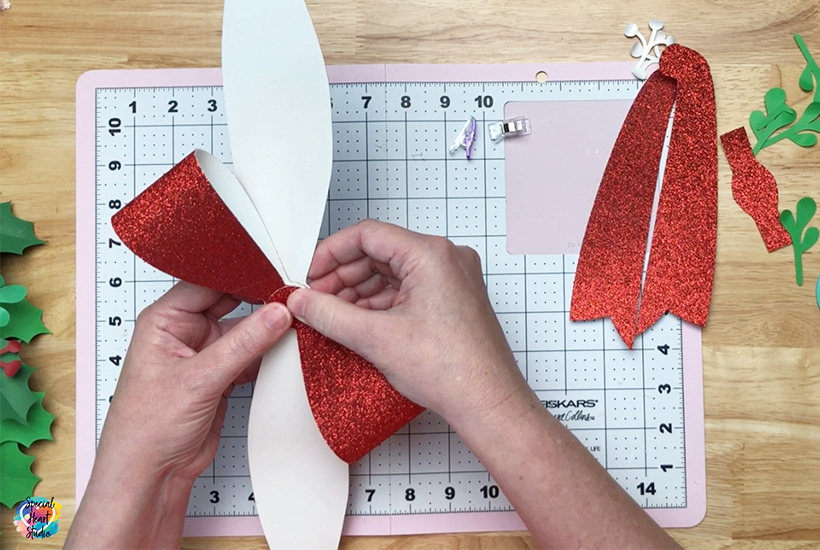
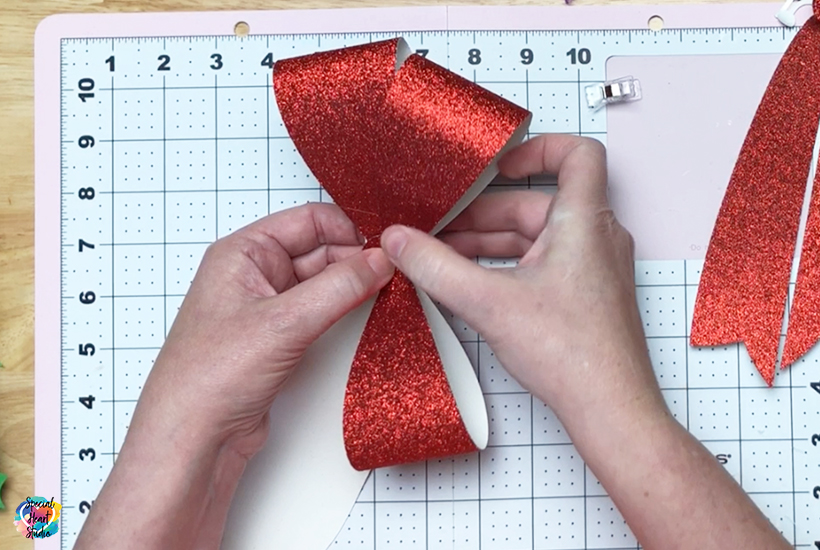
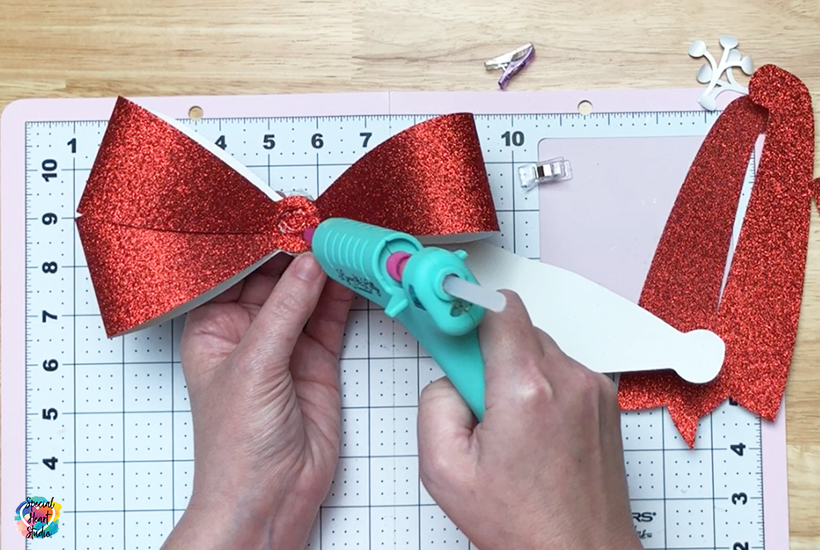
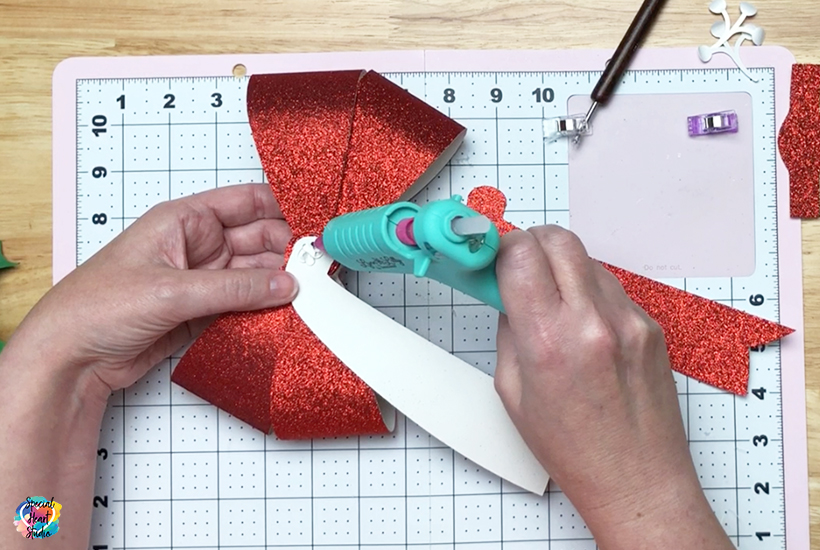
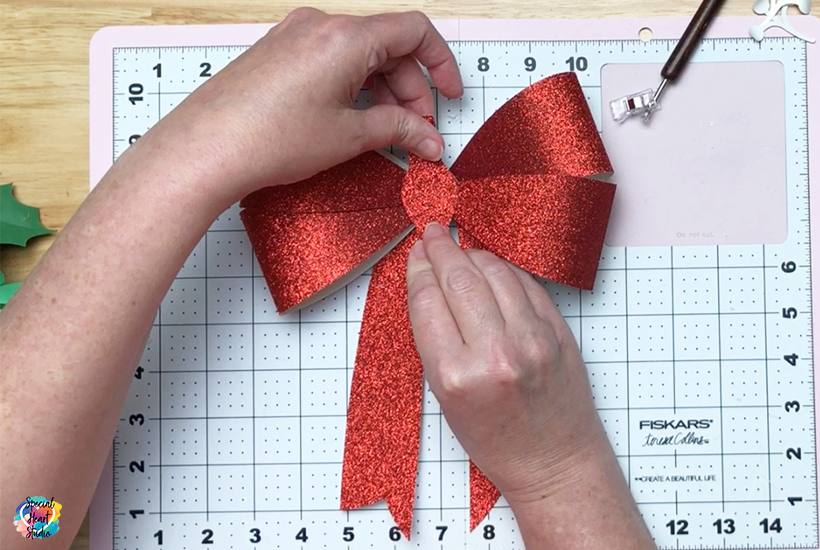
This was designed to be a bigger bow yet fit on 12"x12" or 8.5"x11" paper. Because of that, we'll need to cut the pieces and glue them together.
Upload the bow pieces. The image should come up as 11.289" x 11.491". This will cut the same size as the bow in my photos. If you're using 12"x12" paper, click attach and then Make It. I was able to cut the glitter paper on my Maker using the Glitter Cardstock setting.
Merry Christmas!
Notes
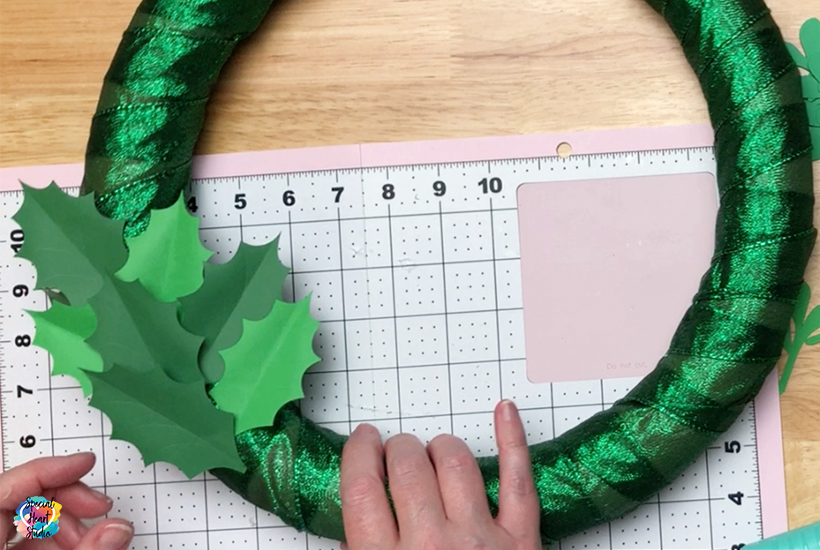
To make the wreath, I highly recommend using a low-temp glue gun. I used a high temp gun and ended up burning my fingertips a couple of times.
Download My FREE Paper Christmas Wreath Cut File By Subscribing Below To Get The Password To My Freebie Vault
DOWNLOAD the Paper Christmas Wreath – Design #148 by entering the password to my Freebie Vault. Click HERE to go to the freebie vault, my library of free downloads. To sign up for a password to my free designs, enter your name and email address below. ⬇️
Don’t leave yet! Check out these Holiday Showcase Projects


I love the visual of a paperclip “Attaching” the score line to the piece below! Thanks for the tip.
Of course! Glad it was helpful.❤️
Gives a real feel and should make every door sending out christmas vibes to everyone who´s seeing it!
As always a lovely project to do and both the written tutorial and the video is clear and easy to follow.
Thank you for sharing this!
You’re welcome. So happy you enjoy it.
Love it! Thank you for sharing your beautiful work as always. God bless!
Thank you for sharing! Where can I get the bow svg? TIA
Hello. The bow for the wreath is included in the download.