FREE LAYERED BOO HALLOWEEN CUT FILE
This post may contain affiliate links. Please see my Privacy Policy for full details.
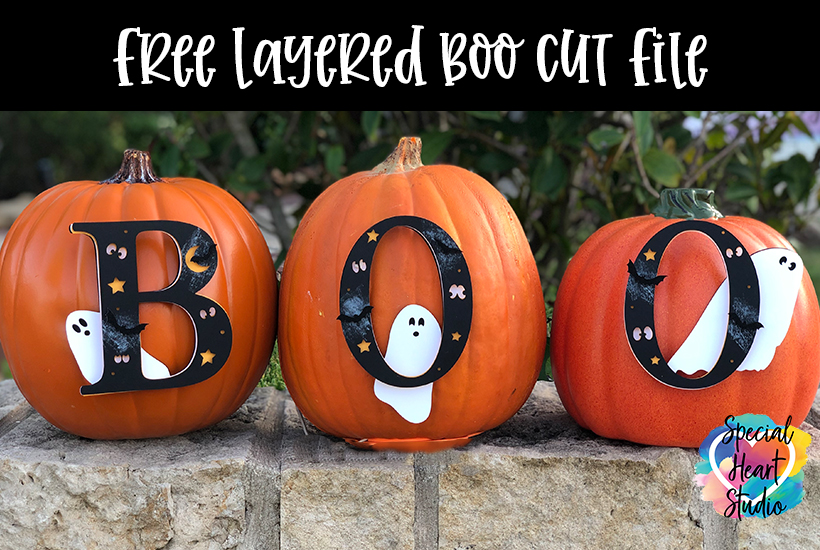
My kids always loved the house decorated for Halloween. This design will make cute design and possibly be a project they could help with too!
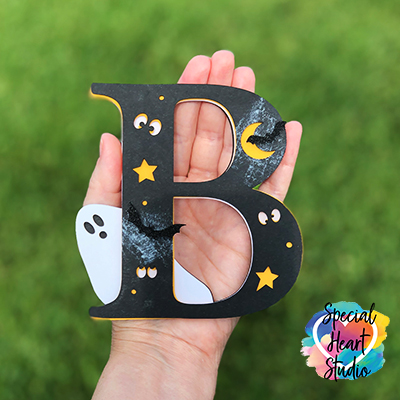
I purposely kept these letters simple so they’re perfect for beginners looking to try layered card stock projects or kids.
LAYERED BOO – A HALLOWEEN SVG CUT FILE
I don’t mind if you use these designs for personal or small business commercial use up to 200 items, but please do not re-sell or re-distribute the files. I’d ask that you direct your crafty friends here to download the files themselves. Also, I don’t allow my designs to be used in print-on-demand shops or on transfers that will be sold. Click HERE for complete Terms of Service.
MATERIALS TO MAKE LAYERED BOO PROJECT
- 65 lb Cardstock – I used Recollections Brand Cardstock.
- Color Box Pigment Ink – Gray
- Foam tabs – These foam tabs from Tombow are my absolute favorite. They’re thick enough to provide a good dimension to each project. The description is a bit deceiving as it states 50 tabs. In fact, there are 464 in the package, 50 large and 414 small sizes.
- Light grip mat (blue light grip)
- Cricut Maker – or your favorite cutting machine.
- Design # 88 – Layered Boo SVG – Free SVG/DXF/EPN/PNG cut files (available in my Freebie Vault—get the password at the bottom of this post).
Once you’ve decided on the size for your project, you’re ready to cut. I’ve found using the Light Cardstock setting on my Maker with the light blue mat works perfectly for 65lb. paper.
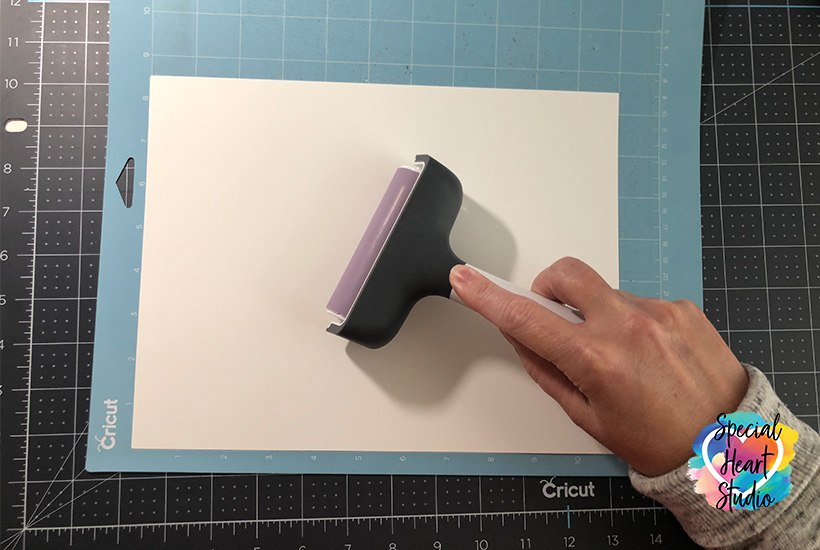
Using a brayer to adhere the cardstock to your cutting mat helps to keep it firmly in place and reduce paper tearing.
Once the design is cut, it’s best to turn the mat upside down and gently peel the mat away from the paper while keeping paper as flat to the surface as possible.
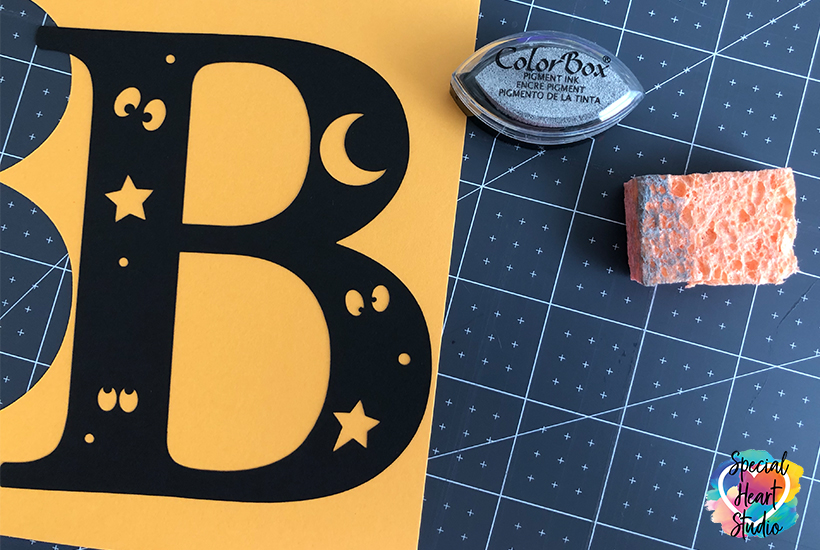
I had a pack of ColorBox inks at home and dabbed just a tiny bit of gray with a piece of household sponge to make the cloud haze that will be under the bats.
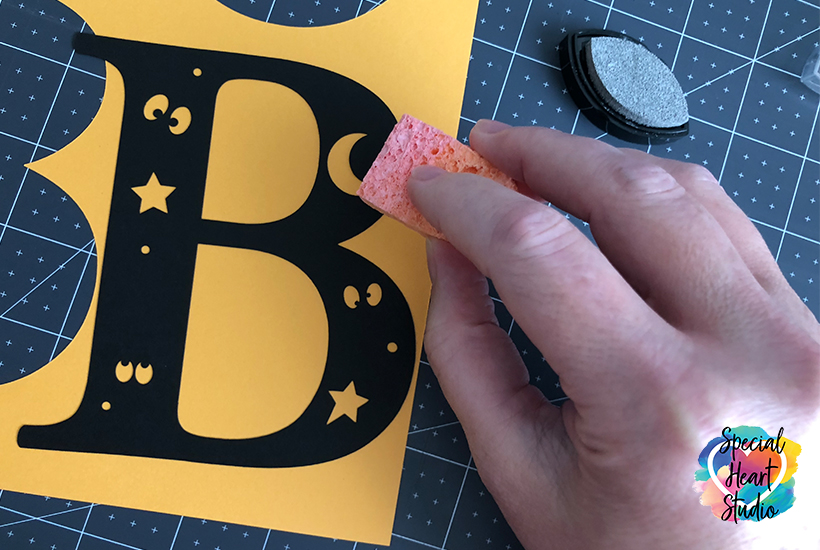
The ink will not take long to dry. You can set the top layer to the side and start working from bottom up to attach the layers using foam tabs.
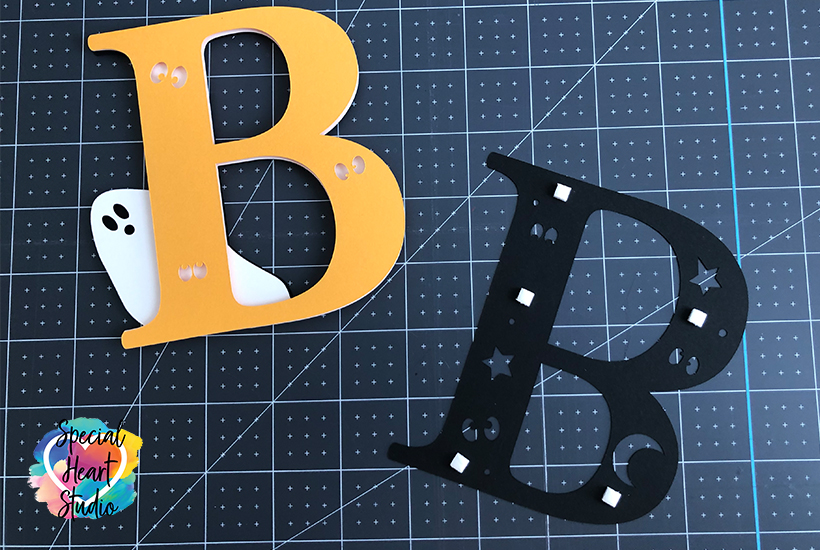
Just a few tabs, spaced evenly around the letters will be enough for this project.
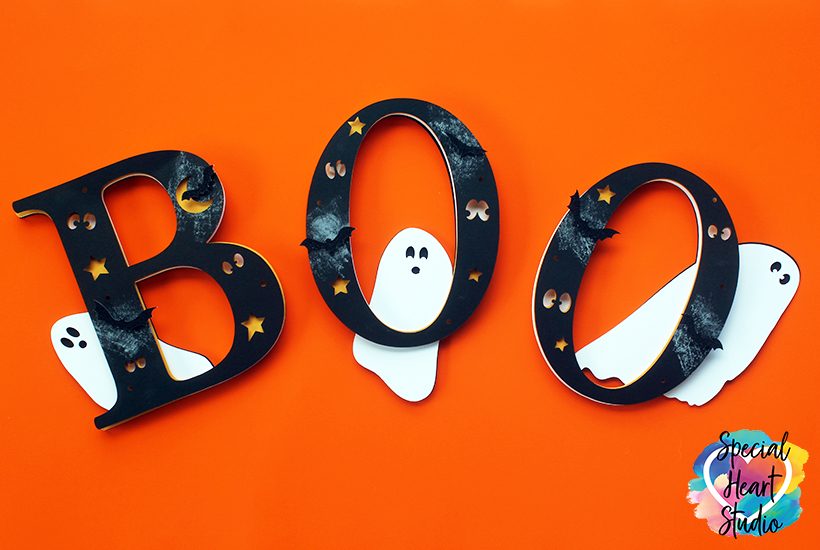
Repeat for all three letters and you’re done! A quick and easy Halloween decoration.
PLEASE SHARE PRIOR TO DOWNLOADING
Please share! If you enjoy this project/design, please share it on your social media platform or your favorite Pinterest board. I greatly appreciate it!! That helps my blog continue to grow and enables me to continue to provide free designs. 💕 Thank you!
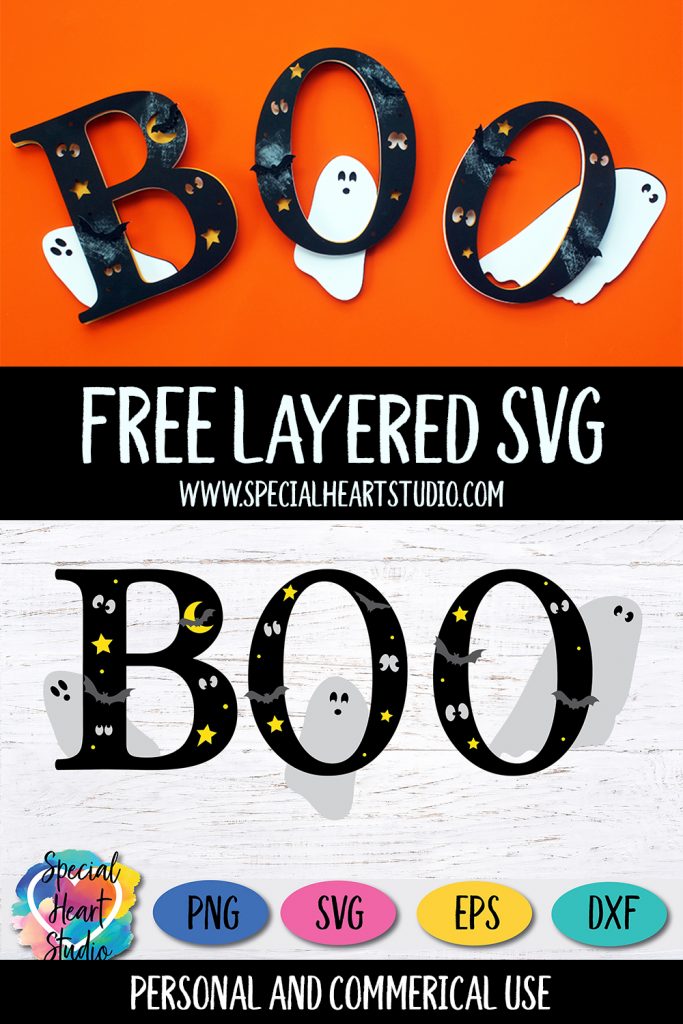
DOWNLOAD MY LAYERED BOO DESIGN BY SUBSCRIBING (FREE) BELOW TO GET THE PASSWORD TO MY FREEBIE VAULT
New to Design Space and looking for help with how to upload? Click HERE to find directions to get started.


Thank you, this is adorable
Gjoa – thanks so much for your talents and generosity in sharing your designs! Love the “Boo” … I just download it and look forward to using it for Halloween. I just wanted to let you know that I spotted a typo in your posting … right where you’re talking about dabbing the gray paint on a “pice” of sponge. Just wanted to bring it to your attention 🙂 Have a nice weekend!
Thank you so much! I’ve fixed the error. I appreciate you letting me know.
Gjoa
Gjoa, Thank you so very much for sharing. I shared on Pinterest and noticed the amount of shares is still 0, I am wondering if this may happen often? I love all your SVG’s 😊
There is a bit of delay in the data back and forth between my website and Pinterest. I believe it depends on the amount of traffic on both sites, but it’s not instant. Usually, the Pinterest numbers look a bit more accurate after 24-48 hours. I truly appreciate you asking, as it’s important to my site growth to have the posts pinned. Thank you!!
Thank you much appreciated
You’re welcome.
Thank you so very , these are so cute.
You’re welcome. 😃
Awesome, thank you!
Just downloaded it, thanks! Super cute. Will be making it tonight. Have a nice weekend.
Thank you so much. This is so fun. Love all things October!!!
You’re welcome.
This is super sweet. Love it so much. Thank you so much for the file and your incredible talent
Thank you so much for sharing your lovely cutting files , I can’t wait to try a couple 🙂
Enjoy!
Thank you for your talent and generosity. 🙂