How To Make A Reverse Canvas With A Faux Stained Frame
This post may contain affiliate links. Please see my Privacy Policy for full details.

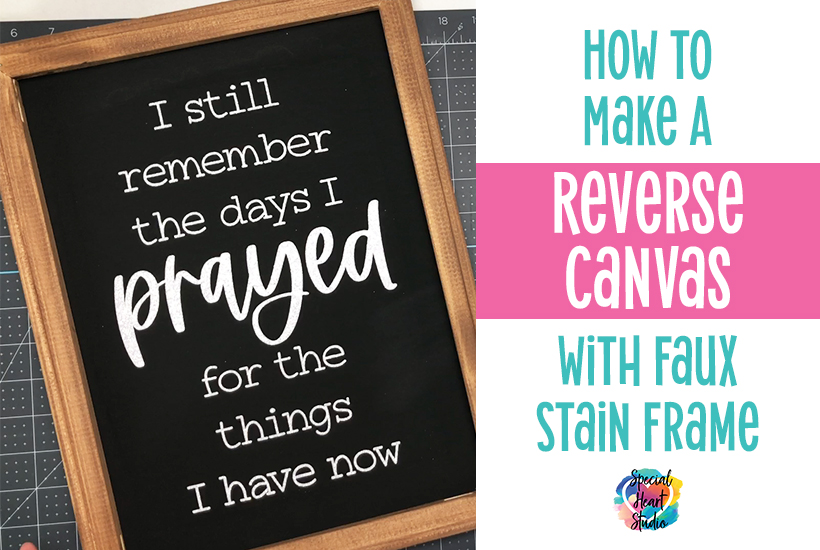
Today I’m going to review how I created this pretty sign using an art canvas and “stained” the frame using acrylic paint. Using wood stains can get stinky and messy, especially in cold climates when we can’t be outside.
A reverse canvas is made by taking a regular art canvas and removing the canvas from the wood frame, then placing it back on on the backside of the frame.
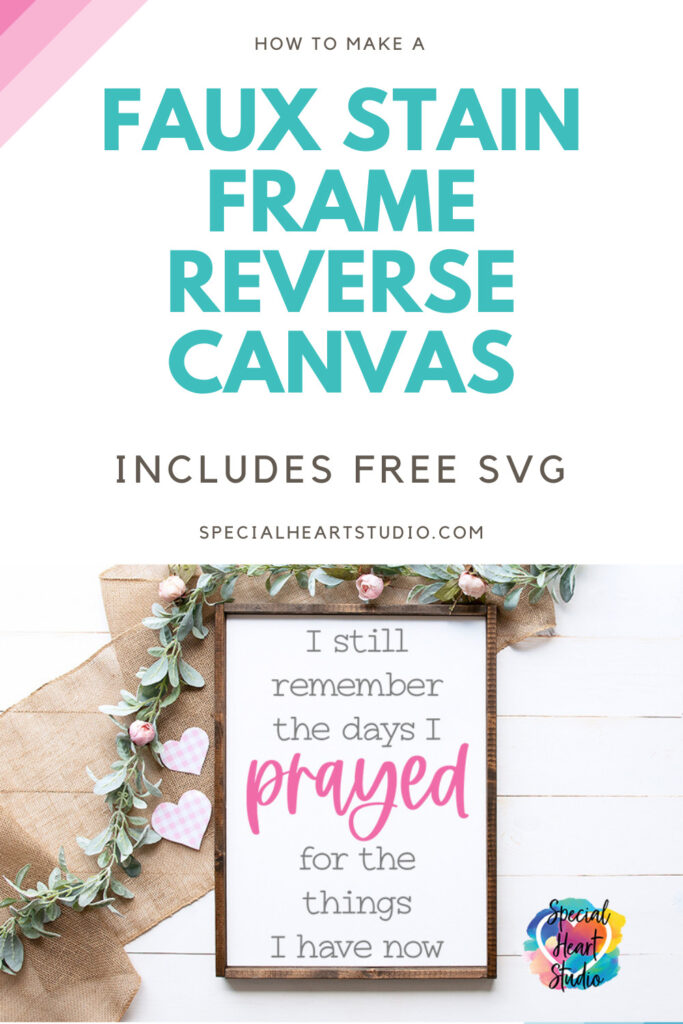
You can achieve the look of a pretty wood stain without going to the expense of using a real stain. Read below and check out my video to learn how. In this post, I also include the saying on the sign above free for my email subscribers.

Learn How To Faux Stain A Frame
In this tutorial, I’m going to show you how to use acrylic paint to create a faux stain look on the wood frame of an art canvas. I’ll also show you how to finish the back of the canvas and mount it so there will be no wrinkles. It will have a clean look for those who like to gift or sell these types of projects.
This tutorial is not cutting machine specific and I focus on the reverse canvas, not working with a cutting machine or vinyl.
See exactly how I created this faux stained reverse canvas in my video tutorial or keep scrolling if you prefer written step by step instructions.
Materials Needed To Make A Faux Stained Reverse Canvas Sign
- Art Canvas – For my sign show in the photos above, I used a 12″x16″ Black Canvas.
- Heat Transfer Vinyl – Any HTV suitable for your project will work. I used white glitter.
- Baby Wipes
- Acrylic Paint – I used Espresso color Craft Smart acrylic paint.
- Various hand tools to work with the frame. I used a flat screwdriver, needlenose pliers, hammer, and heavy wood stapler.
- Chipboard Mounting Board (optional) to have a cleaner finished back. This link is the large board I picked up at my local HL store. You can find smaller pieces online.
- Spray Adhesive (optional) to be used when using chipboard
- Sawtooth Picture Hangers
- Cutting Mat
- Weeding Tools
- Cricut Easy Press or Heat Press
- Cricut Maker or your favorite electronic cutting machine.
- Design #116 – Still Remember Prayed– Free SVG/DXF/EPN/PNG cut files (available in my Freebie Vault—get the password at the bottom of this post).
Step 1 – Cut canvas off wood frame.

Start by removing the canvas from the wood frame using a craft knife. Cut the canvas between the edge and the staples.
Step 2 – (optional) Remove staples left from canvas

Step two is completely optional and personal preference. I like to remove the staples left in the frame after removing the canvas. I feel it gives a cleaner look and is easier to reattach the canvas smoothly.
Step 3 – Apply the Paint

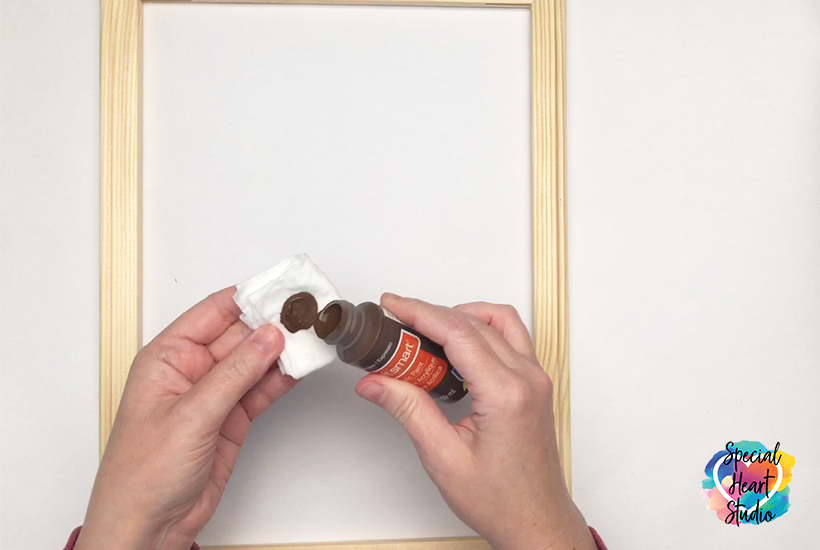
Once the canvas and staples have been removed, turn the frame to the front. Fold a baby wipe into a small square and dab a small amount of Acrylic Paint on the wipe.

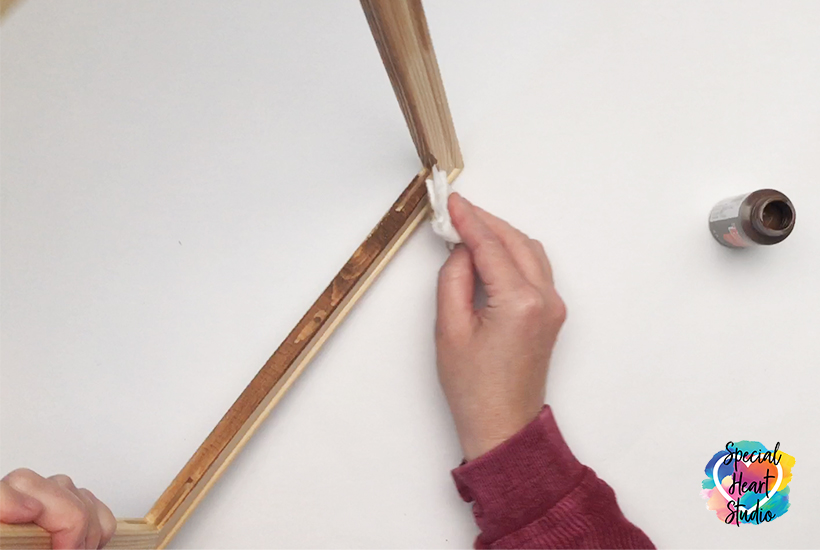
Gently “paint” the frame including all nooks and crannies using the baby wipe. A little bit of paint will go a very long way. Evenly spread paint on all parts of the frame. If the color isn’t as dark as you’d like, let the first coat dry, then apply a second coat. I was able to cover my entire frame with probably a pea-size drop of paint on my baby wipe and only one coat.
Step 4 – Let frame dry and prepare your design

Once the paint has been applied to the frame, it dries quickly. I set aside the frame to cut and weed my design.
Step 5 – (optional) Cut chipboard backing

I like to finish my reverse canvas signs with chipboard. In my opinion, it provides a cleaner looking back. It also helps keep the canvas flat and not wrinkle and warp when reattaching to the frame.
If you do not want to use chipboard, you can easily reattach the canvas to the frame using staples or glue.
Step 6 – Press your HTV on Canvas

Press the weeded HTV design onto the canvas following the manufacturers recommendation for temp/time. The temp/time will depend on the brand of HTV used and your heat source.
Step 7 – (Optional) Attach canvas to chipboard

If using the chipboard backing, the next step is to attach the canvas to the chipboard. I determine where the canvas should be placed and then use two pieces of painter’s tape to create a hinge on the sides. This allows me to “open” the canvas from the chipboard and apply spray adhesive on both the chipboard and the back of the canvas.
I took the canvas/chipboard outside to use the spray adhesive due to the size of the project, I didn’t have a box large enough to keep glue overspray contained.
Step 8 – Reattach canvas

One of the last steps in the process is reattaching the canvas to the faux stained frame. I use a heavy-duty stapler and evenly staple around the edges.
Step 9 – Attach sawtooth picture hanger

The last step in the process is to attach a sawtooth picture hanger. A member of my Facebook Group suggested signing and dating your project too! Alternatively, if you’re selling the sign, attaching a sticker or stamping the project with your business name would be an excellent idea!
I love the clean look of the chipboard backing and it works double duty to keep the canvas flat and secure.

PLEASE SHARE PRIOR TO DOWNLOADING
Please help us by sharing it before downloading the design. If you like these free designs, please take a moment to share on your favorite social media or pin it on Pinterest. That helps our site continue to grow so that we can continue to provide free content. Thank you! 💜

DOWNLOAD MY STILL REMEMBER PRAYED CUT FILE BY SUBSCRIBING (FREE) BELOW TO GET THE PASSWORD TO MY FREEBIE VAULT
DOWNLOAD the Still Remember Prayed – Design #116 by entering the password to my Freebie Vault. Click HERE to go to the freebie vault, my library of free downIoads. To sign up for a password to my free designs, enter your name and email address below. ⬇️
New to Design Space and looking for help with how to upload? Click HERE to find directions to get started.


You are absolutely amazing! I am so new at this art, and watching you videos give me the confidence to try this project.
Thank you!!
Yay! You can do it.
You have the best blog I’ve seen so far for tips, tricks and free files. Thanks so much for offering this to all crafters including myself!
Thank you! That means the world to me.