Free Layered Valentine’s SVG Cut Files
This post may contain affiliate links. Please see my Privacy Policy for full details.

Admission time. It is almost the end of the third week of January, and I just found time to take my Christmas decor down last evening.
Now that my Christmas decorations are put away, everything looks so bare. That’s where today’s new design comes in.
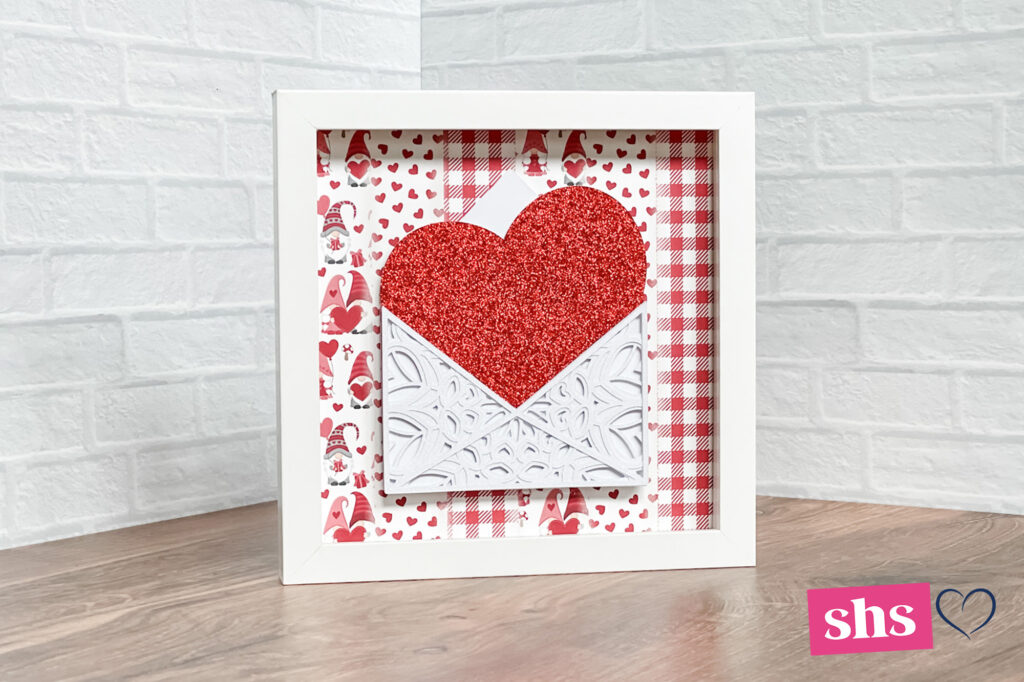
This week, I’ve designed another layered design and included the printable background too.
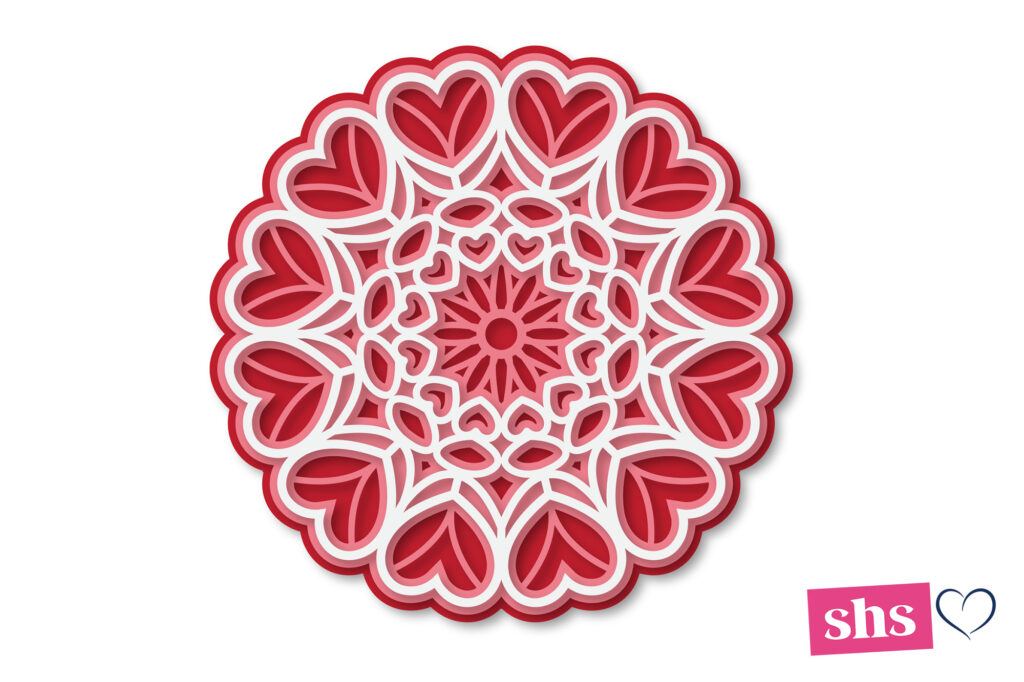
In the download folder, you’ll also find a bonus. I wanted to create the envelope portion of the design with a new mandala. Well, it didn’t work out exactly as I planned as a lot of the detail of the mandala was lost, so I’ve included the round mandala in the folder too.

How To Cut And Assemble The Layered Heart Mail SVG
Download design #157 from my Freebie Vault, unzip and upload the SVG file to Cricut Design Space. If you don’t yet have the password to my vault, you can request it by signing up for my email list at the bottom of this post.
New to Design Space and looking for help with how to upload? Click HERE to find directions to get started.
I set the Layered Heart Mail design to 5″ wide for my 8″x8″ shadow box frame.
To resize the design, I recommend keeping the design grouped so that all layers stay in the proper proportions.
Once you’ve set the size of your cut, you’re ready to click “Make It.” I used a mixture of glitter cardstock and 65lb. Cardstock.

After selecting your material, it’s time to prepare your mat. I always use a brayer to ensure the paper (or vinyl) firmly adheres to the mat. Using a brayer greatly reduces tearing.

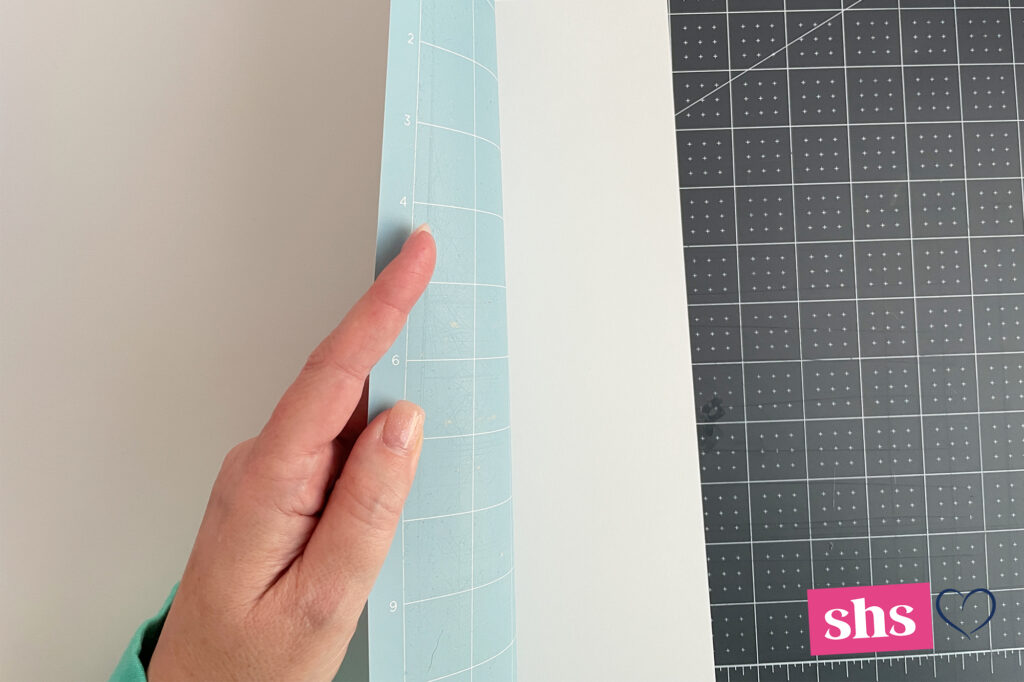
After the layer has been cut, remove the paper from the mat by turning it upside down on your work surface. Gently bend the mat away from the paper while keeping it flat on the table.
Repeat the steps until all layers have been cut.

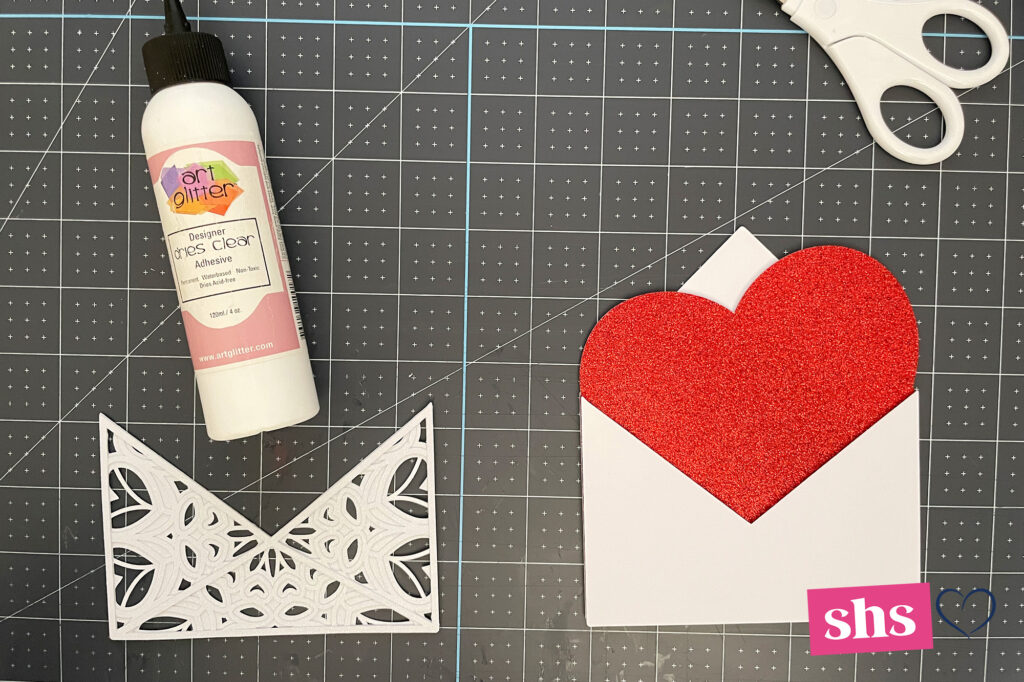
Now we’re ready to assemble the layers. I started by marking lightly with a pencil where the back layer meets the heart layer. This way, I’m able to see where I could place foam tabs.

Foam tape along the back of the heart (second from bottom) layer. Align the bottom of the design and attach the two pieces. I then attached the solid piece of the front envelope using foam tape too.

Once the bottom three layers were attached with foam tape, I then attached the top three layers using glue.

The last step in assembling the Mail Heart was to add foam tape to the glued section and attach it to the bottom three layers.
As mentioned above, I created a printable background and have included it in the download of this project. The background has been saved in 8.5″ x 11″ size and 12′ x 12″ size.

Because of the print and cut size limitation in Cricut Design Space, I just printed the image on an 8.5″x11″ piece of cardstock. I then used my paper trimmer to slice the print into an 8″ square.

I used foam tape to attach the piece to the background. ❤️
Please Share Prior To Downloading
Please share! If you enjoy this project/design, please share it on your social media platform or your favorite Pinterest board. I greatly appreciate it!! That helps my blog continue to grow and enables me to continue to provide free designs. 💕 Thank you!

Download My FREE Layered Heart Mail Designs By Subscribing Below To Get The Password To My Freebie Vault
DOWNLOAD the Layered Heart Mail and Mandala SVG – Design #157 by entering the password to my Freebie Vault. Click HERE to go to the freebie vault, my library of free downloads. To sign up for a password to my free designs, enter your name and email address below. ⬇️


Love your stuff
Thanks!
Can I please be added to your email list. Thank you
You may request the Freebie Vault password and receive it instantly on this page of my site:
https://specialheartstudio.com/get-a-password/
Gjoa
Thank you. I love your posts
Thank you. I love your posts and beautiful work.
Thank you! A nice surprise to have a bonus file as well! Happy Valentine’s Day!