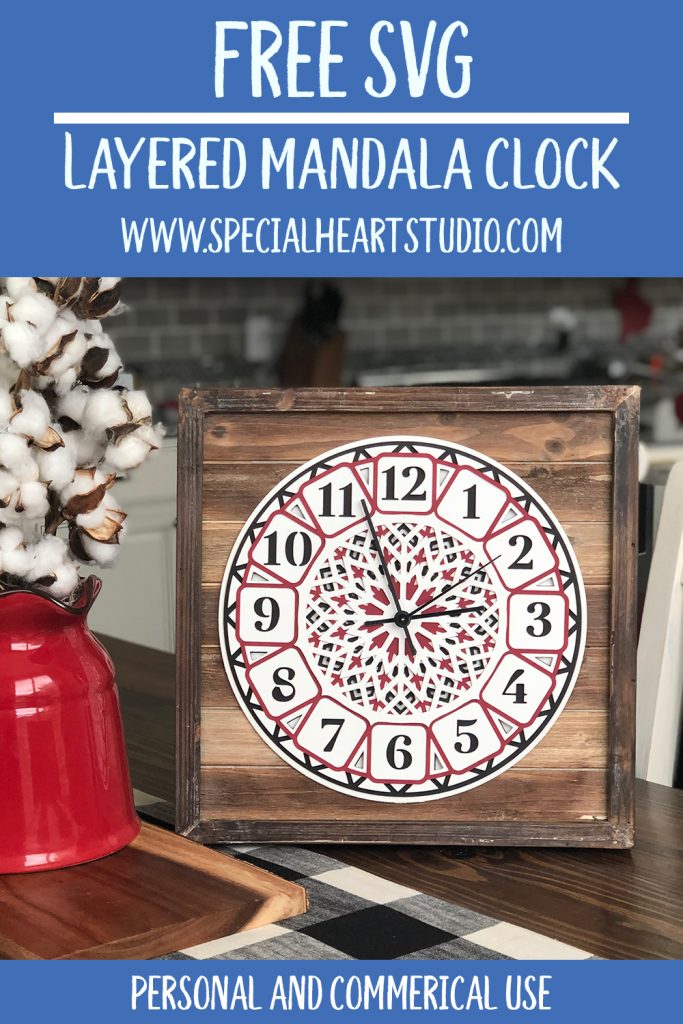
LAYERED MANDALA CLOCK FREE SVG CUT FILE
This post may contain affiliate links. Please see my Privacy Policy for full details.
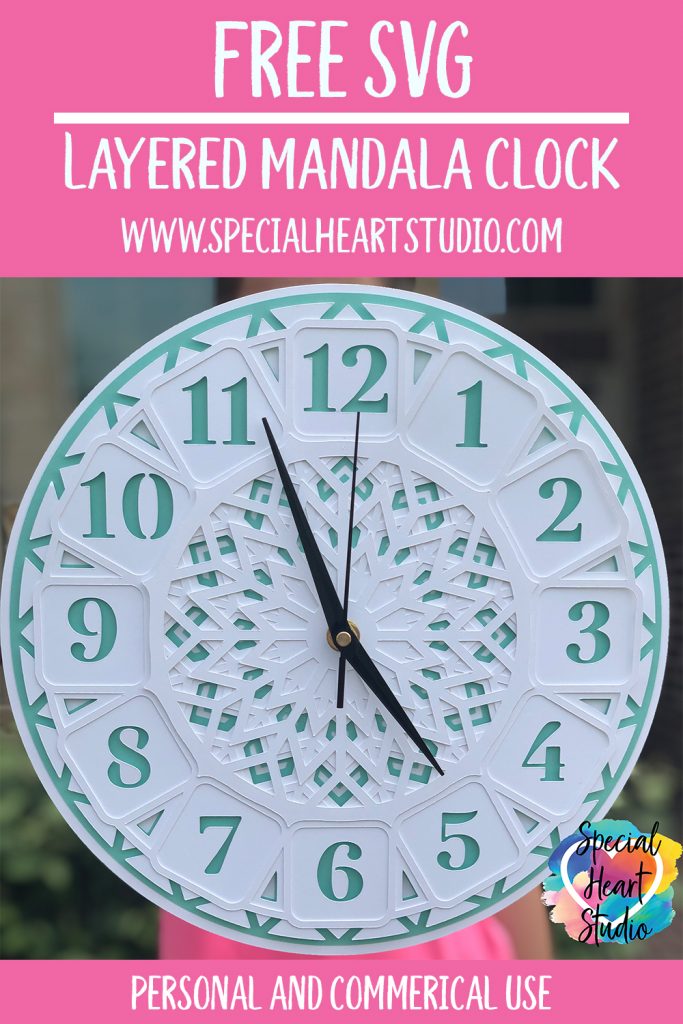
FREE LAYERED MANDALA CLOCK SVG CUT FILE
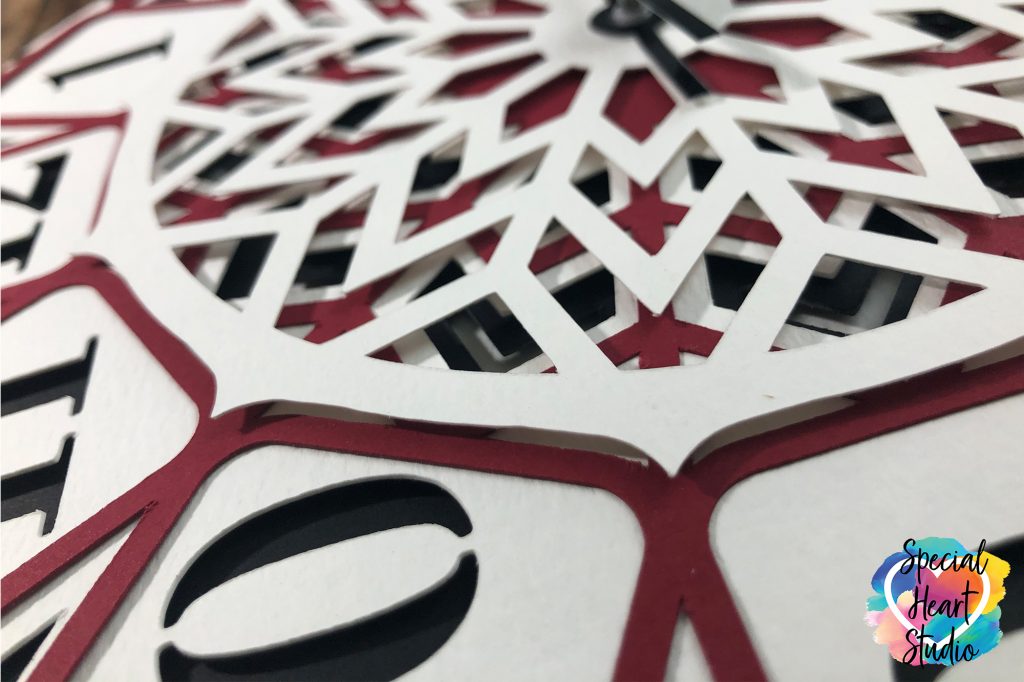
Layered mandalas have been all the rage. I’ve had such a great time learning to design them so that they will work with paper on cutting machines. After completing the numbers and letters, I set my sights on creating a clock. This design has taken many hours to perfect and get the layers thin enough that you can see the different layers, yet thick enough to be able to cut on cardstock. Keep reading to find the materials and directions on how to assemble.

MATERIALS NEEDED FOR LAYERED MANDALA CLOCK
This list is broken down to show what I used for each clock.
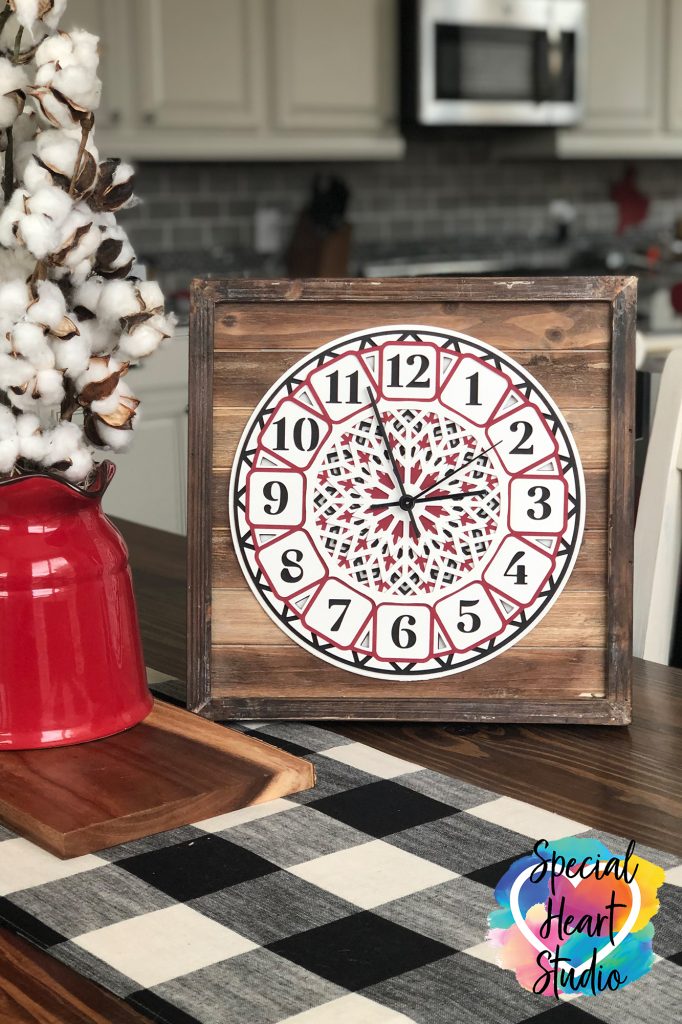
CREAM CLOCK ON WOOD BACKGROUND
- 80 lb Cardstock – The red and black layers are 80-pound cardstock.
- Watercolor paper – I purchased a 12×12″ pad of 140lb. watercolor paper in the art/painting section of Hobby Lobby. There is a heavy watercolor setting in Cricut’s custom settings that worked perfectly for this paper.
- Clock Motor and hands – for this clock, I purchased the motor and hands (separately) at Hobby Lobby. Be sure to check the length of the clock shaft is long enough for your project.
- Wood Frame – Hobby Lobby. This was found in their wood section. It’s a 13.78 inch stained wood sign. Item#1746337. I drilled the hole in the center for the clock shaft.
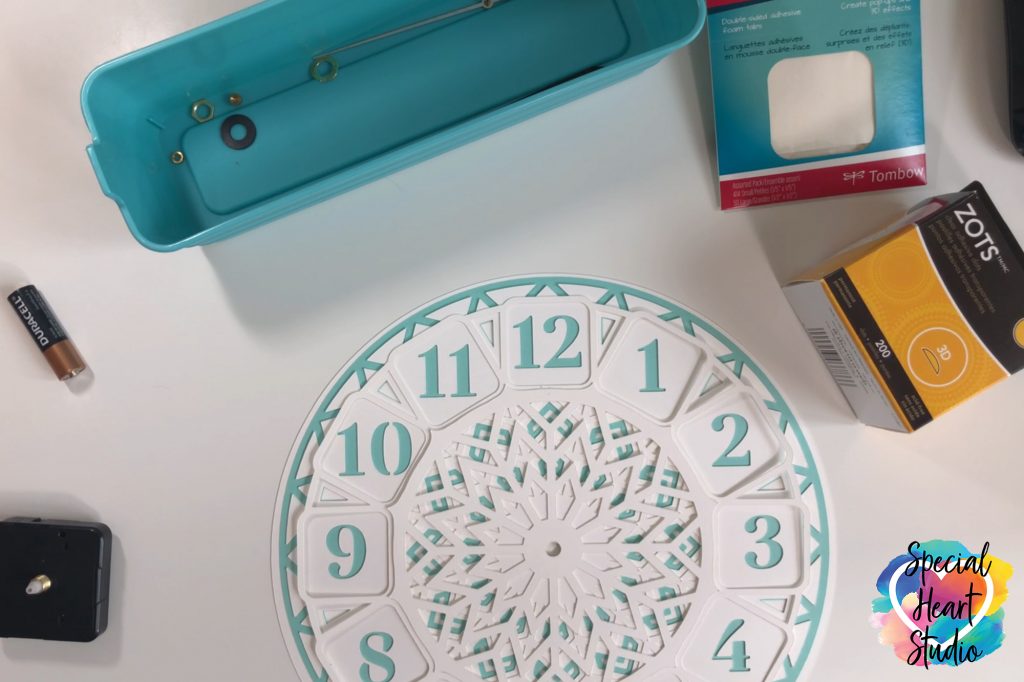
- Foam tabs – These foam tabs from Tombow are my absolute favorite. They’re thick enough to provide a good dimension to each project. The description is a bit deceiving as it states 50 tabs. In fact, there are 464 in the package, 50 large and 414 small sizes.
- Glue or tape runner
- Light grip mat (blue light grip) for the cardstock
- Strong Grip mat (purple) for the watercolor paper
- Cricut Maker – or your favorite cutting machine.
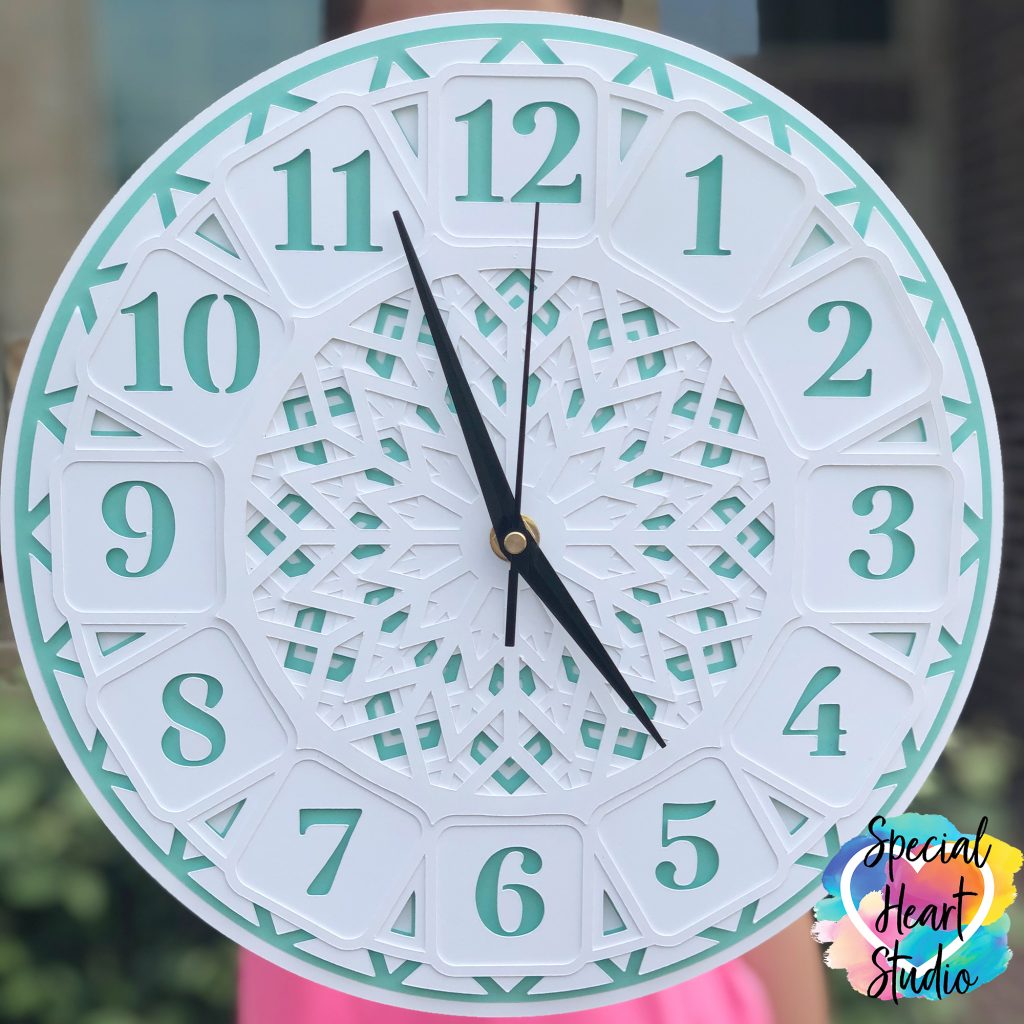
WHITE CLOCK WITH MINT GREEN NUMBERS
- Kraft Board – I used Cricut’s Kraft board for white layers.
- 80 lb Cardstock – The mint green layer is 80-pound cardstock.
- Clock motor and hands – The motor and hands came all together. I found this motor nicer than the Hobby Lobby motor as it moves smoothly and operates silently.
- Zots – These were used between the mint layer and the white numbers.
- Glue or tape runner
- Light grip mat (blue light grip) for the cardstock
- Cricut Maker – or your favorite cutting machine.
HOW TO ASSEMBLE THE LAYERED MANDALA CLOCK
I recommend using at least 80lb. card stock for this project in order for the layers to remain firm. As you can see in the lists above, I used Kraft board and watercolor paper (140lb. weight) so that the clocks would be rigid. This will be especially important if you’re not placing the project in a frame or on a background such as the wood sign.
Cut each layer and weed. When removing mandala layers from the mat, I recommend flipping the cutting mat upside down with the paper on your work surface. Gently bend the mat away from the paper while holding the paper as flat as possible to the desk. Essentially you’re removing the mat from the paper.
Keep in mind you’ll need to determine how thick your project will be and make sure it will fit within the clock’s shaft length.

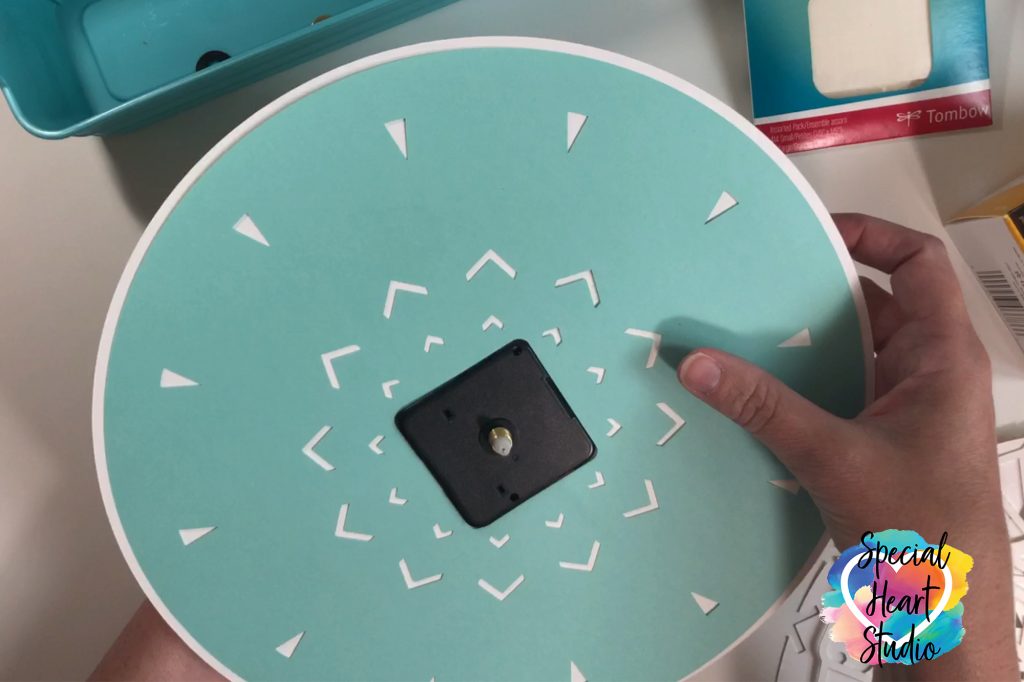
In the download folder (located below), I have included two SVG versions. The difference between the two files is one will have a small circle in the center. This version I used when mounting the clock motor on the back of the wood frame. The second version has a square that will support the clock motor with the back layers of the mandala. Both cut files have an 11inch diameter. You will be able to resize them, but note if you do so, you may need to alter the circle or square in the middle of the design to fit your clock hardware.
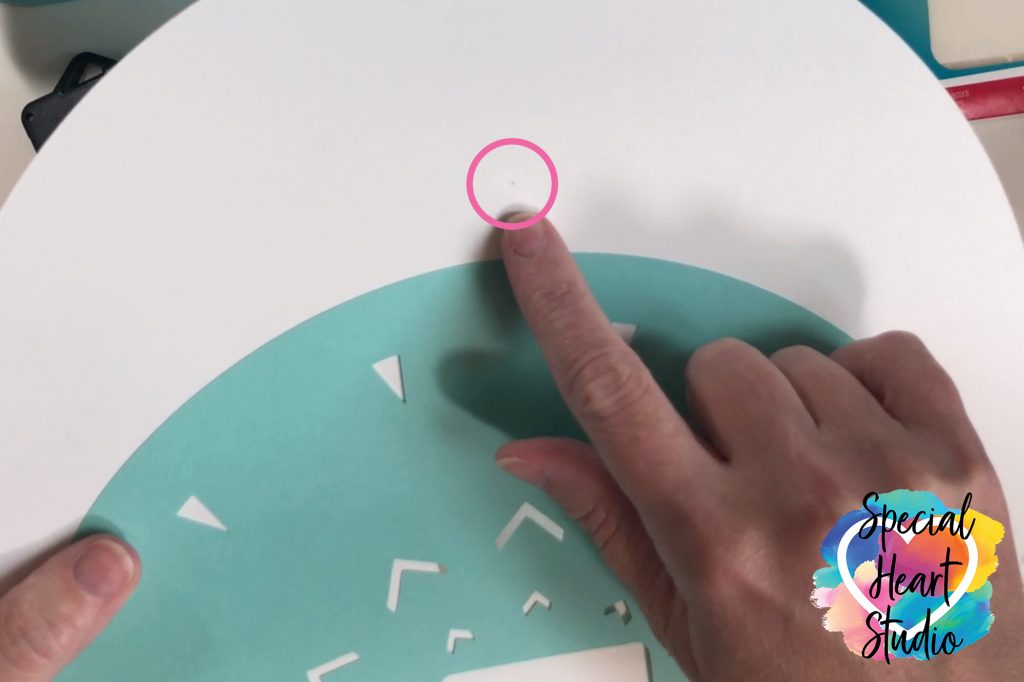
I have placed a tiny circle on each layer of the project. This is to help when layering the card stock. Use the small circle as a guide to line up each of the layers at the 12 o’clock position.
For step by step instructions on how I assembled the white and mint clock, please watch the video below.
ASSEMBLY VIDEO INSTRUCTIONS
PLEASE SHARE
Please share! If you enjoy this project/design, please share it on your social media platform or your favorite Pinterest board. I greatly appreciate it!! That helps my blog continue to grow and enables me to continue to provide free designs. 💕 Thank you!
DOWNLOAD THE LAYERED MANDALA CLOCK SVG HERE
New to Design Space and looking for help with how to upload? Click HERE to find directions to get started.
CHECK OUT SOME OF MY RECENT POSTS
- Using Midjourney for Crafts: A New Age of Digital Artistry
- Creative Fabrica’s CF Spark: Your New AI Buddy for Cool Craft Projects
- Cricut Craft Adventure Giveaway
- Cricut Adventure
- Cricut Craftfest Giveaway
WANT TO REMEMBER THIS LATER? PIN FREE LAYERED MANDALA SVG CUT FILE TO YOUR FAVORITE PINTEREST BOARD!
Geat video for the Clock. Love the Colours, my favourite. Have just made initails for my husband and I in the same colours and put on our apartment door.
Thank you
Have fun if you decide to make the clock too!
Your work is so great I love your creations. Thank you for the share.
Thank you for bringing these beauties into our life!
You’re welcome. ❤️
Thank you, the clock is beautiful. Can you tell me the diameter of the circle?
I saved the clock with the largest layer at 11″ diameter.
Gjoa
Which Svg do we download if we ordered the clock you suggested on amazon? Thanks for everything you do for all of us. I have made the alphabet mandala as a gift already. It was so easy to do the way you designed and put it out for cutting. I am very happy I found your website. Thanks again.
Hi Robbi,
The clock download will have both of the SVG files included. I used the format with the square cut out in the middle of the back two layers with the clock parts purchased from Amazon. I’d love to see your project once you’ve completed it.
I can’t wait to make this clock. Where did you get your cardstock from?
I LOVE this clock and that I can choose the color!!! I commented on your YouTube channel.
I just need the clock parts and large Zots!!! 🙂 TY sooo much this is incredible!! 🙂
As soon as I finish it will be posted on my Cricut Fun BlogSpot
https://cricutfuncreations.blogspot.com/
Have fun! I can’t wait to check out your blog. ❤️
I posted the clock on the Facebook page Cricut Explore Maker and More!
and on my blog. 🙂 <3
THANK YOU SO MUCH !!!
Thank you!
Thank you so very much
The clock svg is AWESOME! I made three last week. Thank you for sharing🤗
You’re welcome. It’s one of my favorite projects too.