BOX FRAME FOR SHADOW BOX AND FREE LAYERED MANDALA
This post may contain affiliate links. Please see my Privacy Policy for full details.
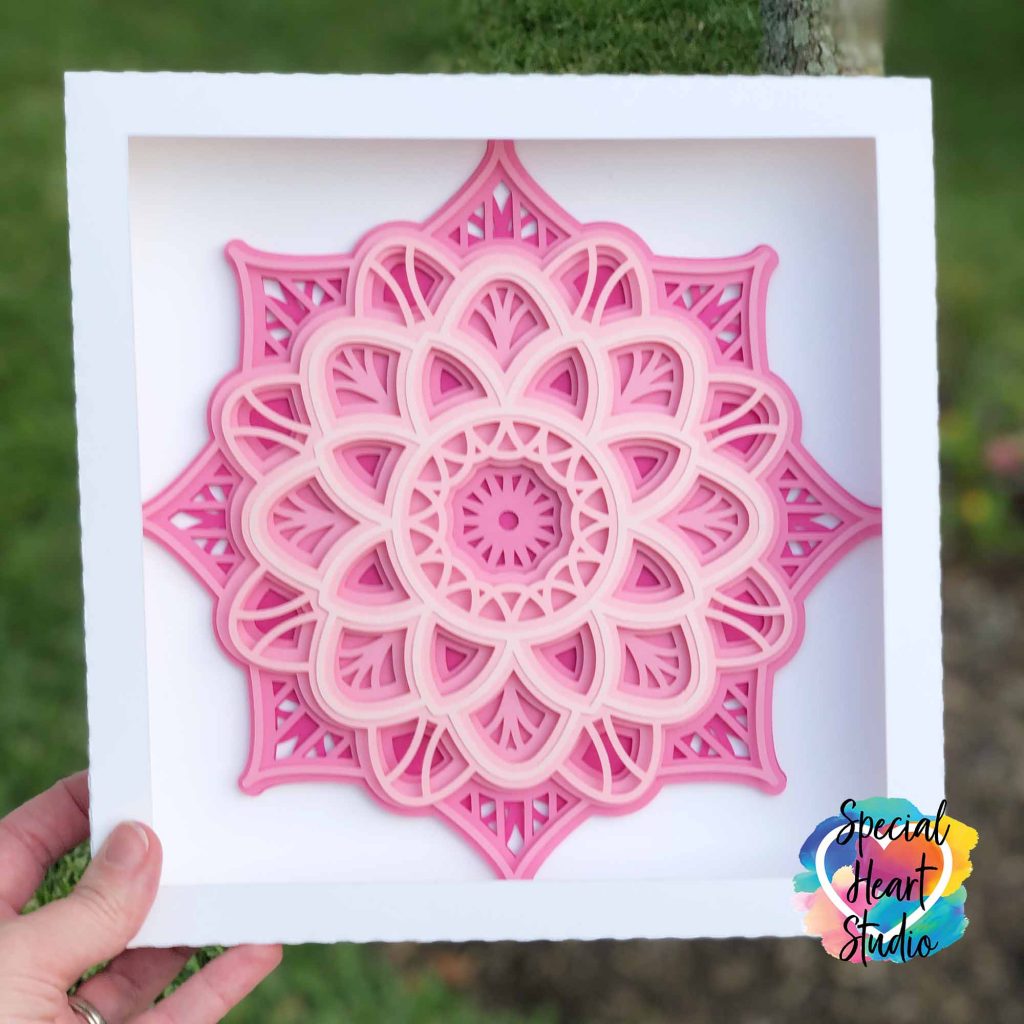
FREE SHADOW BOX FRAME AND LAYERED MANDALA CUT FILES
Yesterday I posted a layered graduation shadow box design, and one of our Facebook group members mentioned that she’d been having trouble getting her hands on the shadow box frames. Right then, I decided that I could throw together a template for a frame or box made with paper. While putting the assembly instructions and video together, I couldn’t leave the frame empty, so threw in a new layered mandala. Find step by step directions below. Enjoy!

MATERIALS NEEDED FOR BOX AND MANDALA
- 65 lb Cardstock – On the pink mandala in the photos I used Recollections Brand Cardstock Pink
- Kraft Board -I used Cricut’s Kraft board for the shadow box frame with the mandala.
- Foam tabs – These foam tabs from Tombow are my absolute favorite. They’re thick enough to provide a good dimension to each project. The description is a bit deceiving as it states 50 tabs. In fact, there are 464 in the package, 50 large and 414 small sizes.
- Glue or tape runner
- Scoring Stylus or Scoring Wheel (for Cricut Maker users)
- Light grip mat (blue light grip)
- Cricut Maker – or your favorite cutting machine.
- Design #54 Shadow Box Frames and Mandala #3 – My free SVG cut files (available in my freebie vault—get the password at the bottom of this post).

HOW TO ASSEMBLE THE SHADOW BOX FRAME
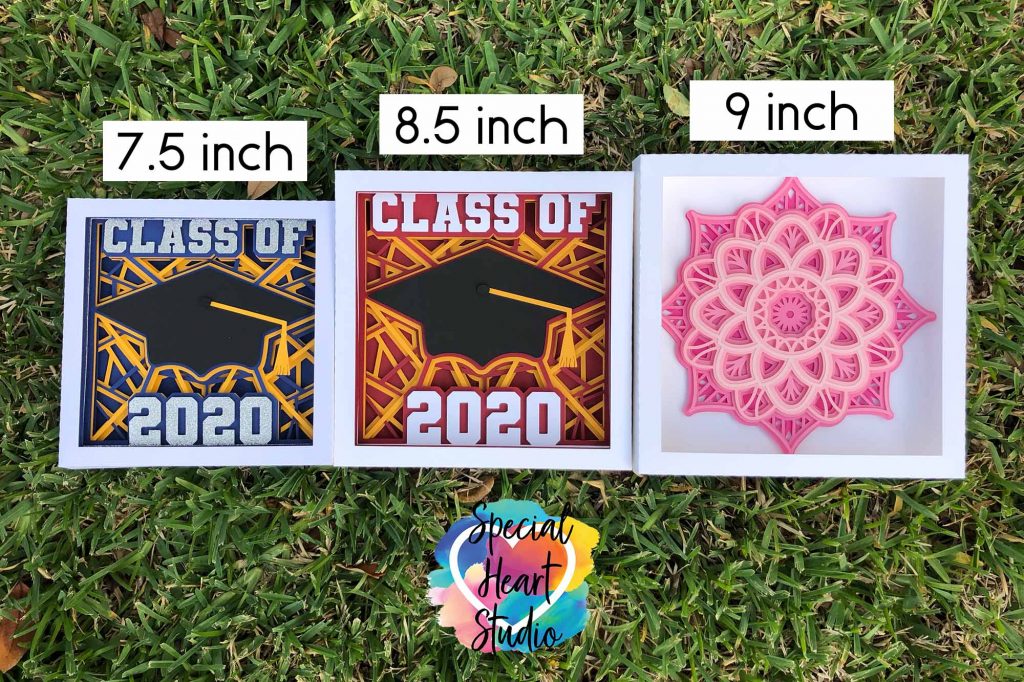
I have included three different sizes in the Shadow Box Frame download. They are labeled 7.5 inches, 8.5 inches, and 9 inches. The file name refers to the size of the frame and the finished surface. If you need to re-size the project, I recommend leaving all three layers grouped so they will stay in line.
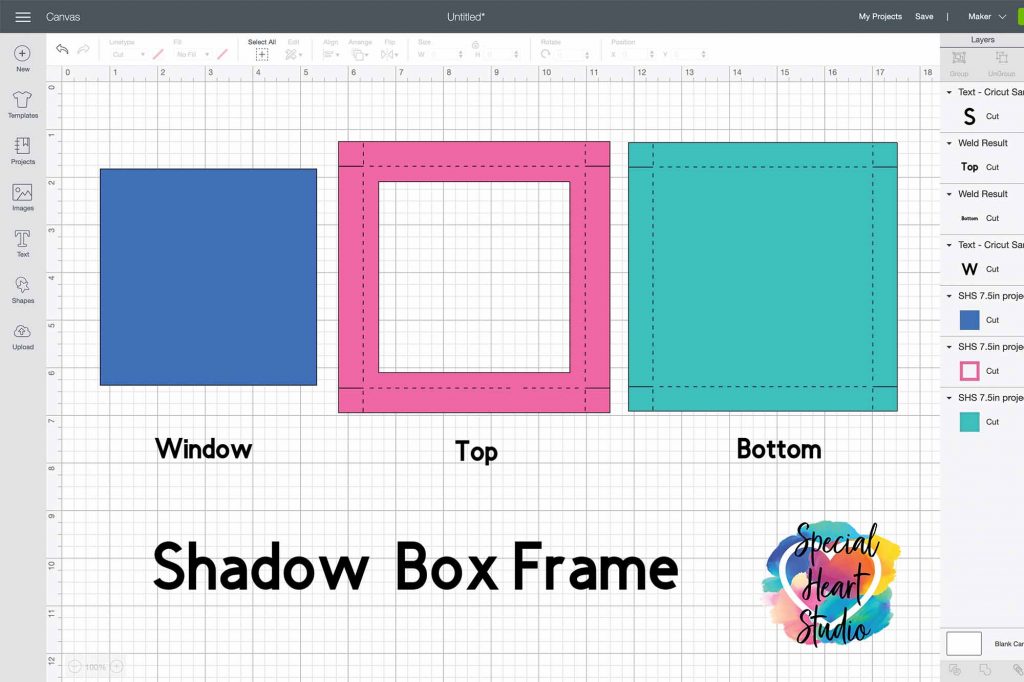
The blue square box will be hidden when the design is uploaded. I included the blue square shape to use if you’d like to add an acetate window to the top of the box. The acetate could be glued to the inside of the box top.
Once you’ve cut the box frame, start by removing the paper from the mat. When working with card stock or kraft board, I always recommend putting the paper down on your work surface with the mat side up. Then slowly and gently bend the mat while holding the paper flat against your desk.
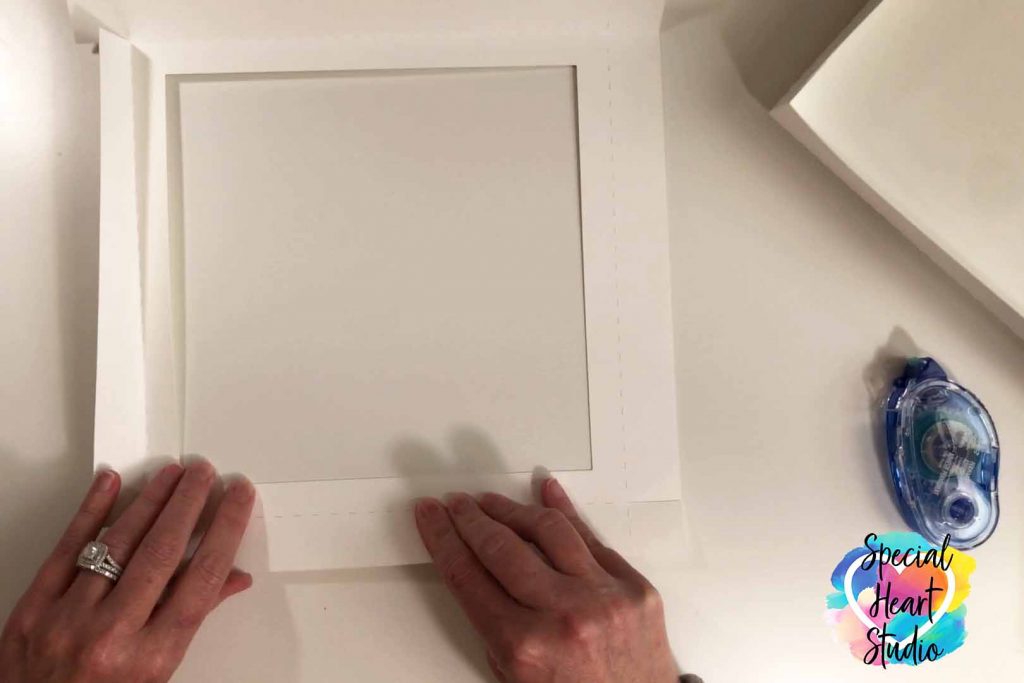
The box frame was designed with a perforated edge to assist in folding the box into shape. Gently fold along the dashed cut lines to start forming your box.
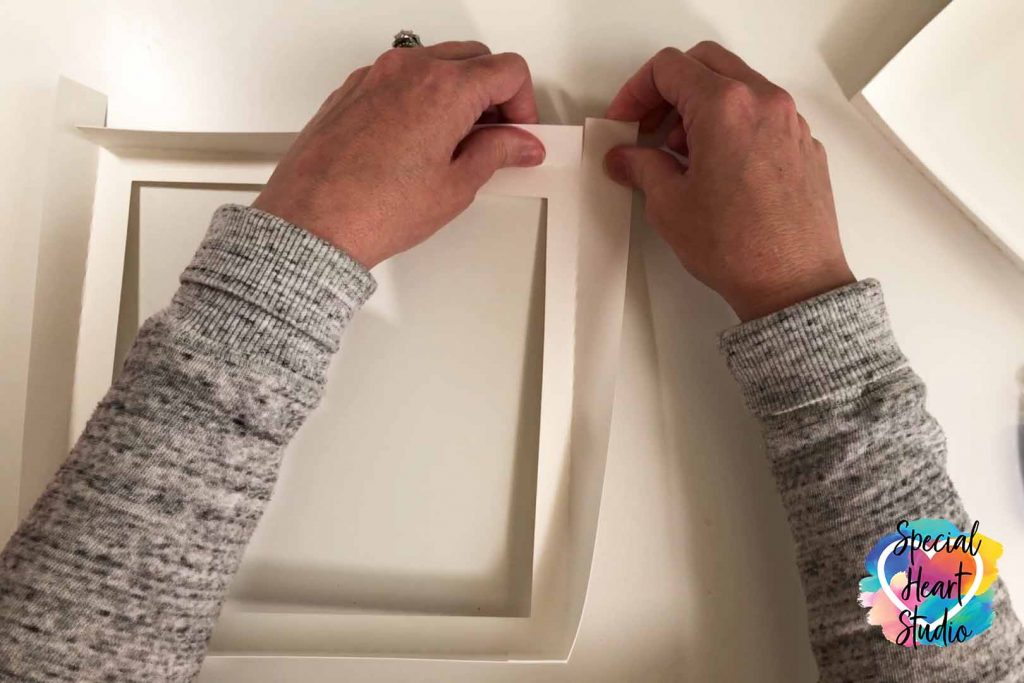
Fold the small tabs in a 90-degree angle and tape or glue to the inside of the box frame. Once you have assembled both the top lid and bottom, gently shape each piece to make the box square.
That’s it, an easy framed card stock shadow box. If you’d like instructions how to layer the mandala, please refer to this post.
HOW TO ASSEMBLE SHADOW BOX
UPDATED (OCT 2020) TO INCLUDE TWO SHADOW BOX FRAMES

I’ve updated the download to include two different formats. The original format as shown in the video utilizes a perforated cut line for those who do not have a scoring stylus or scoring wheel.
In my updated version, you’ll find two folders for the Shadow Box Frame. The new version includes score lines attached and ready for you to “Make It”! The blue square included in both formats is for those who may want to add an acetate window to their frame. If you don’t need it for your project, feel free to delete or hide before cutting.
PLEASE SHARE!
Please share! If you enjoy this project/design, please share it on your social media platform or your favorite Pinterest board. I greatly appreciate it!! That helps my blog continue to grow and enables me to continue to provide free designs. 💕 Thank you!

DOWNLOAD THE SHADOW BOXE DESIGNS AND LAYERED MANDALA CUT FILE BY SUBSCRIBING (FREE) BELOW TO GET THE PASSWORD TO MY FREEBIE VAULT
New to Design Space and looking for help with how to upload? Click HERE to find directions to get started.
LOOKING FOR MORE DESIGNS? CHECK OUT SOME OF MY RECENT POSTS
- Using Midjourney for Crafts: A New Age of Digital Artistry
- Creative Fabrica’s CF Spark: Your New AI Buddy for Cool Craft Projects
- Cricut Craft Adventure Giveaway
- Cricut Adventure
- Cricut Craftfest Giveaway
I love all your design and creations. Thanks a lot
You’re welcome. ❤️
Such great designs-thank you very much!!
You are such a giving person to share all of this with us. I appreciate you so much. Thank you.
Here I was wondering how I was able to get hold of a shadow box, seeing a lot
of us are home-bound at present, as I very much wanted to make the stacked
graduation box for my grandson, when you came out with how to make such a
box – brilliant, and so easy to make – thank you, thank you, thank you!
You’re welcome. Glad I could help.
Stay well!
You are such a talented lady and so very generous offering your time and designs to all of us. I personally would like you to know that you are appreciated especially at this time when we all really need this boost in our creativity xx
Thankyou very much I’m new to all things cricut and I am loving all your help and ghd way you go about with your step by step details. Looking forward to getting started with your svgs.
Have fun. Let me know if you have questions.
I;m so excited how this turned out. The frame box is perfect and adds another dimension!
Thank you for all you do. . . I’m knew to the cricut family {joy} and I’m finding so many things that I can do!
You’re welcome.
Beautiful mandala! Thanks for sharing.
You’re welcome.
How do I give credit for commercial use? These are gorgeous!
Commercial use up to 200 products per design is included with our free license. You may read full details at Terms of Use
Gorgeous svg file. Thank you for sharing
Thank you for sharing this! Love, Love Love!
Love the mandala!! Going to make it after I complete a greeting card. Thank you!!!
How do I request a password?!
You may request the password near the bottom of this page: https://specialheartstudio.com/get-a-password/
I can’t seem to find where to download this mandala and shadow box
All of my free downloads are kept in a library which I call my Freebie Vault. You can sign up for access near the end of each blog post. You’ll then receive the password and link to access.
Hi, thanks for sharing the beautiful mandala, can’t wait to try this.
I’ve just downloaded couple of the designs from this page and only word I have to say is IT’S AWESOME. Awesome files, awesome approach to customers and awesome tutorials how to actually make the product out of the files. I’ve
personally made some mandala alphabet letters and they came out very nicely despite I made them from common coloured paper and they were too soft and little pain to glue them together(my fault,no problem with design). I’m looking to make the shadow box to accommodate the mandala letters to give it nice professional look and I have no doubt it will come out beautifully.
Thank you for your kind words. ❤️🙏🏻
Do you know if 110lb cardstock would work? Want to make this to go with the layered unicorn.
Thank you!!
Yes, 110lb cardstock would be perfect for the frame.
Awesome, awesome job. Awesome, awesome and genius.
I can’t seem to figure out how to get the file.
All of my free designs can be downloaded from my Freebie Vault. A library of all the free designs, exclusively for subscribers to my email list. You can find a link to sign up on nearly every post or at the bottom of this page. https://specialheartstudio.com/get-a-password/
Hi,
I love this thank you. Ive only just discovered you, and I will be checking back regularly
Thanks
Jayne
Thank you so much for this Christmas pattern, it’s beautiful. I will use it to decorate my house for Christmas. 🙂
You’re welcome. Merry Christmas
Please send password for free shadow box.
All of my free designs can be downloaded from my Freebie Vault. A library of all the free designs, exclusively for subscribers to my email list. You can find a link to sign up on nearly every post or at the bottom of this page. https://specialheartstudio.com/get-a-password/
This shadow box frame was exactly what I was looking for. It was easy to adjust the size for my needs and assembly was a breeze. Thank you!