How To Use Your Cricut To Make A Personalized Garden Flag
This post may contain affiliate links. Please see my Privacy Policy for full details.
Spring has sprung and my family and I spent some time last weekend sprucing up our landscaping and flowers.
When working in the yard, I had the thought of adding a cute little garden flag with our name. That’s exactly how this week’s design and blog post came to be born.
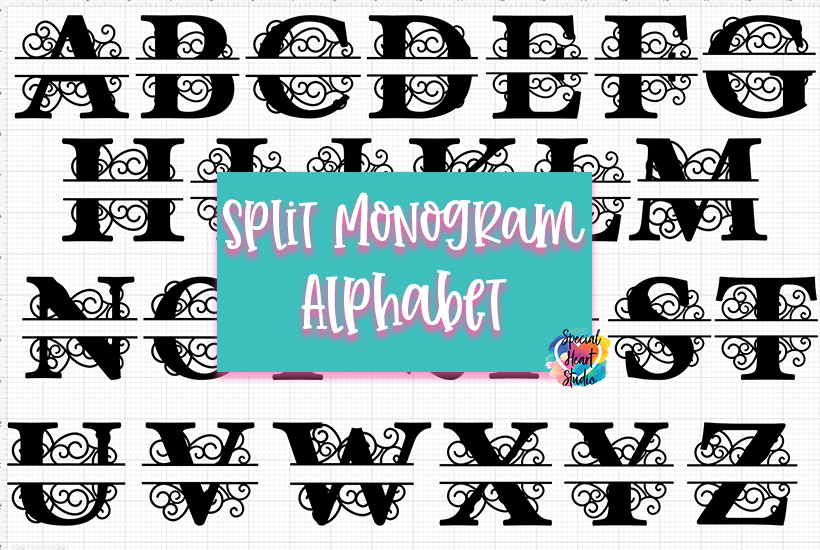
I’ve created an entire set of free Split Monogram Letters that are perfect for my garden flag, but also many other projects.
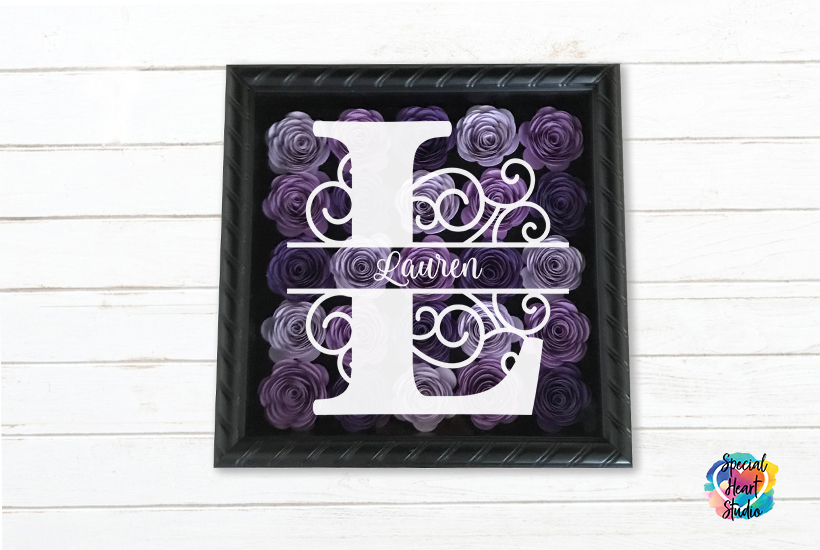
As show above, the design is perfect with adhesive vinyl for a shadow box.

Materials Needed For A Split Monogram Garden Flag
- Garden Flag
- Heat Transfer Vinyl
- Cutting Mat
- Weeding Tools
- Cricut Easy Press or Heat Press – This is the heat press I’ve had for a couple of years. It’s been a workhorse and I love it!
- Cricut Maker or your favorite electronic cutting machine.
- Design #138 – Split Monogram Alphabet SVG/DXF/EPN/PNG cut files (available in my freebie vault—get the password at the bottom of this post).
Video Tutorial
Scroll down to view written, step-by-step directions.
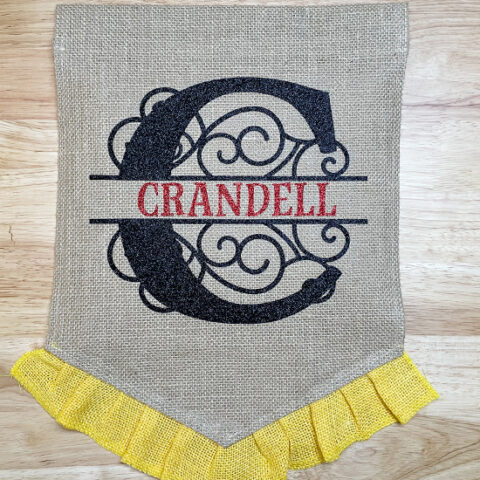
How To Make A Garden Flag with Heat Transfer Vinyl
Learn how to layer HTV to create a beautiful garden flag using my Split Monogram Alphabet.
Materials
- Garden Flag
- Heat Transfer Vinyl - I used Siser Glitter HTV.
- Split Monogram Alphabet SVG/DXF/EPS/PNG
Tools
Instructions
- Download the FREE Split Monogram Alphabet set from my Freebie Vault. Design #138. Once downloaded, unzip. If you need help with how to unzip (or extract), click HERE from my tutorial.
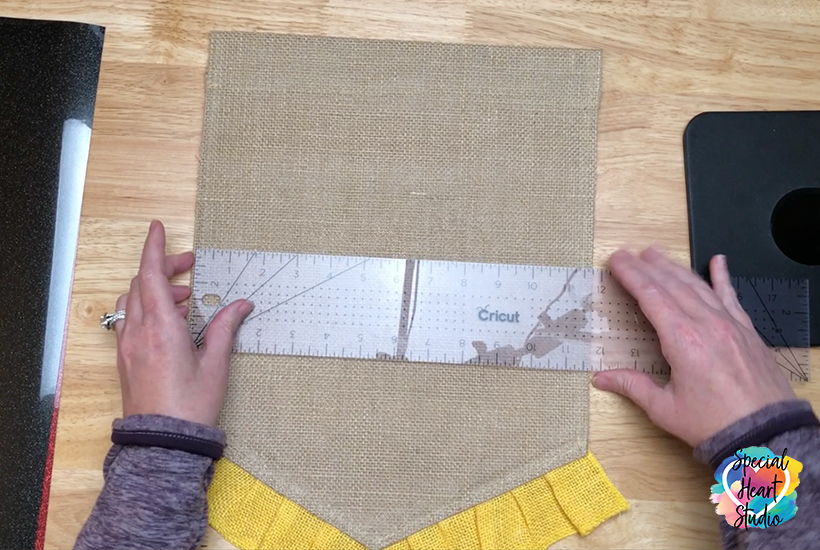
- Determine the size of your project.
I measured the width of the garden flag to determine the size of my project. The flag is 12" wide, so I decided to cut my letter to 9.5" across. - Upload Design
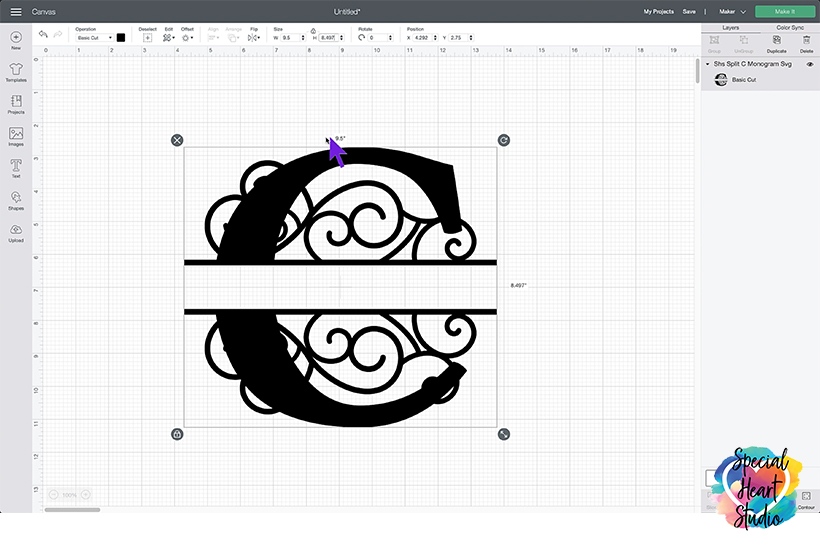
Upload the SVG format of the letter you want to use. I'm making a sign for my yard, so using the letter C.
If you need help to learn how to upload an SVG to Design Space, click HERE. - Set Size
Set the size for your project/material. Since I measured the flag at the start of the project, I had already decided to cut the vinyl at 9.5" wide. Leave the aspect ratio padlock locked. - Mirror
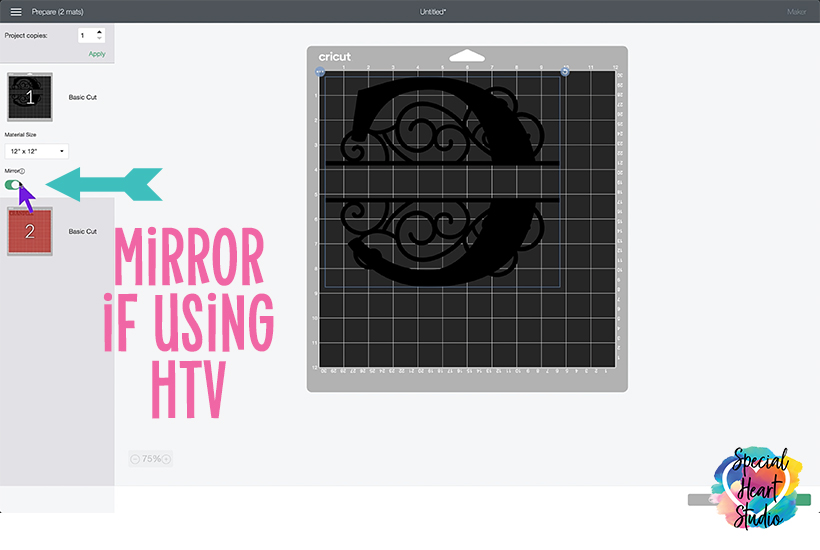
If using Heat Transfer Vinyl (HTV), be sure to mirror the design. - Select Material
Select the appropriate material for your project. For my flag, I'm cutting glitter HTV. - Prepare Mat
Most HTV should be placed with the shiny (transfer sheet) side down. Place the HTV firmly on your cutting mat. - Make The Cut
- Remove From Mat
Once cut, carefully remove the HTV from your mat. I place the mat upside down and gently peel the mat away from my vinyl. - Weed HTV
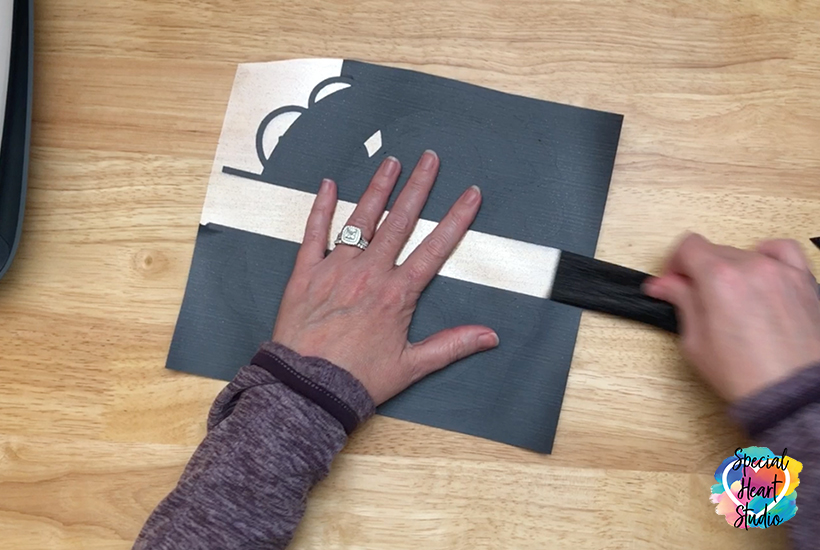
Now is time to "weed" the vinyl. Weeding involves picking out all of the unwanted cut pieces away from your design. - Place on Flag
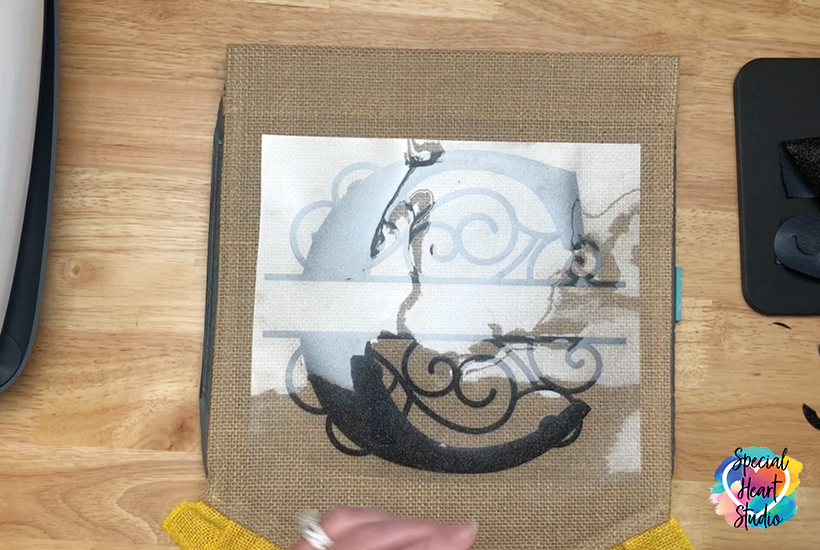
Line the weeded vinyl up to the spot where you'll press. Make sure the design is straight and in the right position. - Press
Press the first layer of HTV. If using multiple colors (multiple layers), I recommend pressing just long enough the HTV will release from the carrier sheet. - Prepare Second Layer (optional)
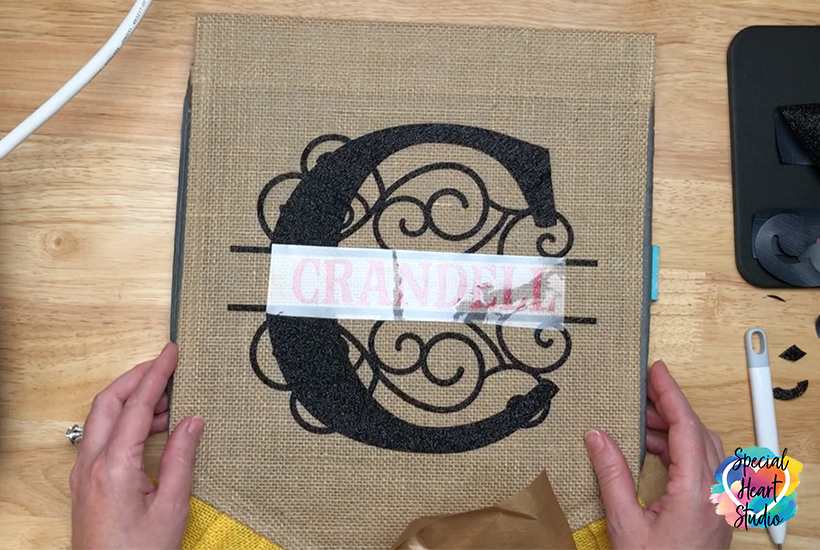
If using multiple colors (layers), place the second layer once the carrier sheet has been removed from the first layer. - Press Second Layer
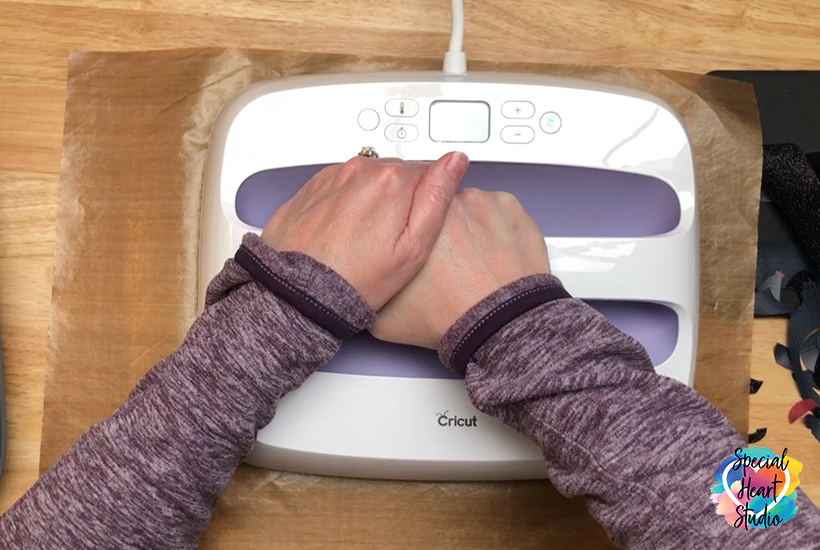
Press the second layer the full time per the heat/time instructions from your HTV manufacturer. Each manufacture has a bit different times so I highly recommend checking for your material. - Enjoy!
Please Share Prior to Downloading
Please share! If you enjoy this project/design, please share it on your social media platform or your favorite Pinterest board. I greatly appreciate it!! That helps my blog continue to grow and enables me to continue to provide free designs. 💕 Thank you!
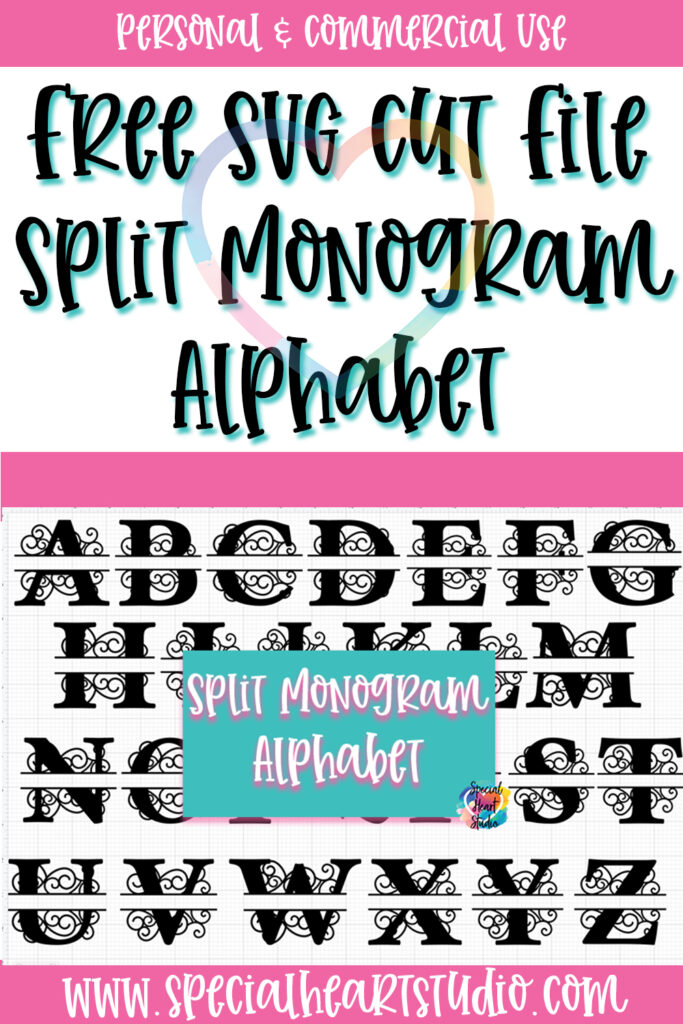
Download My FREE Split Monogram Alphabet Cut Files By Subscribing Below To Get The Password To My Freebie Vault
DOWNLOAD the Split Monogram Alphabet SVG/DXF/EPS?PNG – Design #138 by entering the password to my Freebie Vault. Click HERE to go to the freebie vault, my library of free downloads. To sign up for a password to my free designs, enter your name and email address below. ⬇️







Thank You Sooo Much!♡♡♡
This is beautiful & You made a gorgeous flag!
Thank you for this! Love!
Thank you so much for sharing your split monograms and your very beautiful and clever way to make a garden flag! That is a fantastic idea, and really appreciate your instructions!
All your designs are so lovely. Can you tell e which font you used for your last name please? Thank you.
Hi Vickie, I used Limon Marker for my last name on the flag.
I am in your free vault but don’t see a download link. They look beautiful!!
Hi Shirley, Once in the vault, the links right after each design number are the download links. Just click the file name on the design you want and the file will automatically download.