How To Cut And Assemble A Square Layered Mandala
This post may contain affiliate links. Please see my Privacy Policy for full details.
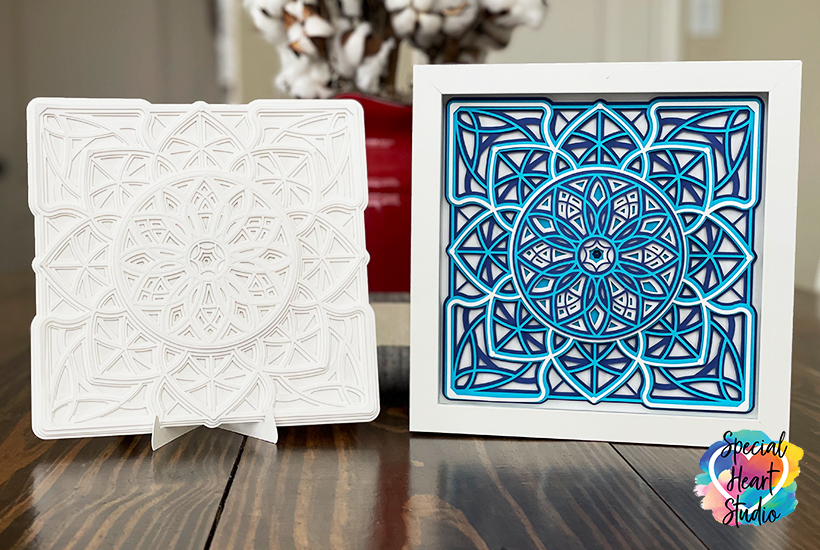
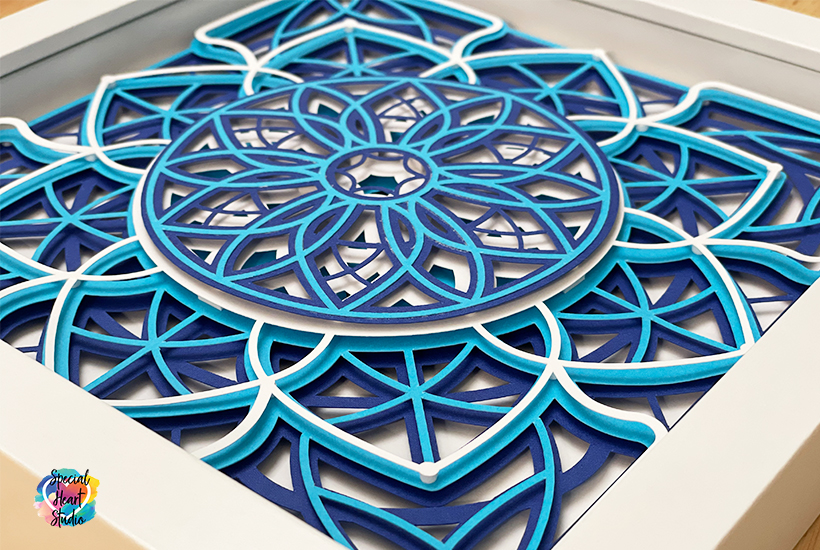
Layered mandalas continue to be very popular in craft groups. They’re beautiful, look so complicated, yet are really an easy project to complete and they look AMAZING!
It’s been over a year since I designed my first layered mandala. In that time, I’ve created many patterns, and designs with the concept as I find it so relaxing. Creating these designs together is a bit like doing a puzzle.
Isn’t it just amazing how one design can look so different, just from cutting the design out of different colors?
I don’t mind if you use these designs for personal or small business commercial use up to 200 items, but please do not re-sell or re-distribute the files. I’d ask that you direct your crafty friends here to download the files themselves. Also, I don’t allow my designs to be used in print-on-demand shops or on transfers that will be sold. Click HERE for complete Terms of Service.
Materials Needed for Square Layered Mandala
- 65lb. cardstock
- Micro Foam Tabs
- Foam Tabs – I used a combination of micro and regular size foam tabs for this project. Size needed will depend on how large or small your piece will be.
- Spray Adhesive
- Brayer
- Light grip mat (blue)
- Cricut Maker – or your favorite cutting machine
- Design #137 – Square Layered Mandala SVG – The free cut file (available in my freebie vault—get the password at the bottom of this post).
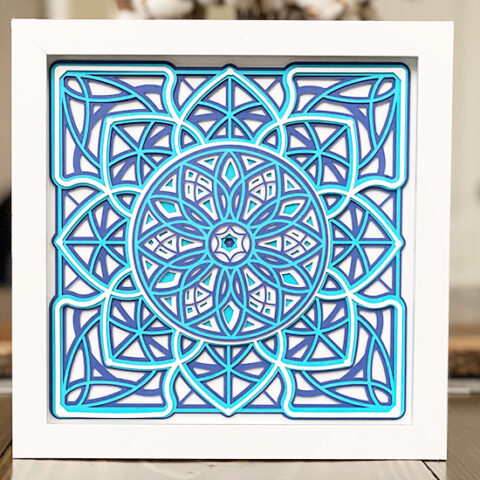
How To Cut And Assemble A Square Layered Mandala
Materials
Tools
Instructions
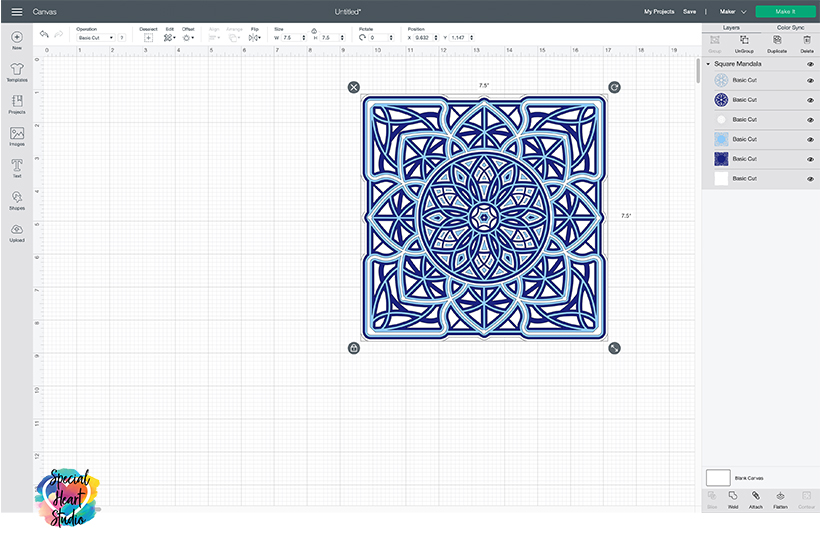
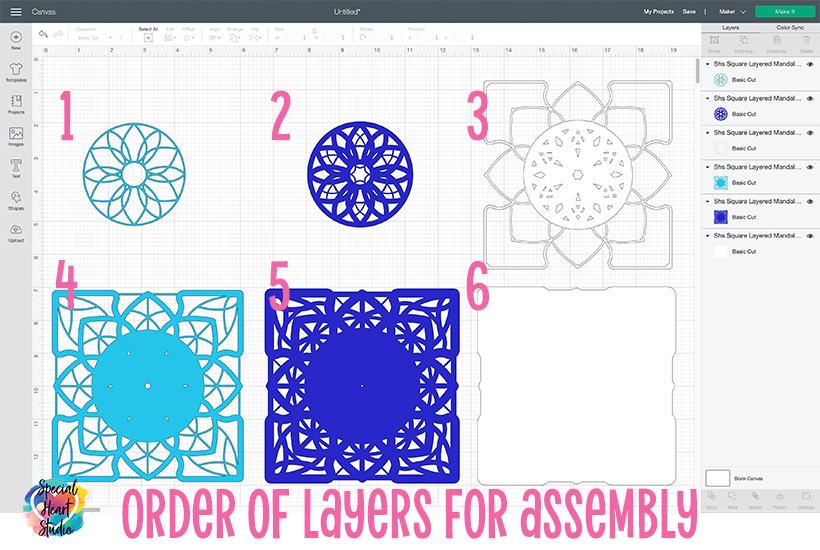
- Grab the free Square Layered Mandala SVG Cut File Upload my layered mandala SVG into Cricut Design Space. Once uploaded to Design Space, your screen should look like this.
Are you new to working with Cricut and need help with how to upload cut files? How To Upload SVG Files In Cricut Design Space post will provide step-by-step directions on how to upload SVGs to Design Space.
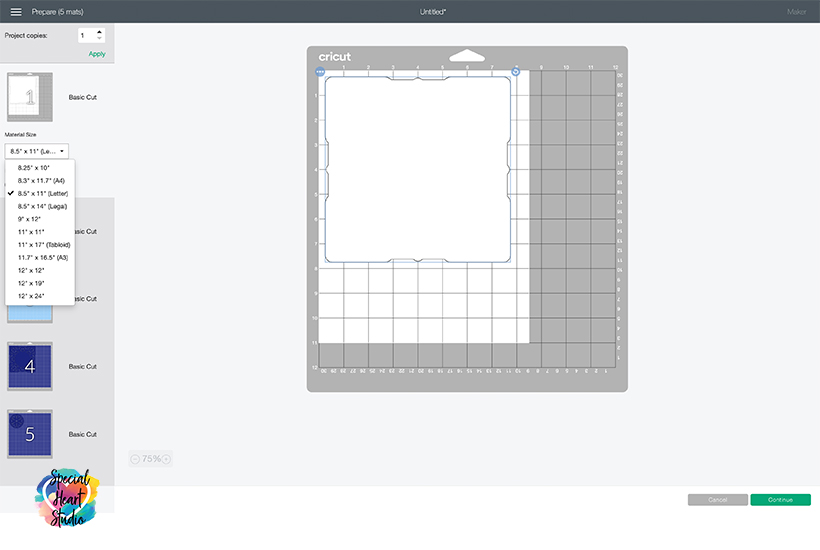
If using a frame or shadowbox, measure the inside of the frame to determine the cut size. I used an 8"x8" frame and cut the mandala at 7.5" square to fit just inside the frame insert. Leave all layers grouped to resize. They'll then stay in the right proportions. - On the design canvas screen, you can play with how the project will look by changing layer colors to match your material. When you're happy with the colors, click "Make It". You then be taken to the prepare mat screen.
In this step, select the size of the paper or material you'll cut. - Set Base Material Next, you're ready to select your base material.
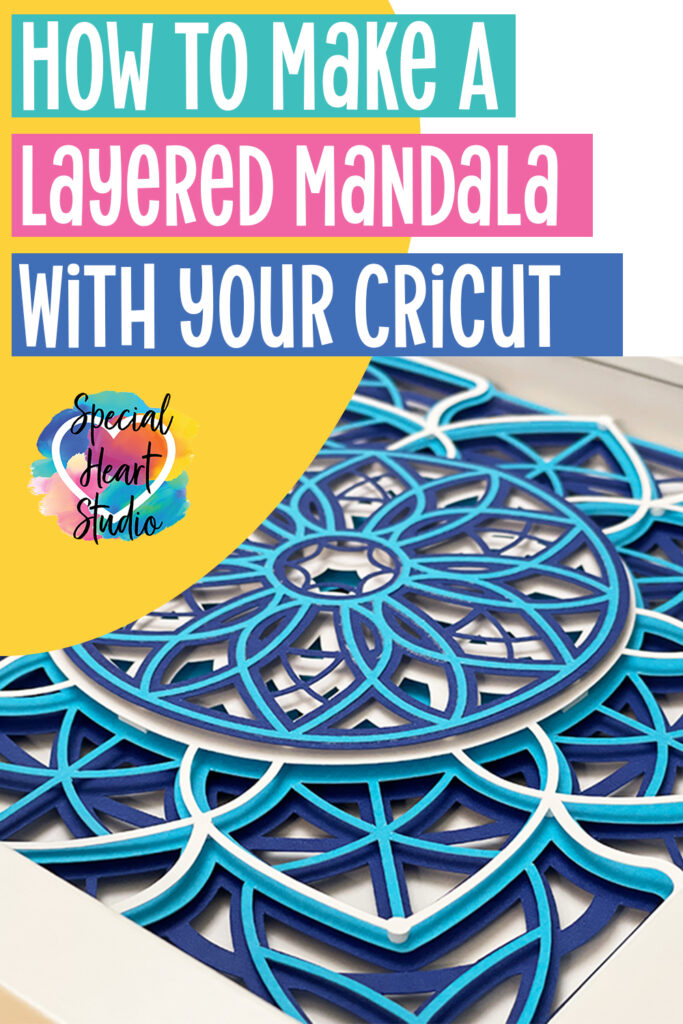
For my project, I used 65lb. cardstock from Recollections. I set it to cut on Medium Cardstock setting at default pressure. My blade is getting worn. When new, I have great luck cutting 65lb. cardstock on the light cardstock setting. Cut settings will depend on your machine, age/use of your blade, and material being cut. It's always a good idea to test cut a small sample if you're unsure.
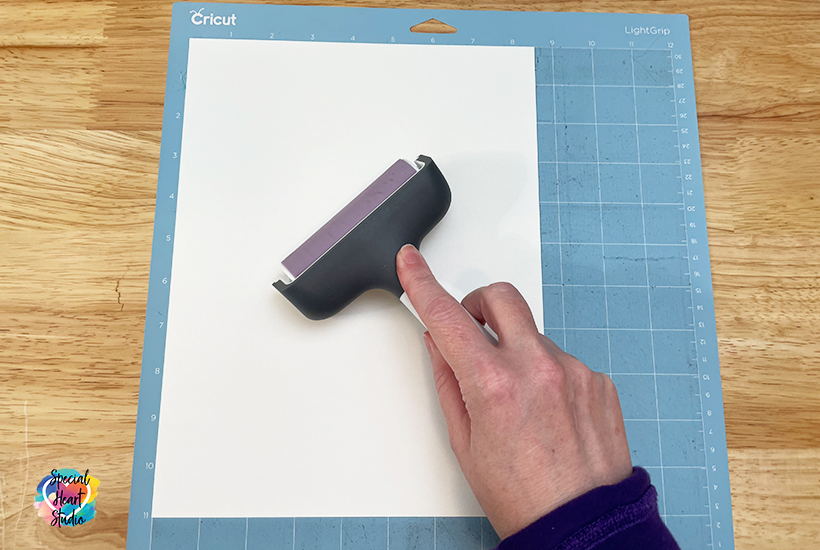
- Prepare Mat Now that the project is set up in Cricut Design Space, it's time to focus our attention on preparing the mat.
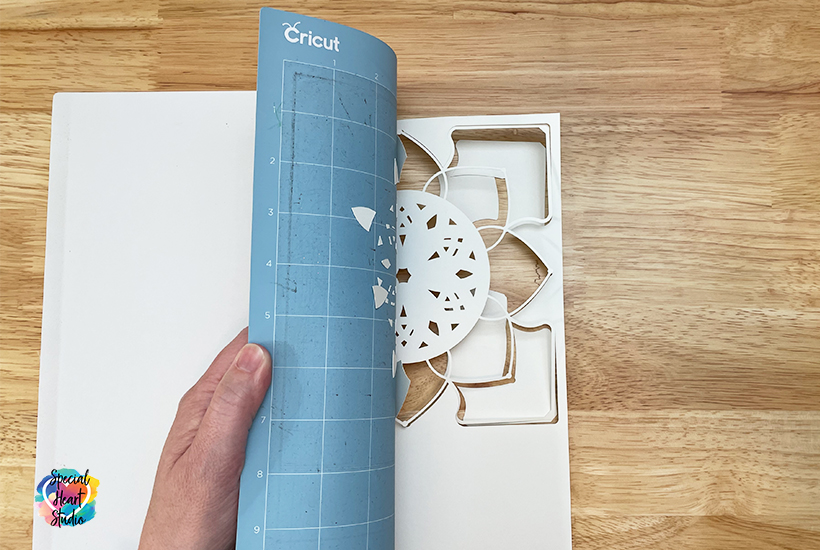
I always recommend using a brayer to firmly attach the paper to the mat. This greatly reduces tears while cutting. - After the cut Once each layer is cut, it's time to remove the paper from the mat.
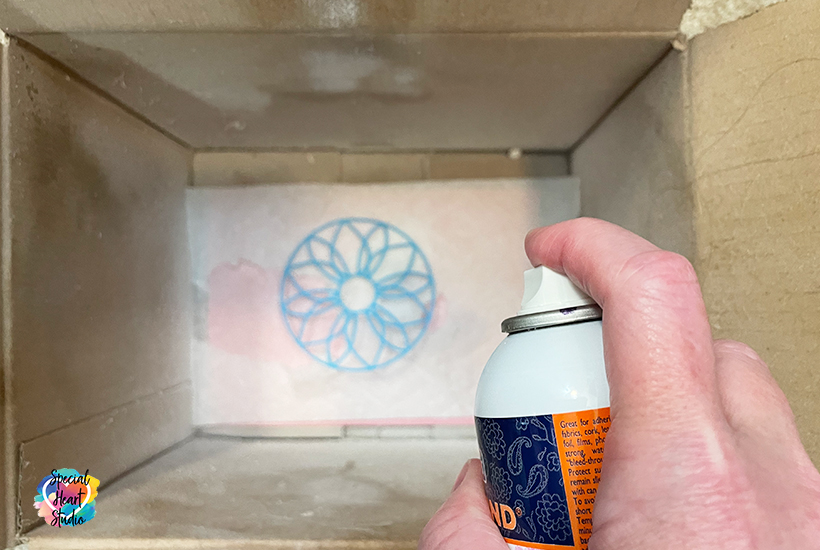
It's best to turn the mat upside down so that your material is flat against your work surface. Gently bend the mat back, away from the material, and use your other hand to keep the paper flat to the work surface. This prevents curling. - Assemble Layers Once all layers are cut, it's time to put them together. I started with the very top layer. Because it is so thin, I choose to use spray adhesive to attach the first layer to the second layer.
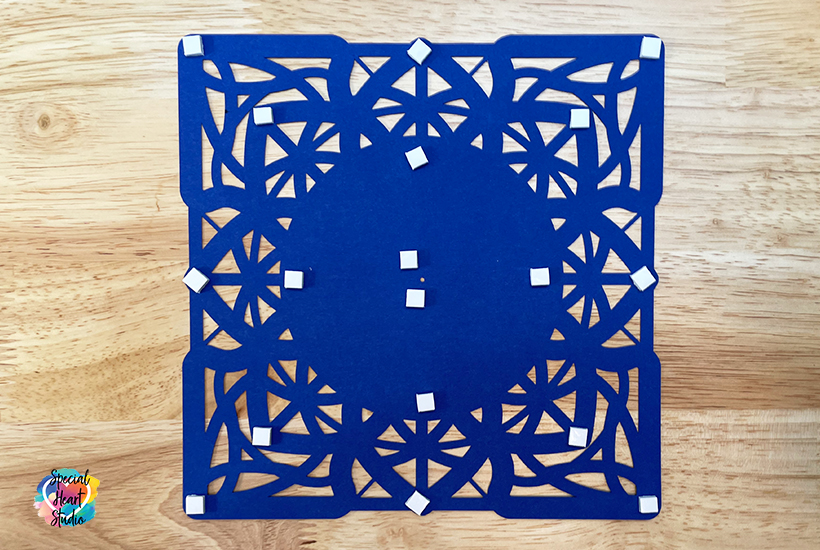
I use a small old box and place the layer in the bottom, then spray. This method helps contain the overspray and keeps the mess to a minimum. - Remaining layers Set the top to layers aside to give the adhesive a few minutes to dry. I then focused my attention on the bottom layers and worked my way up. I placed foam tabs and micro-size foam tabs around the backside of each of the layers and continued to stack them on top of each other.
Place the tabs evenly around the back of each layer so that the tabs support each area. This will prevent sagging in the middle of the project. - Once all layers have been attached, you may either frame the mandala or use my free Easel Stand to prop up the mandala.
Please Share Prior to Downloading
Please share! If you enjoy this project/design, please share it on your social media platform or your favorite Pinterest board. I greatly appreciate it!! That helps my blog continue to grow and enables me to continue to provide free designs. 💕 Thank you!
Download My FREE Square Layered Mandala SVG Cut File By Subscribing Below To Get The Password To My Freebie Vault
DOWNLOAD the Square Layered Mandala SVG – Design #137 by entering the password to my Freebie Vault. Click HERE to go to the freebie vault, my library of free downloads. To sign up for a password to my free designs, enter your name and email address below. ⬇️


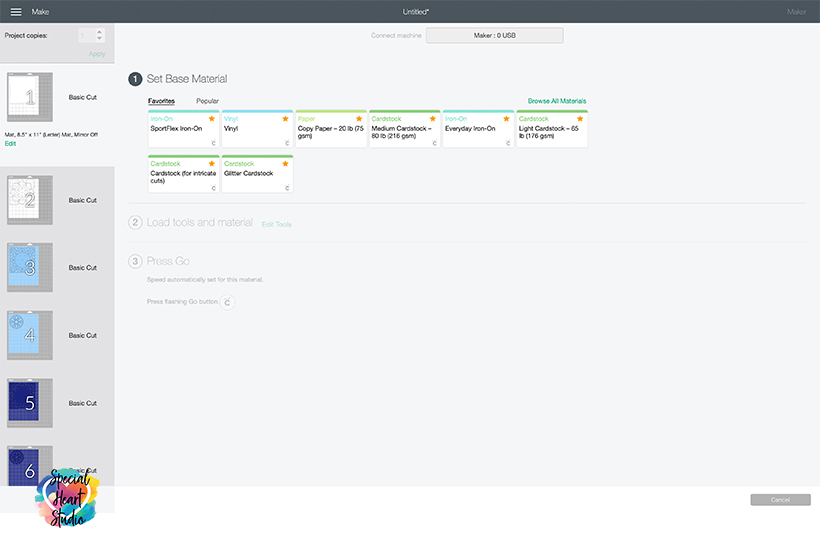 For my project, I used 65lb. cardstock from Recollections. I set it to cut on Medium Cardstock setting at default pressure. My blade is getting worn. When new, I have great luck cutting 65lb. cardstock on the light cardstock setting. Cut settings will depend on your machine, age/use of your blade, and material being cut. It's always a good idea to test cut a small sample if you're unsure.
I love this mandala. Thank you so much for the file. I really appreciate this.
I didn’t expect a tutorial but I am so glad you added it. I am new to these. Thank you!
I hope it was helpful. 🥰 You’re welcome
Oh I love this! Thank you so much for sharing!
This will be my projet for the morning….Thank you very much!!
Dear Gjoa, Thank you for all the designs you share with us. This tile go to my 90 year old aunty, she will love it.
Have a nice weekend.
Greetings from Holland
You’re welcome. ❤️
Simply beautiful! Where do you get your frames? What size are they? It fits perfectly. Thanks for the inspiration!
Hello! The frame in the photo is an 8″x8″ shadow box that I purchased at Michaels. I cut the mandala at 7.5″ square.
Thank you for sharing your beautiful design, your designs create keepsakes to treasure. Thank you again!
Thank you so much. I’ve been wanting to make an 8″ mandala, this one is perfect.
Thank you for all you do.
Thank you so much your files are lovely
Wonderful design. Thank you for sharing your talents
You’re welcome.
I downloaded the SVG zip file and the only file in there is labeled a Microsoft Edge HTML Document. There are no jpg or other files. There isn’t anything to open. I downloaded the square layered mandala and the layered sunflower. Any suggestions?
Hi there. The Edge HTML document is actually the SVG. Windows 10 doesn’t natively know what to do with SVG files, so it defaults to that. Here’s a blog post I wrote that will show you how to change the view so it will show as an SVG. https://specialheartstudio.com/how-to-unzip-and-view-svg-files-in-windows-10/