Layered Easter Chick
This post may contain affiliate links. Please see my Privacy Policy for full details.

A few weeks back, I published a Layered Easter Bunny design. At the time, I still had Valentine’s decorations up in my home. Now that the Valentine’s decor has come down and I’ve put Easter decorations up, little Mr. Layered Bunny was looking a tad lonesome. Now he has a friend.
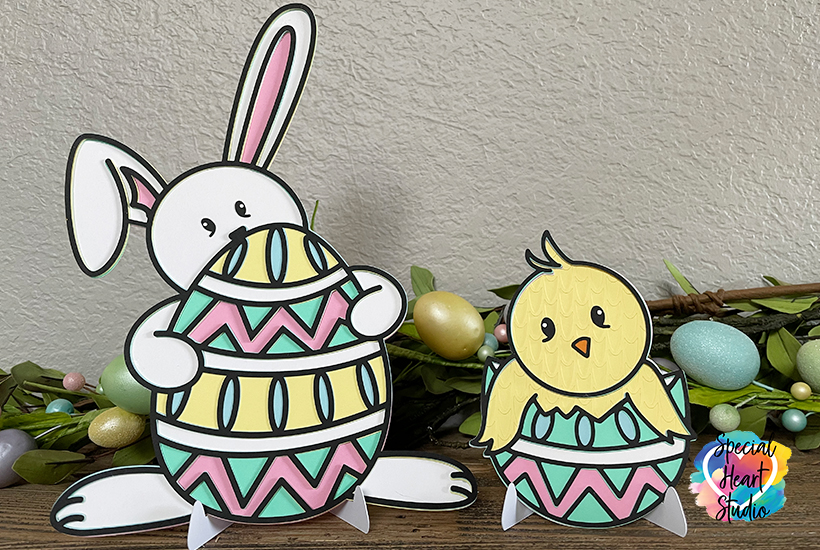
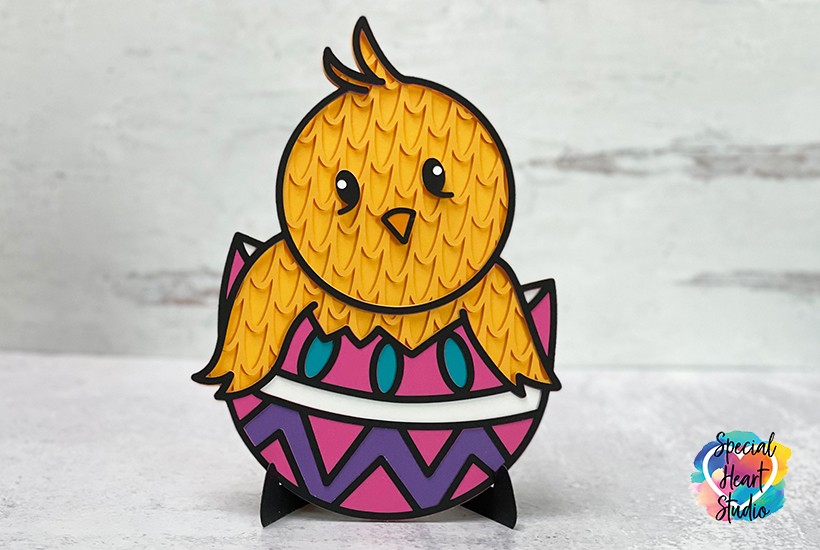
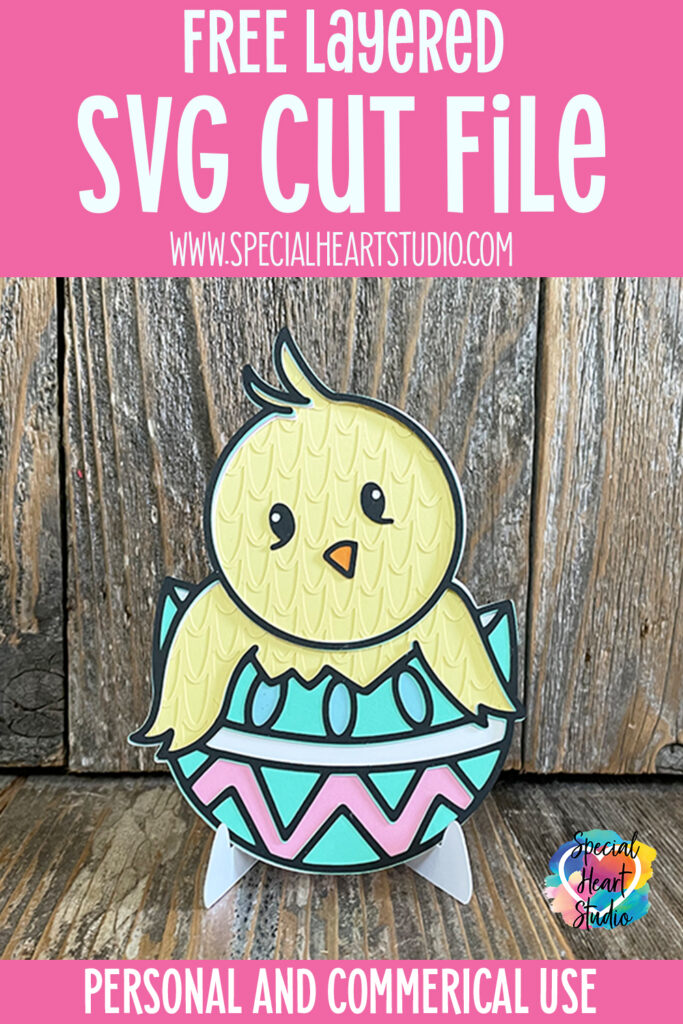
The chick pictured above cuts well even at a smaller size and will work perfectly for Cricut Joy users. In this photo, the chick is four inches wide.
I don’t mind if you use these designs for personal or small business commercial use up to 200 items, but please do not re-sell or re-distribute the files. I’d ask that you direct your crafty friends here to download the files themselves. Also, I don’t allow my designs to be used in print-on-demand shops or on transfers that will be sold. Click HERE for complete Terms of Service.
Materials Needed for a Layered Easter Chick
- 65lb. cardstock
- Spray adhesive glue
- Art Glitter Glue – This is my favorite liquid adhesive glue (there’s no glitter in it).
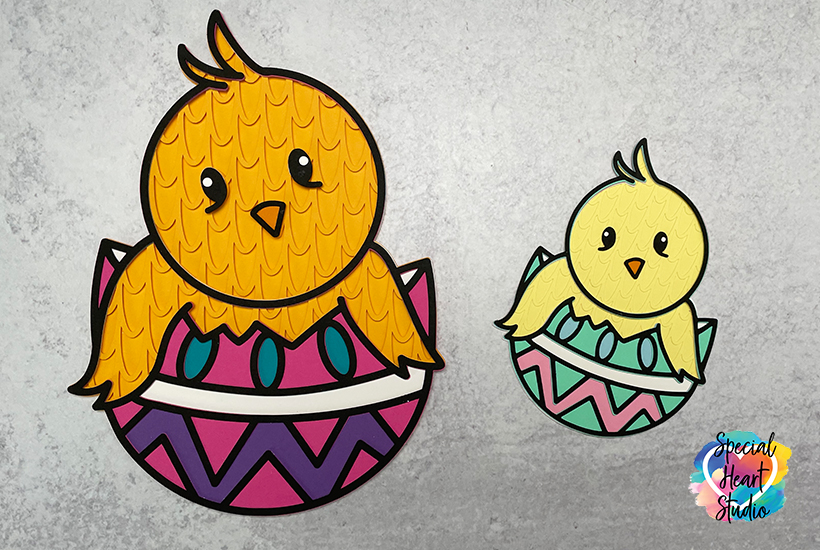
- Double-Sided Foam Tape – This foam tape I used for one layer on the larger (jewel-tone) chick pictured below. It’s 1/8″ wide.
- Brayer
- Light grip mat (blue)
- Cricut Maker – or your favorite cutting machine
- Design #129 – Layered Easter Chick SVG– My free cut file (available in my freebie vault—get the password at the bottom of this post).
How to Cut and Assemble the Layered Easter Chick SVG
Download and unzip the Layered Easter Chick from my Freebie Vault.

New to Design Space and looking for help with how to upload? Click HERE to find directions to get started.
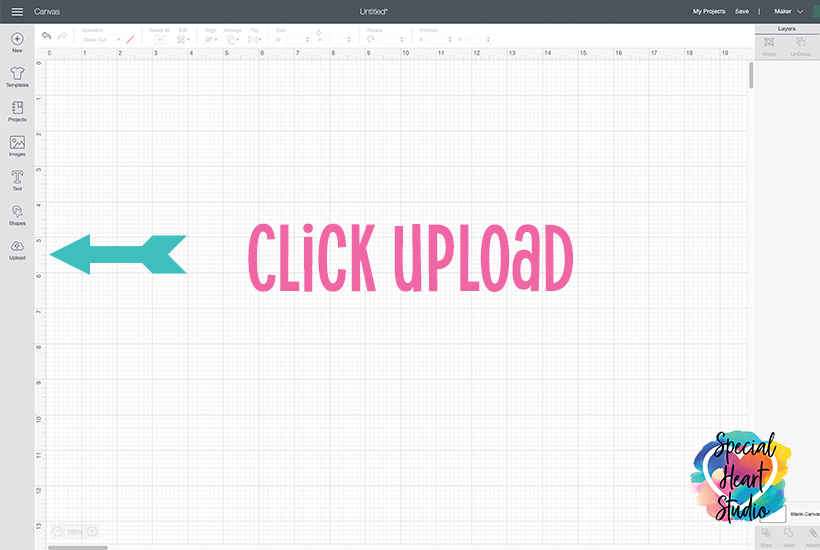
Start with a new canvas in Design Space and click Upload.
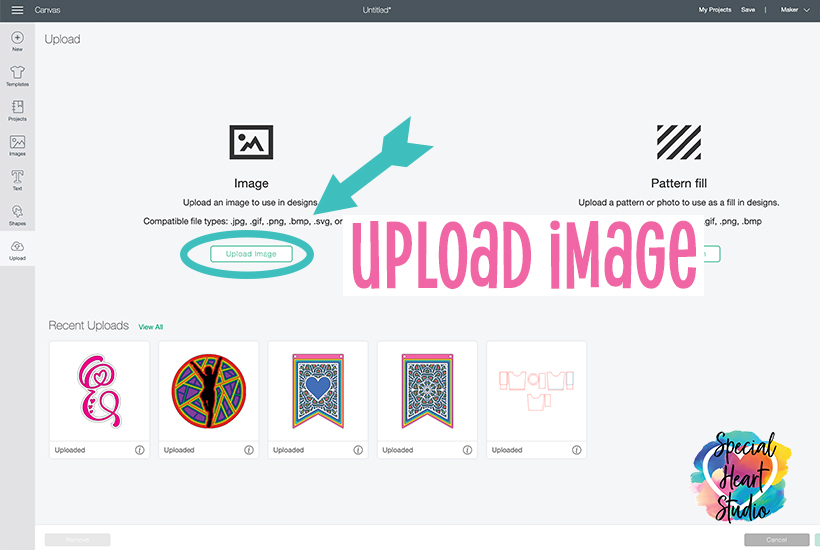
Next, click upload image.
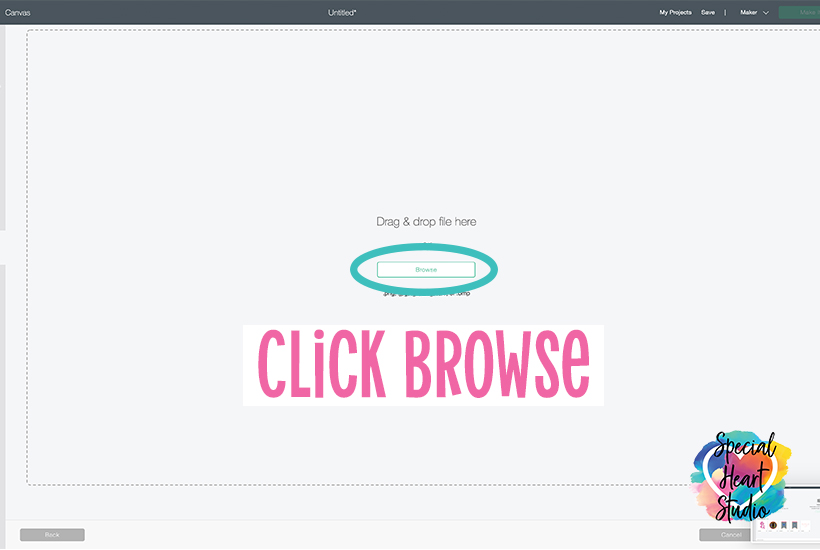
Click Browse.

Navigate in your file system to the folder/locate where you’ve saved the unzipped or extracted SVG file. Note, your computer may look different from the photo above depending on your operating system.
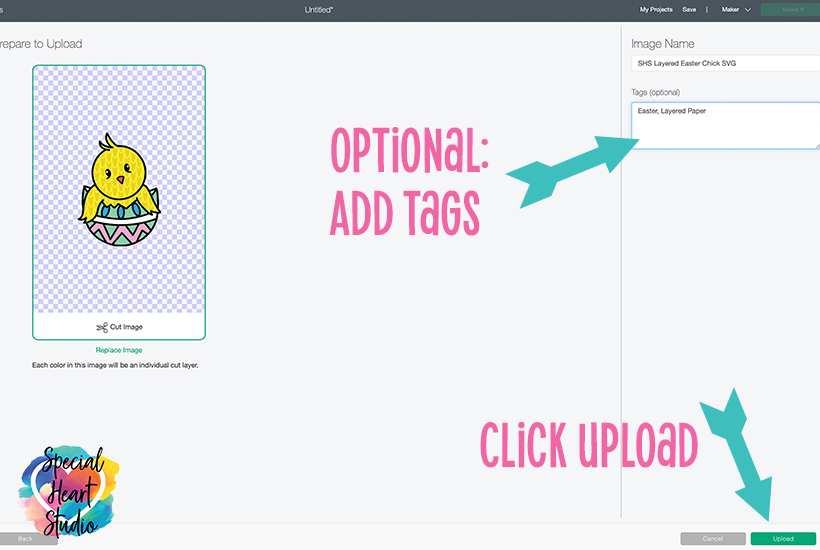
The above Prepare to Upload screen will appear. On this screen, you may change the image name and/or add tags to ease future searches. I added Easter and Layered Paper as tags to this design. Next click upload.

The Upload window will now show. Click the chick so that the green outline appears around the box, then click Insert Image.
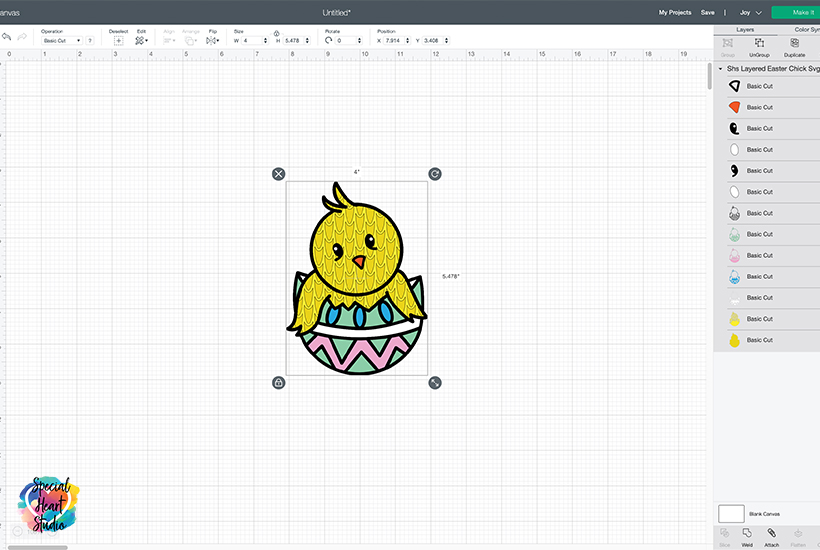
We’re now back on the canvas and ready to size the chick to fit your project. I recommend leaving the layers grouped and either using the diagonal arrow in the bottom right and dragging it in or out, or typing a specific size in the size box along the top of the screen.
If you choose to change the layer colors, you may do this in the right layers panel. You’re now ready to click Make It!

Because I cut the Layered Chick on a Cricut Joy, the first window that pops up is asking how I’ll load the materials. Since I’m using cardstock, I’ll choose On Mat.

I’ve found when using the Recollections 65lb. cardstock on a light grip (blue) mat, the medium cardstock setting works perfectly with my Joy. Always do a small test cut when working with new materials (or blade) to determine what works for your material and machine.
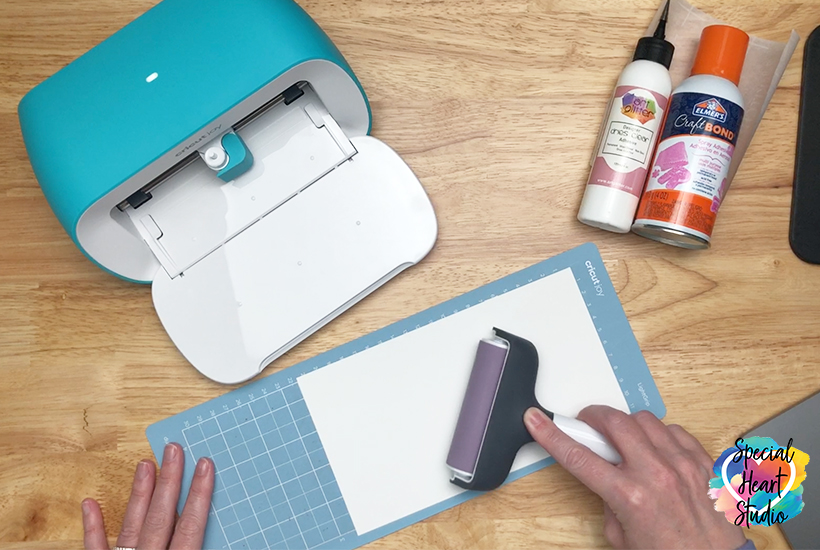
Using a brayer will help keep your paper securely attached to the mat and greatly reduce tearing.
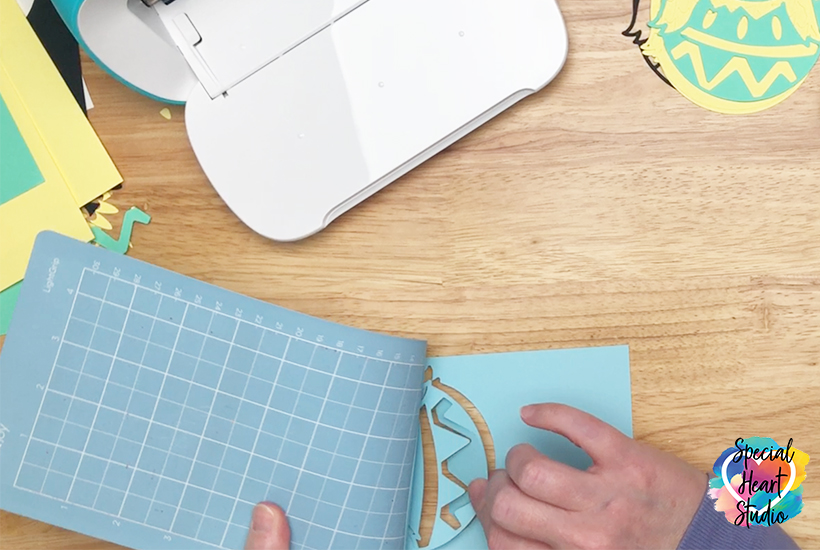
Once the layer has cut, gently bend the mat back while keeping the paper flat on your work surface to keep the paper from ripping and curling.

For the small bunny, I used spray adhesive glue to adhere to all layers. I place the layer I’m working on in a small box and spray it into the box to contain the mess. Then place each layer on top of one another. Using a piece of parchment paper will allow you to adhere just a bit of the layer while keeping the rest of the design aligned correctly. Slowly pull the parchment paper out the way and press down.
Repeat the spray glue and stacking all layers. The last step is to glue the eyes and beak to the chick.

If you choose to cut the chick a bit larger, there will be more room for foam tabs. The bright chick pictured above I cut 9″ tall.
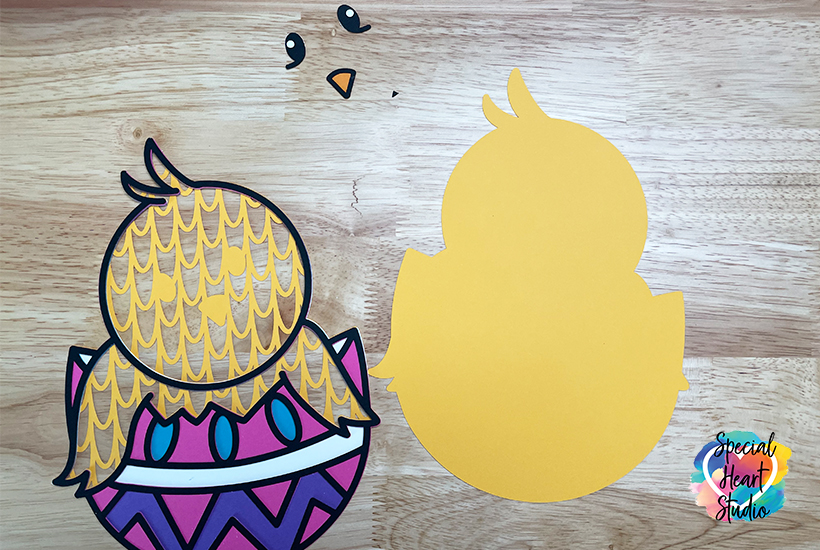
I glued all layers with the exception of the “feathers”. For this layer, I added foam tape strips.
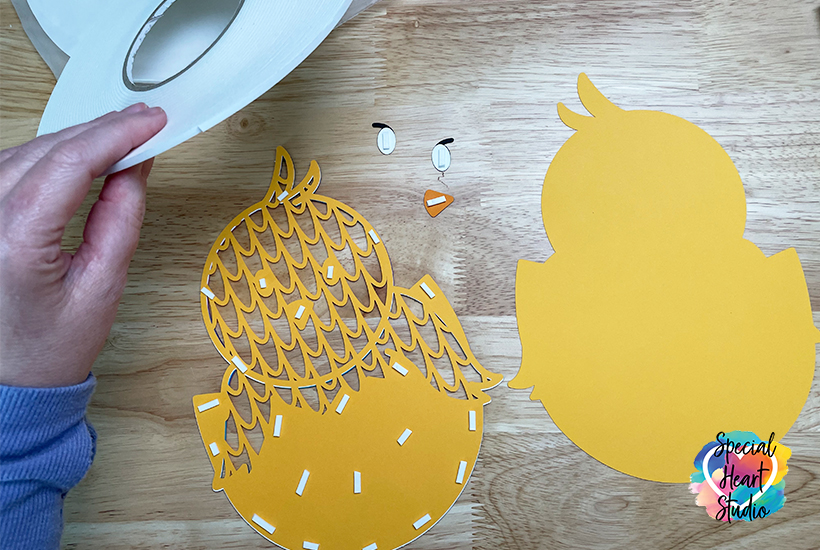
The roll of foam tape can be found on Amazon. I placed it on the back of one layer and on both eyes and beak.
Please Share Prior to Downloading
Please share! If you enjoy this project/design, please share it on your social media platform or your favorite Pinterest board. I greatly appreciate it!! That helps my blog continue to grow and enables me to continue to provide free designs. 💕 Thank you!
Download My FREE Layered Mandala Easter Egg Cut File By Subscribing Below To Get The Password To My Freebie Vault
DOWNLOAD the Layered Easter Chick– Design #129 by entering the password to my Freebie Vault. Click HERE to go to the freebie vault, my library of free downloads. To sign up for a password to my free designs, enter your name and email address below. ⬇️
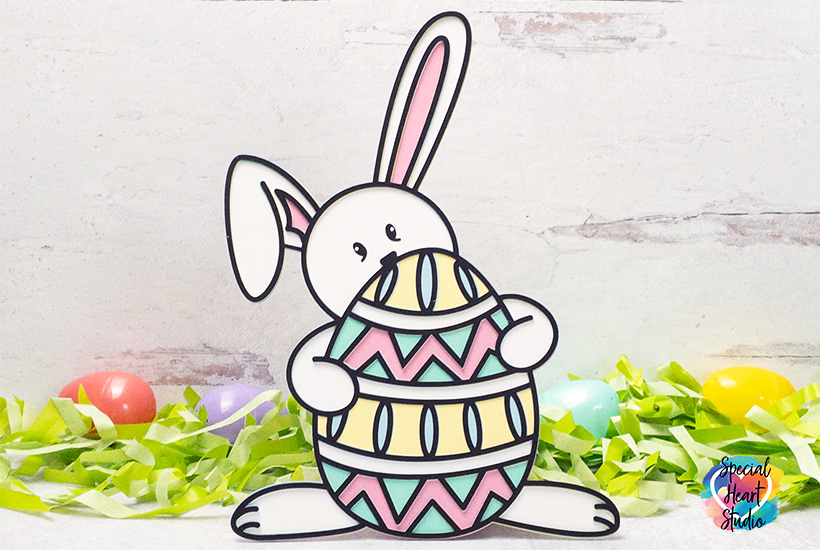
To find the layered bunny, click>>>HERE
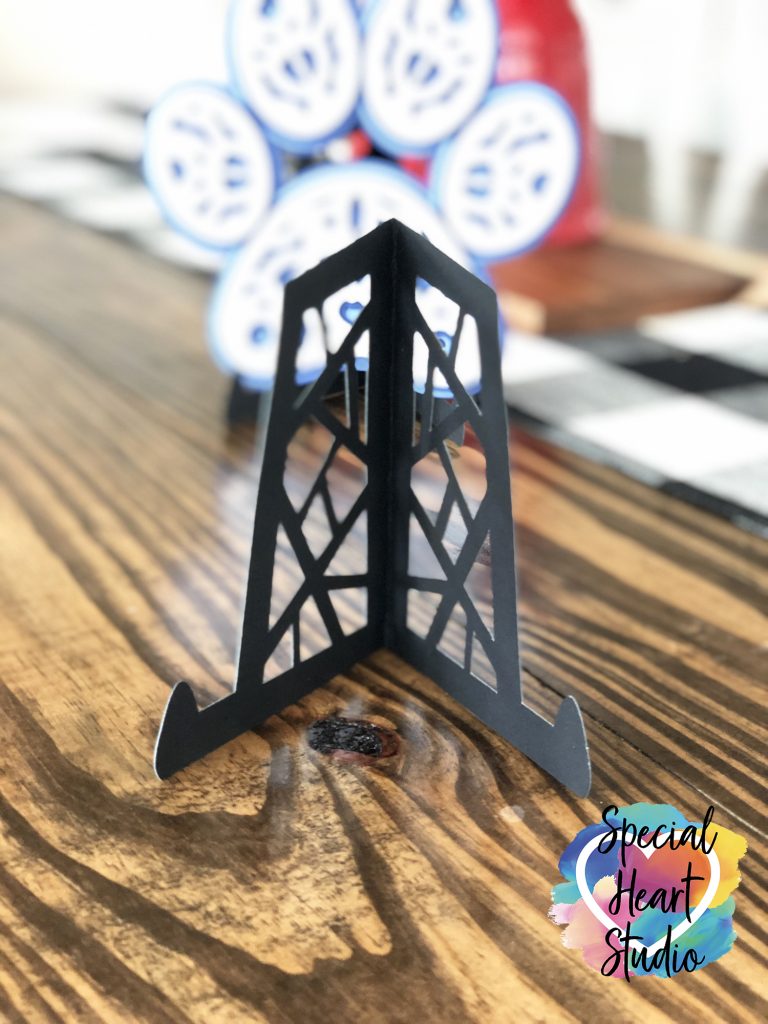
To find the Easel Stand, click>>>HERE


Well I was wrong, I didn’t anything could get any cuter than the bunny. I am going to have the cutest apartment this year at Easter – Thank you
thank you, they’re adorable! I’m trying to hold off on Easter so I have projects to do later but it’s so hard when these things are so cute!
Thank you so much for sharing your super cute file. The bunny and chick are such a wonderful compliment to one another and look perfect together. They are a delight to my eyes. Thank you again!
Thanks for making this sound so easy! I have wanted to try a layered design and, frankly, I find them intimidating! But this one looks much more user friendly!! Can’t wait to give it a try!!(heading to the craft room now!!)
Have fun! Let me know if you have questions.
Hello Gjoa;
I love your designs. I have sued a lot of them for gifts.
Once a month I have a group of ladies that get together
for a luncheon. I decided to make all of them your Easter egg
for the Luncheon next month.
I have cut out 2 of them, But when I take it off the mat the
pieces all seem to stay inside of the design. I have to pluck them out 1 by 1. could you advise me on what I am doing wrong.
Thank you in advance
Pamela R.
It’s hard to pinpoint without knowing more detail. My first guess is you may be using too strong of a mat for your paper type. When using 65lb. or 80lb. cardstock, I usually use the light grip (blue) mat. Hope this helps.